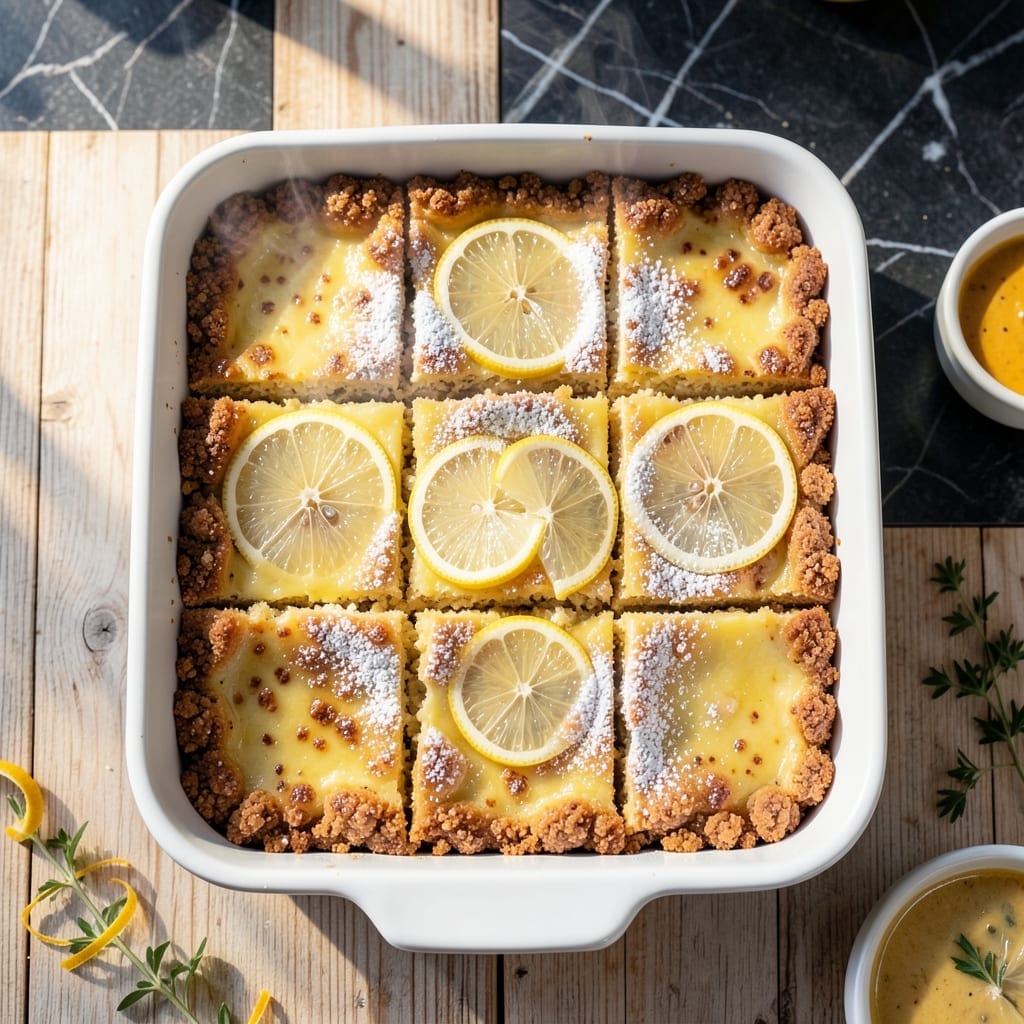
This recipe redefines classic lemon squares with a wholesome twist, using an almond flour crust for a nutty depth. The filling stays bright and tangy while cutting back on refined sugar.
You’ll get zesty citrus flavor in every bite with a texture that’s both creamy and firm. The healthy version keeps all the traditional charm without the guilt.
Ingredients for Lemon Squares Recipe Healthy
Bright citrus and nutty almond crust come together for these lightened-up lemon squares.
| Ingredient | Amount | Notes |
|---|---|---|
| Almond Flour 🌰 | 2 cups | Blanched, fine grind |
| Coconut Oil 🥥 | ½ cup | Melted, or use butter |
| Maple Syrup 🍁 | ¼ cup | Or honey for non-vegan |
| Vanilla Extract 🌿 | 1 tsp | Pure, not imitation |
| Salt 🧂 | ¼ tsp | Fine sea salt |
| Large Eggs 🥚 | 4 whole | Room temperature |
| Fresh Lemon Juice 🍋 | ¾ cup | From 4-5 lemons |
| Lemon Zest 🍋 | 2 tbsp | Finely grated |
| Coconut Sugar 🍚 | ½ cup | Or granulated sugar |
| All-Purpose Flour 🌾 | ¼ cup | For structure |
| Baking Powder 🥄 | ½ tsp | For lift |
| Greek Yogurt 🥛 | ¼ cup | Plain, full-fat |
[recipe_ingredient_scaler]
The almond flour is non-negotiable here—it gives that rich, nutty base that makes these feel special. Bob’s Red Mill is my go-to (available at Whole Foods or most supermarkets), but any fine, blanched almond flour works. For the coconut oil, refined has a neutral taste, but unrefined adds a subtle coconut note that actually works well with the lemon.
No almond flour? Ground oats at a 1:1 ratio work in a pinch, though the texture will be slightly different. Maple syrup can be swapped for agave or honey (if not strictly vegetarian). For the lemon juice, freshly squeezed is essential—bottled lacks the bright, zesty punch. If your lemons are small, you might need 5-6 to get 3/4 cup of juice.
The crust can be made 2 days ahead and stored at room temp. Once assembled, these keep in the fridge for 4 days or freeze for 2 months. Let them come to room temp before serving for the best texture.
Why You’ll Love This Recipe
- One Bowl Wonder: I just dump the almond flour, coconut oil, and maple syrup in one bowl—no mixer, no fuss.
- Bright Zing: That tangy lemon cuts through the maple sweetness like a dream.
- Meal Prep Magic: They keep for days in the fridge, so I can grab one whenever the 3pm slump hits.
Step-by-Step Instructions for Zesty Citrus Bites With Almond Crust
This method ensures a nutty crust and bright, tangy filling with perfect texture every time.
Step 1: Prepare the Almond Crust Base
Preheat your oven to 350°F and line an 8×8-inch baking pan with parchment paper. In a medium bowl, combine the 2 cups Almond Flour, 0.5 cup Coconut Oil, 0.25 cup Maple Syrup, 1 tsp Vanilla Extract, and 0.25 tsp Salt. Stir until the mixture resembles coarse crumbs.
The dough should hold together when pressed. If it feels too dry, add a drizzle of coconut oil—this ensures the crust binds properly without being greasy. Press the mixture evenly into the bottom of your prepared pan, using the back of a spoon or measuring cup to create a smooth, compact layer.
Bake for 12-15 minutes until the edges are light golden brown. This pre-baking step prevents the crust from becoming soggy when the filling is added. Let it cool slightly while you prepare the lemon layer.
Step 2: Whisk Together the Lemon Filling
In a large bowl, whisk the 4 whole Large Eggs until smooth and slightly frothy. Add the 0.75 cup Fresh Lemon Juice, 2 tbsp Lemon Zest, 0.5 cup Coconut Sugar, 0.25 cup All-Purpose Flour, and 0.5 tsp Baking Powder. Whisk vigorously for 1-2 minutes until no lumps remain.
The lemon juice and zest provide that signature bright, tangy flavor, while the coconut sugar adds a subtle caramel note. The all-purpose flour and baking powder give the filling structure and lift, preventing it from collapsing as it bakes.
Stir in the 0.25 cup Greek Yogurt until fully incorporated. The yogurt adds richness and a slight tang while keeping the texture creamy. The mixture should be smooth and pourable—if it’s too thick, check that all ingredients are fully combined.
Step 3: Bake the Lemon Layer
Pour the lemon filling evenly over the pre-baked almond crust. Return the pan to the oven and bake for 20-25 minutes, or until the center is set and the edges are lightly golden. A gentle jiggle should reveal only a slight wobble in the very center.
Avoid overbaking—this is key to maintaining the creamy, custard-like texture. If the top begins to brown too quickly, tent the pan loosely with foil. The filling will continue to set as it cools, so it’s better to err on the side of underbaking slightly.
Remove from the oven and let cool completely in the pan on a wire rack. This cooling period, which takes about 1 hour, allows the filling to firm up properly. Attempting to slice while warm will result in a messy, runny texture.
Step 4: Chill and Slice for Serving
Once fully cooled to room temperature, transfer the pan to the refrigerator and chill for at least 2 hours. This step is non-negotiable—it ensures clean slices and the perfect firm-yet-creamy consistency.
When ready to serve, lift the entire square out of the pan using the parchment paper edges. Place on a cutting board and slice into 16 equal squares with a sharp knife, wiping the blade clean between cuts for neat edges.
Serve chilled for the best texture. Each bite should deliver the nutty crunch of the almond crust followed by the bright, velvety lemon filling. Store leftovers in an airtight container in the refrigerator for up to 3 days.
Pro Tips For Making Lemon Squares Recipe Healthy
- Chill the Crust: Press the almond flour and coconut oil base into the pan, then refrigerate for at least 20 minutes before baking. I learned this the hard way—without chilling, the crust spreads too thin and loses its structure.
- Toast the Almond Flour: Lightly toast the almond flour in a dry pan for 2-3 minutes before mixing with coconut oil. Sounds weird, but it adds a nutty depth that balances the lemon’s brightness.
- Skip the Overmix: When combining wet and dry ingredients, stir just until incorporated—overmixing makes the squares dense. After burning three batches, I finally figured out that a light hand keeps them tender.
- Use Room-Temp Coconut Oil: Make sure your coconut oil is softened but not melted when mixing the crust. My grandmother swore by this, and she was right: it binds better and prevents a greasy texture.
Pro Cooking Tips for Great lemon squares recipe healthy
Crust Perfection
Press the almond flour mixture firmly into the pan using the bottom of a measuring cup for an even layer. I always chill the crust for 10 minutes before pre-baking to prevent spreading. This creates a sturdy base that won’t turn crumbly when sliced. 💡
Zest Matters
Use a microplane to finely grate the lemon zest—this releases more aromatic oils than a box grater. I find organic lemons have thicker, more fragrant peels. Always zest before juicing, as it’s nearly impossible to zest a halved lemon.
Smooth Filling
Strain your lemon juice through a fine-mesh sieve to remove pulp and seeds. This ensures a silky-smooth texture in the final filling. For extra tang, add 1 extra tbsp of zest—it won’t overpower the flavor.
Baking Precision
Rotate your pan halfway through baking for even browning, especially if your oven has hot spots. The filling is done when the center reaches 170°F on an instant-read thermometer. I pull mine out at the first sign of golden edges.
Clean Cuts
Use a hot knife (dipped in hot water) to slice the chilled squares. Wipe the blade between cuts for sharp, professional-looking edges. For best results, let them sit at room temperature for 15 minutes before serving. ✨
Avoiding Sog
Let the crust cool completely before adding the filling. If you’re in a hurry, pop the pan in the freezer for 10 minutes to speed up the process. This prevents the lemon mixture from soaking into the base.
Nutrition Facts
Frequently Asked Questions
Can I use a different flour for the crust?
Yes, ground oats work in a 1:1 ratio if you avoid almond flour. The texture will differ slightly but still taste great.
How do I prevent a soggy crust?
Let the crust cool completely before adding the filling. Chilling it for 10 minutes helps too. This keeps it firm and crisp.
How long will these keep in the fridge?
Store in an airtight container for up to 3 days. For best texture, bring to room temperature before serving.
Can I freeze these for later?
Wrap individual squares tightly and freeze for up to 2 months. Thaw overnight in the fridge before enjoying.

Trained in classic French technique but raised on slow-cooked ribs and spicy rubs, she blends culinary skill with smoke and soul.
- Recipe for Boneless Pork Chops in Cast Iron Skillet: Sear and Baste to Juicy Perfection - October 3, 2026
- Recipe for Boneless Cross Rib Roast: Slow-Roasted Beef with Herb Crust - October 3, 2026
- Hamburgers in Sauce Recipe Crock Pot: Slow-Cooked Savory Delight - October 3, 2026