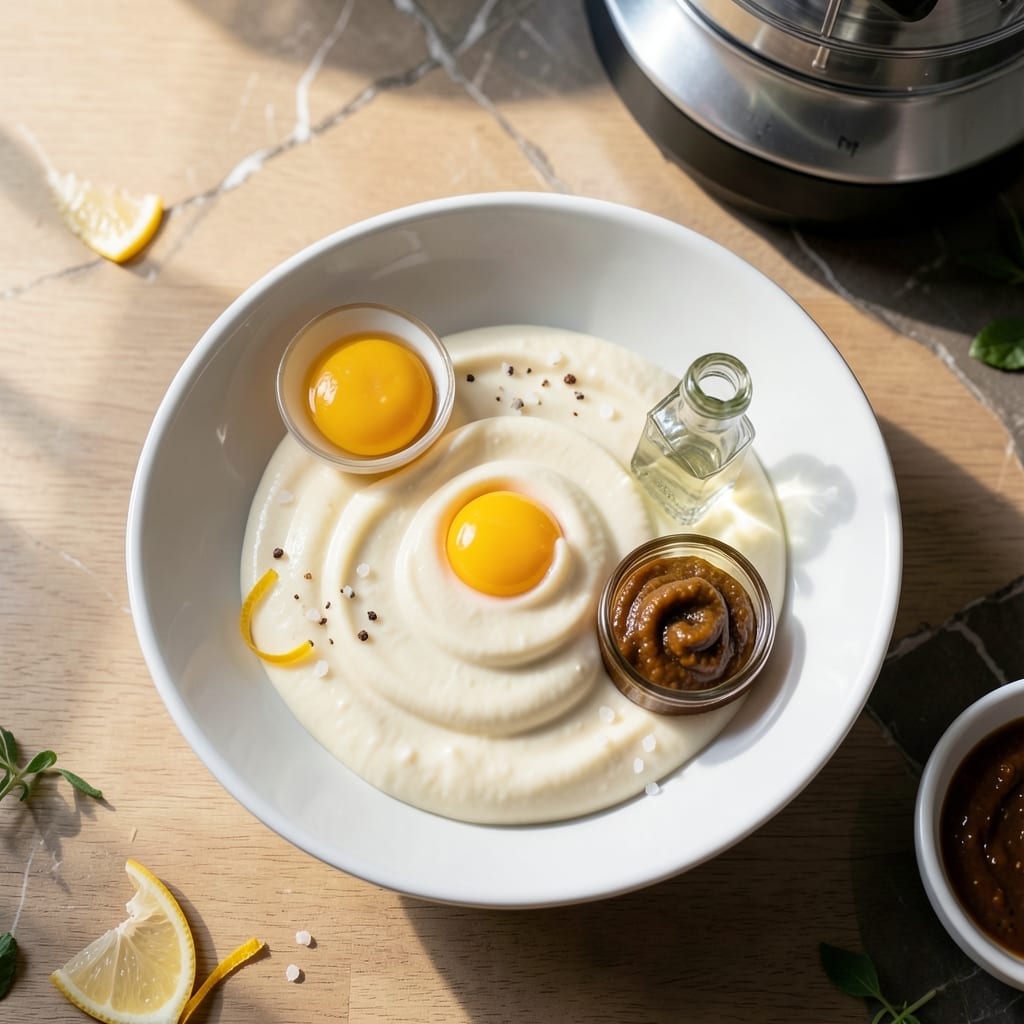
Crafting mayonnaise at home transforms store-bought comparisons instantly. This method uses a food processor to create a silky emulsion with perfect consistency every time.
With just a few basic ingredients and 2 minutes of active time, you’ll achieve a rich, creamy condiment that elevates sandwiches, salads, and dips. The difference in freshness and flavor is undeniable.
Ingredients for Homemade Mayonnaise Recipe Food Processor
Seven ingredients create that silky emulsion you’ll never buy from a jar again.
| Ingredient | Amount | Notes |
|---|---|---|
| Large Egg Yolk 🥚 | 1 whole | Room temperature for best emulsion |
| Dijon Mustard 🟡 | 1 tsp | Smooth, no seeds preferred |
| White Wine Vinegar 🍷 | 1 tbsp | Or substitute lemon juice |
| Neutral-Flavored Oil 🫒 | 1 cup | Avocado or light olive oil |
| Sea Salt 🧂 | ¼ tsp | Fine grain for even distribution |
| White Pepper 🌶️ | 0.125 tsp | Freshly ground preferred |
| Lemon Juice 🍋 | 1 tsp | Freshly squeezed for brightness |
[recipe_ingredient_scaler]
The oil is critical here. Avocado oil or light olive oil (not extra-virgin) are ideal—neutral flavor lets the egg shine. Costco’s Kirkland avocado oil is a great budget pick. For the egg yolk, organic free-range often has richer color and flavor. Room temperature eggs emulsify more easily, so pull them out 30 minutes before starting.
No Dijon? Yellow mustard at half the amount works in a pinch. Out of white wine vinegar? Apple cider vinegar or lemon juice are perfect substitutes. The salt should be fine-grained—Diamond Crystal kosher salt is my go-to. If you want a tangier mayo, add another half teaspoon of vinegar at the end.
This keeps 1 week in the fridge in a sealed jar. The emulsion might separate slightly over time—just whisk it back together. For longer storage, freeze in ice cube trays and thaw as needed (texture changes slightly but still usable).
Why You’ll Love This Recipe
- 30-Second Magic: I just dump everything in the food processor and let it do the work—no whisking, no sore arms.
- Tangy Perfection: The Dijon and white wine vinegar give it that bright, zippy kick store-bought can’t touch.
- Sandwich Superhero: Honestly, once you try this on a BLT or burger, you’ll never go back to the jarred stuff.
- Penny-Wise Spread: A single egg yolk and oil I already have make more mayo than I can use in a week.
Step-by-Step Instructions for Homemade Mayonnaise
Master this emulsification technique and you’ll produce a velvety, professional-quality condiment in minutes.
Step 1: Combine the Base Ingredients
Place the large egg yolk, 1 tsp Dijon mustard, 1 tbsp white wine vinegar, 0.25 tsp sea salt, and 0.125 tsp white pepper in the bowl of your food processor. The mustard acts as an emulsifier, helping stabilize the mixture as you add the oil.
Pulse the ingredients for 5-10 seconds until fully combined and slightly frothy. The mixture will look pale yellow and slightly thickened. This initial blending ensures all your flavor components are evenly distributed before the oil is introduced.
Step 2: Begin the Emulsion with Oil
With the food processor running continuously, begin adding the 1 cup neutral-flavored oil in a very slow, thin stream through the feed tube. This gradual introduction is critical—adding oil too quickly will break your emulsion, resulting in a separated, greasy mess.
After about 1 minute, you’ll notice the mixture start to thicken and lighten in color. This is the emulsion forming. Continue adding the oil at the same slow pace. The sound of the processor will change slightly as the mixture becomes thicker and more resistant to the blade.
Step 3: Complete the Oil Incorporation
Once all the oil has been added, continue processing for an additional 20-30 seconds to ensure complete emulsification. At this point, the mayonnaise should be thick, creamy, and pale—almost the consistency of store-bought mayo but with a fresher, more vibrant appearance.
Stop the processor and scrape down the sides with a rubber spatula. Process for another 10-15 seconds to incorporate any unmixed portions. The mayonnaise should cling to the spatula and hold its shape briefly when lifted.
Step 4: Finish with Lemon Juice
Add the 1 tsp lemon juice and pulse just until incorporated—about 5-10 seconds. The acid brightens the flavor and helps stabilize the emulsion further. Be careful not to overmix at this stage, as too much agitation can cause separation.
Taste and adjust seasoning if needed, though the initial measurements should yield a perfectly balanced mayonnaise. The texture should be smooth and glossy, with no visible separation between oil and egg. If it appears too thick, you can thin it slightly with a teaspoon of warm water, pulsing to combine.
Step 5: Rest and Store Properly
Transfer the mayonnaise to a clean glass jar or airtight container. Let it rest at room temperature for 10-15 minutes before using—this allows the flavors to meld and the emulsion to fully set.
Store in the refrigerator for up to 1 week. The surface may develop a slight skin over time; simply stir it back in before using. For best results, use a clean, dry spoon each time you scoop out mayonnaise to prevent contamination and extend its shelf life.
Pro Tips For Making Homemade Mayonnaise Recipe Food Processor
- Room Temp Eggs: Pull your egg out of the fridge 30 minutes before starting—cold yolks resist emulsifying and you’ll spend twice as long coaxing the mixture to thicken.
- Drip the Oil: Use the food processor’s feed tube to add oil in a thin, steady stream; dump it all in at once and you’ll break the emulsion before it even starts.
- Acid First: Whisk the vinegar and mustard with the yolk for 10 seconds before adding oil—this stabilizes the base and prevents separation.
- Skip the Olive: Stick to a neutral oil like avocado or light vegetable; extra-virgin olive oil tastes great but its bold flavor can overpower the mayo.
Dietary Considerations for This Recipe
Keto-Friendly Options
This homemade mayonnaise recipe food processor is naturally keto-friendly, as it contains no added sugars. Use avocado oil or MCT oil for a boost of healthy fats. Ensure your egg yolk is fresh and high-quality to maintain the rich, creamy texture without carbs.
Gluten-Free
Traditional mayonnaise is gluten-free, and this recipe is no exception. However, always check that your mustard or vinegar is certified gluten-free to avoid hidden sources. Cross-contamination can occur in shared kitchens, so use clean utensils and equipment.
Allergens
Mayonnaise typically contains eggs, a common allergen. For an egg-free version, try using aquafaba (chickpea brine) as a substitute. Additionally, ensure your oil and other ingredients are free from potential cross-contamination with nuts or soy if allergies are a concern.
Vegetarian Modifications
This recipe is already vegetarian-friendly as long as you use vegetarian-compliant ingredients. Some mustards or vinegars may contain animal-derived additives, so opt for apple cider vinegar or Dijon mustard to stay aligned with vegetarian principles.
Low-Sodium
To reduce sodium, use low-sodium salt or omit it entirely. You can also skip added mustard or use a salt-free mustard. Fresh lemon juice can enhance flavor without increasing sodium content, making it a great alternative to vinegar.
Nutrition Facts

Trained in classic French technique but raised on slow-cooked ribs and spicy rubs, she blends culinary skill with smoke and soul.
- Recipe for Curried Tofu: Aromatic Spices With Crispy Edges - October 3, 2026
- Recipe for Dumplings in Crock Pot: Fluffy Pillows with Minimal Effort - October 3, 2026
- Recipe For Diced Pork In Slow Cooker: Melt-In-Your-Mouth Tenderness All Day - October 3, 2026