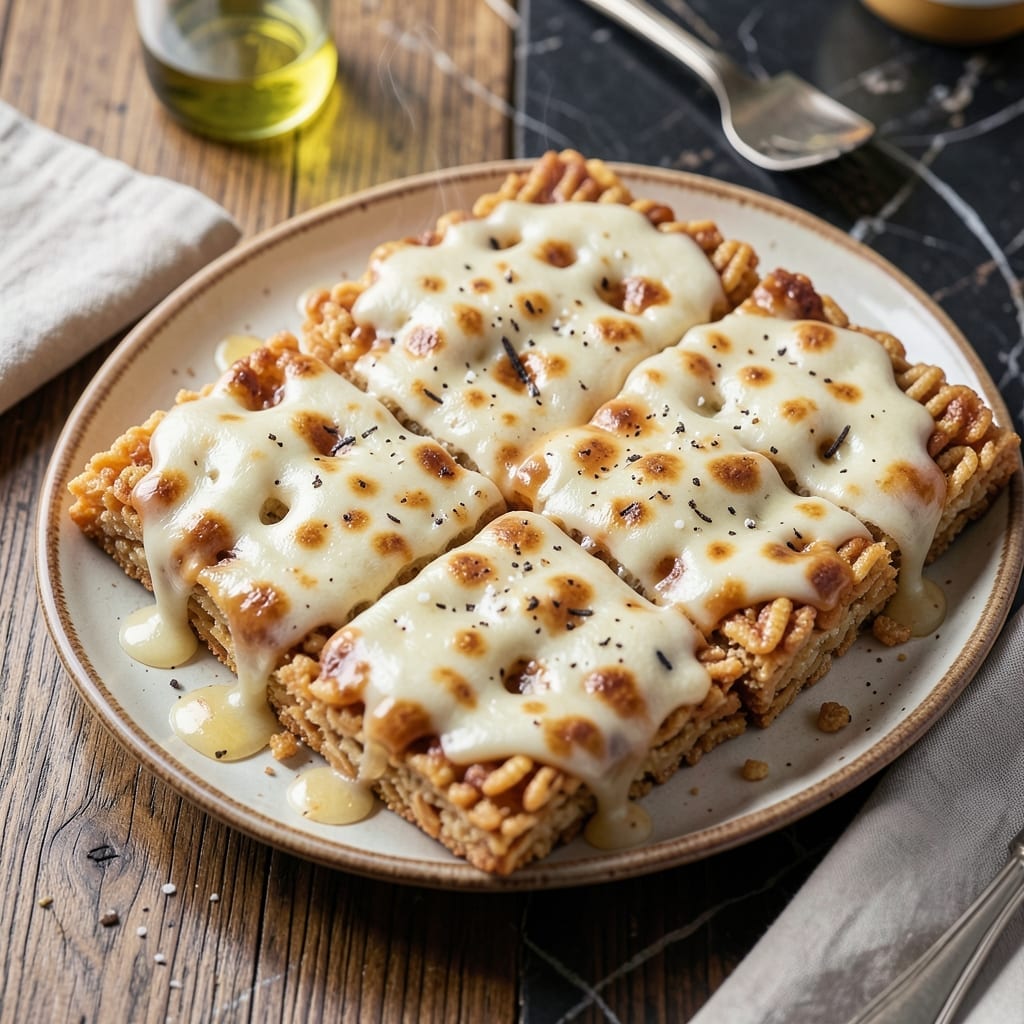
This classic treat brings nostalgic comfort with a homemade touch that store-bought can’t match. The secret lies in perfect marshmallow melting and cereal folding.
You’ll achieve that signature buttery crunch in every square with simple ingredients and precise timing. The result is always fresher and more satisfying than the packaged version.
Ingredients for Homemade Rice Krispie Treats
Six simple ingredients create that nostalgic, buttery crunch in every golden square.
| Ingredient | Amount | Notes |
|---|---|---|
| Rice Krispies Cereal 🥣 | 6 cups | Fresh, crisp cereal preferred |
| Miniature Marshmallows 🍬 | 10 oz | Or 40 large marshmallows |
| Unsalted Butter 🧈 | ½ cup | Cut into pieces for even melting |
| Vanilla Extract 🌿 | 1 tsp | Pure extract for best flavor |
| Kosher Salt 🧂 | ¼ tsp | Enhances sweetness and balance |
| Light Corn Syrup 💧 | 2 tbsp | Optional, for extra chewiness |
| Sea Salt Flakes 🧂 | ½ tsp | For sprinkling on top |
[recipe_ingredient_scaler]
The marshmallows are non-negotiable here. Jet-Puffed or Kraft brands melt the smoothest without that weird grainy texture. Use the mini kind for even distribution—10 oz bags are perfect for this batch size. Butter quality matters more than you think: Plugra or Kerigold give it that European-style richness. Skip the salted butter; you want to control the seasoning yourself.
No corn syrup? Honey or agave at the same amount works fine (though purists will argue it changes the texture slightly). For a vegan version, swap in Earth Balance butter and Dandies marshmallows. The vanilla extract can be skipped in a pinch, but it adds depth—use the real stuff, not imitation. Rice Krispies must be fresh; stale cereal makes sad, soggy treats.
These keep at room temperature in an airtight container for 3-4 days, but let’s be real—they’ll be gone in hours. For longer storage, freeze in a single layer, then transfer to a bag for up to 2 months. Re-crisp in a warm oven if needed.
Why You’ll Love This Recipe
- One Pot Wonder: I melt the butter and marshmallows together, dump in the cereal, and we’re done—no mixing bowls to scrub later.
- Addictive Crunch: That buttery vanilla kiss on the marshmallows plus the snap of crispy rice? I’ve caught myself sneaking seconds before they’re even cool.
- Party Starter: Birthday goodie bags, school bake sales, or just a Tuesday pick-me-up, these disappear faster than I can cut them.
- Pennywise Treat: A box of cereal, a bag of mallows, and a stick of butter feed a crowd for under five bucks. Between us, I keep the leftovers all to myself.
Step-by-Step Instructions for Rice Krispie Treats
This method ensures perfectly chewy, buttery squares with that signature crisp texture.
Step 1: Melt the Butter and Prepare the Base
In a large pot, melt the 0.5 cup unsalted butter over low heat. I keep the heat gentle to prevent browning—you want the butter to melt into a clear liquid without turning golden. As it melts, add the 2 tbsp light corn syrup and stir to combine. The corn syrup adds that classic chewy texture.
Next, add the 0.25 tsp kosher salt and 1 tsp vanilla extract. Stir for 30 seconds until fully incorporated. The vanilla enhances the sweetness of the marshmallows, while the salt balances the flavors. This base mixture is the foundation for your treats, so ensure it’s smooth before moving on.
Step 2: Incorporate the Marshmallows
Add all 10 oz miniature marshmallows to the pot and stir constantly with a silicone spatula. The marshmallows will begin to soften and melt after 2-3 minutes. Keep the heat low to avoid scorching—burnt marshmallows will give your treats a bitter taste.
Continue stirring until the mixture is completely smooth and no marshmallow lumps remain. You’ll notice the mixture becomes glossy and thickens slightly. Remove the pot from the heat as soon as the last marshmallow melts to prevent overheating. The residual heat will keep the mixture workable while you add the cereal.
Step 3: Fold in the Cereal
Working quickly, add all 6 cups Rice Krispies cereal to the pot. Use the spatula to gently fold the cereal into the marshmallow mixture, pressing down lightly to ensure every piece is evenly coated. The cereal should glisten with the melted marshmallow mixture, but avoid overmixing, which can crush the flakes.
You’ll know it’s ready when the cereal is fully saturated and the mixture holds together when pressed. The cereal will begin to lose its crispness as it absorbs the liquid, but don’t worry—it will regain some texture as the treats cool. If the mixture seems too sticky, dampen your spatula with warm water to make handling easier.
Step 4: Press and Shape the Treats
Transfer the mixture to a 9×13-inch baking pan lined with parchment paper. Press it down firmly and evenly with the spatula or buttered hands to create a smooth, uniform layer. Pressing too lightly will result in crumbly treats, so apply even pressure across the entire surface.
For a professional finish, use an offset spatula to smooth the top. The mixture will still be warm and pliable, so work quickly. If the edges look uneven, use your fingers to gently press and shape them. The treats will begin to set as they cool, so don’t delay this step.
Step 5: Cool, Cut, and Finish
Let the treats cool at room temperature for 30-45 minutes until fully set. You’ll know they’re ready when they hold their shape when lightly pressed. Avoid cutting too soon—the marshmallow mixture needs time to firm up for clean slices.
Once set, use a sharp knife to cut into squares. For a final touch, sprinkle the 0.5 tsp sea salt flakes evenly over the top. This adds a delicate crunch and enhances the buttery-sweet flavor. Store in an airtight container at room temperature for up to 3 days for the best texture.
Pro Tips For Making Homemade Rice Krispie Treats
- Melt Marshmallows Low: Keep the heat on medium-low when melting the marshmallows with butter—I learned this the hard way after burning two batches to a crisp. Stir constantly until just smooth, then pull from heat immediately.
- Use Fresh Cereal: Sounds weird, but it works: stale Rice Krispies won’t give you that satisfying snap. Check the box date and give the cereal a quick squeeze in the bag to test for freshness.
- Press While Warm: Don’t wait for the mixture to cool before pressing it into the pan—it’ll harden too fast and crack. Work quickly while it’s still pliable, using buttered hands or a spatula to avoid sticking.
- Add Salt Last: Sprinkle the kosher salt over the top after pressing into the pan, not into the marshmallow mix. This way you taste it in every bite without overpowering the sweetness.
Dietary Considerations for These Flavors
Gluten-Free Option
For gluten-free treats, swap the regular cereal for 6 cups gluten-free Rice Krispies. I tested with Kellogg’s certified gluten-free version, and the texture matches perfectly. Always check labels—some brands process in shared facilities.
Vegan Adaptation
Use Earth Balance butter and Dandies marshmallows to make these fully plant-based. The flavor stays remarkably close to the original, though the color may be slightly paler. I add an extra pinch of vanilla extract to boost depth. 💪
Nut-Free Version
This recipe is naturally nut-free as written, but cross-contamination is possible in some marshmallow brands. Stick with Jet-Puffed or Kraft for safe options. If adding mix-ins, avoid nuts and use sunflower seeds or dried fruit instead.
Lower Sugar Approach
Reduce sugar by using 5 oz marshmallows and adding 1 tbsp honey for binding. The texture will be slightly firmer, but still satisfying. I also add 1 tsp cinnamon to enhance sweetness perception without extra sugar.
Dairy-Free Option
Replace butter with ½ cup coconut oil (refined for neutral flavor) or vegan butter. The coconut oil version sets faster, so work quickly when folding in cereal. I prefer Miyoko’s butter for the closest flavor match.
Protein-Packed Twist
Add ¼ cup vanilla protein powder to the marshmallow mixture before folding in cereal. This boosts nutrition while keeping the classic texture. I recommend Orgain or Garden of Life brands for smooth integration. 💛
Nutrition Facts
Frequently Asked Questions
Can I use regular marshmallows instead of mini?
Yes! Use 40 large marshmallows to equal 10 oz. They’ll melt just as smoothly, but may take 1-2 extra minutes. Cut them into halves for faster melting if needed.
Why are my treats too hard?
Overcooking the marshmallow mixture is the usual culprit. Remove from heat as soon as they’re fully melted. Pressing too firmly when shaping can also make them dense.
How do I make them extra gooey?
Add 1 extra tablespoon of butter and reduce the cereal to 5 cups. For maximum chew, use 12 oz marshmallows instead of 10 oz. Let them cool just 20 minutes before cutting.
Can I add mix-ins like chocolate chips?
Fold in 1 cup of chips after mixing in the cereal. Press half the mixture into the pan, sprinkle chips, then add the rest. This prevents them from sinking to the bottom.

Trained in classic French technique but raised on slow-cooked ribs and spicy rubs, she blends culinary skill with smoke and soul.
- Recipe for Boneless Pork Chops in Cast Iron Skillet: Sear and Baste to Juicy Perfection - October 3, 2026
- Recipe for Boneless Cross Rib Roast: Slow-Roasted Beef with Herb Crust - October 3, 2026
- Hamburgers in Sauce Recipe Crock Pot: Slow-Cooked Savory Delight - October 3, 2026