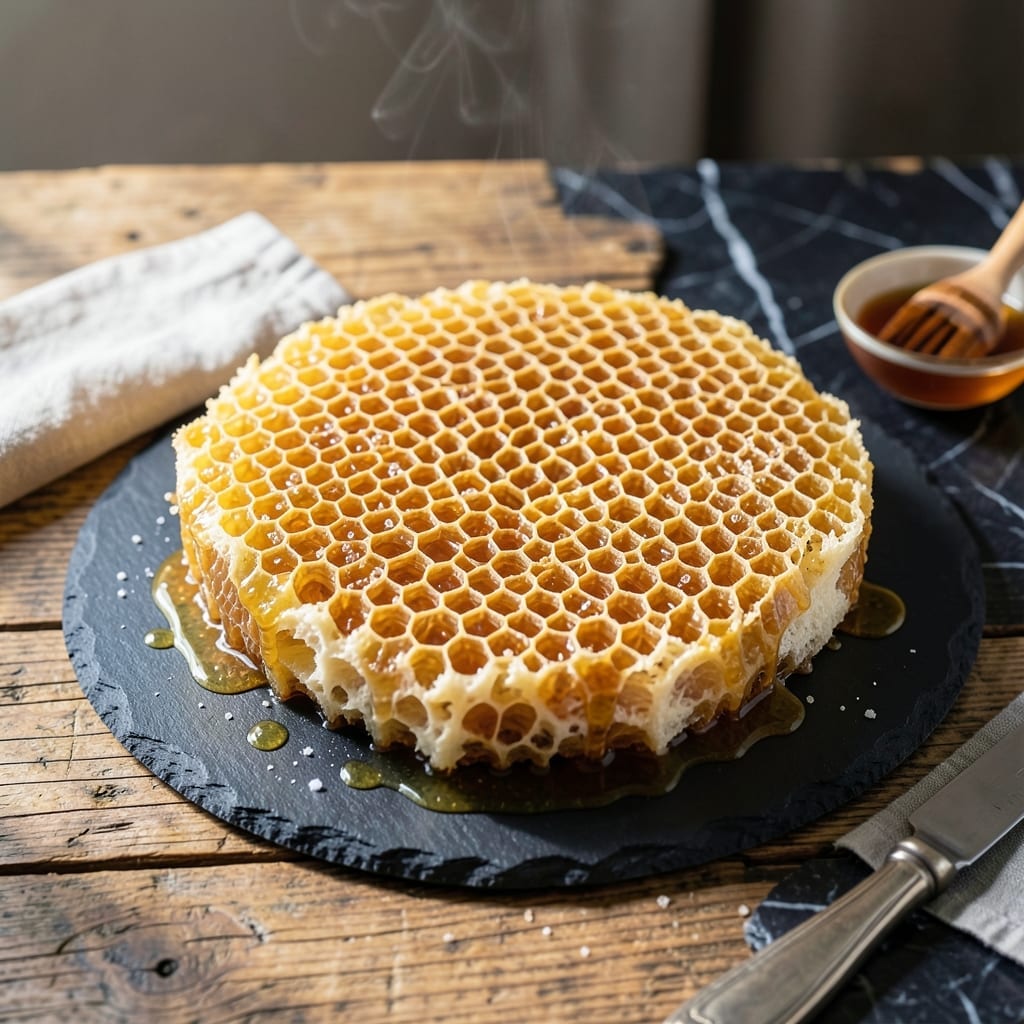
I’ve spent years perfecting this honeycomb candy recipe that delivers that signature crispy, airy texture with natural sweetness.
The secret lies in precise temperature control and the right honey-to-sugar ratio. This method creates a golden, fragile confection that melts in your mouth.
What emerges is a delicate candy with a light, porous structure and rich honey flavor. The baking soda creates the characteristic bubbles that give it that airy crunch.
Perfect for gifting or enjoying as a special treat. This recipe will become your go-to for homemade honeycomb.
Ingredients for Honeycomb Recipe with Honey
Simple pantry staples create this golden, airy candy with rich natural sweetness and perfect crunch.
| Ingredient | Amount | Notes |
|---|---|---|
| Granulated Sugar 🍚 | 1 cup | Fine white sugar preferred |
| Honey 🍯 | ½ cup | Raw or pure variety |
| Light Corn Syrup 🫙 | ¼ cup | Helps prevent crystallization |
| Baking Soda 🧂 | 1 tsp | Creates airy texture |
| Water 💧 | 2 tbsp | For dissolving sugar |
| Vanilla Extract 🌿 | 1 tsp | Pure extract preferred |
| Unsalted Butter 🧈 | 1 tbsp | For greasing pan |
| Salt 🧂 | ¼ tsp | Fine sea salt |
[recipe_ingredient_scaler]
The honey quality is non-negotiable here. Raw local honey brings the deepest flavor, but any pure honey works—just avoid the cheap processed stuff. Light corn syrup is standard, but agave syrup can work in a pinch (though texture may vary slightly). The sugar should be fine granulated white—no substitutes for this one. Most grocery stores carry everything you need.
No corn syrup? Golden syrup or light molasses at the same amount gets you close. Want a deeper honey flavor? Increase honey to 2/3 cup and reduce sugar to 3/4 cup. The baking soda is essential—don’t skip or substitute it. Vanilla extract adds subtle depth, but almond extract at half the amount works too. Salt can be omitted, but it balances the sweetness beautifully.
Store in an airtight container at room temperature. Keeps for about 2 weeks if it lasts that long. Humidity is the enemy—add a silica packet if storing longer. This candy doesn’t freeze well (it gets sticky).
Why You’ll Love This Recipe
- 5-Minute Magic: I can have this ready before the kids finish setting the table—just sugar, honey, and a quick simmer.
- Caramelized Bliss: That deep honey flavor with a crispy, airy bite? It’s like candy, but with a grown-up depth.
- Gift-Worthy Treat: I wrap chunks in parchment for teacher gifts, and everyone thinks I slaved for hours.
- Pantry Hero: Honestly, I always have these ingredients on hand, so it’s my go-to for last-minute dessert cravings.
Step-by-Step Instructions for Honeycomb
Here is the method. Straightforward, tested, and works every time.
Step 1: Combine and Dissolve the Sugars
In a large, heavy-bottomed saucepan, combine 1 cup Granulated Sugar, 0.5 cup Honey, and 0.25 cup Light Corn Syrup. The corn syrup is essential—it prevents the sugar from crystallizing and gives the honeycomb that signature light, airy texture.
Add 2 tbsp Water and stir gently over medium heat until the granulated sugar dissolves completely. Avoid stirring once the mixture begins to simmer; instead, gently swirl the pan to prevent sugar crystals from forming on the sides.
Step 2: Cook to the Hard Crack Stage
Once the sugar mixture starts to bubble, insert a candy thermometer. Cook until the temperature reaches 300°F (hard crack stage). This is critical—too low, and your honeycomb will be sticky and dense; too high, and it’ll burn.
Watch for visual cues: the syrup should turn a deep amber color, similar to caramel. If you don’t have a thermometer, test by dropping a small amount into ice water. It should harden instantly and crack when bitten.
Step 3: Add Baking Soda for the Airy Texture
Remove the pan from heat and quickly stir in 1 tsp Baking Soda. The mixture will foam up dramatically—this is normal and creates the honeycomb’s porous structure. Be cautious; the mixture is extremely hot.
Stir just until the baking soda is fully incorporated, then immediately add 1 tsp Vanilla Extract and 0.25 tsp Salt. These add depth of flavor and balance the sweetness. Work swiftly; the mixture sets fast.
Step 4: Pour and Cool
Grease a heatproof baking sheet or silicone mat with 1 tbsp Unsalted Butter. Pour the hot honeycomb mixture onto the prepared surface, using a heatproof spatula to spread it evenly to about ½-inch thickness.
Let it cool undisturbed at room temperature for 20-30 minutes until completely set. Avoid touching or moving it during this time; doing so can disrupt the air pockets and ruin the texture.
Step 5: Break and Serve
Once fully cooled and hardened, break the honeycomb into pieces using your hands or a knife. The texture should be light, crisp, and full of airy pockets.
Store in an airtight container at room temperature for up to 1 week. Serve as a sweet treat on its own or use as a topping for desserts, ice cream, or even a unique garnish for cheese boards.
Pro Tips For Making Honeycomb Recipe With Honey
- Use a Candy Thermometer: I learned this the hard way—guessing the temperature leads to burnt sugar or a runny mess. Aim for 300°F (hard crack stage) for that perfect honeycomb texture.
- Measure Honey Precisely: Sounds weird, but it works: weigh your honey instead of using volume. 1 cup of honey can vary by 2-3 ounces, and that difference throws off the sugar ratios.
- Stir Just Until Dissolved: After burning three batches, I finally figured out that stirring once the sugar starts boiling causes crystallization. Mix just until the sugar dissolves, then leave it be.
- Add Baking Soda Last: My grandmother swore by this, and she was right: sprinkle the baking soda in after removing from heat—it foams instantly and can overflow if added too early.
Make-Ahead Tips for Leftovers
Prep Ahead
Measure all ingredients the night before and store in separate containers. This prevents frantic measuring while your sugar mixture climbs toward 300°F. I keep my 1 cup sugar and ½ cup honey ready to go. 💡
Equipment Prep
Butter your baking sheet and lay out your spatula, thermometer, and measuring spoons. Having everything within reach is crucial because once you hit hard crack stage, you’ll have 30-60 seconds to add baking soda before it starts setting.
Partial Cooking
You can pre-mix the sugar, honey, and corn syrup, but don’t heat it. The chemical reaction with baking soda needs to happen immediately after reaching temperature. I’ve tried partial cooking—it never works as well.
Cooling Surface
Place your greased baking sheet on a flat, heat-safe surface before starting. I use a silicone mat on my countertop. The honeycomb will spread thin if your surface isn’t perfectly level.
Storage Prep
Line your airtight storage container with parchment paper the day before. This prevents sticking and makes cleanup easier. I recommend glass containers for best results.
Timing Tip
Make this on a dry day—humidity causes sticky honeycomb. Check your weather forecast and aim for below 50% humidity. This simple step ensures perfect texture every time. 🌟
Nutrition Facts
Frequently Asked Questions
Why does my honeycomb turn out dense?
This usually happens if the temperature didn’t reach 300°F. Use a candy thermometer and ensure you hit the hard crack stage. Also, stir in the baking soda immediately after removing from heat for proper aeration.
Can I use a different sweetener?
Stick to the recipe’s sugar and honey ratio. Substituting maple syrup or agave may prevent the candy from setting properly. The sugar’s structure is key for the signature crisp texture.
How thick should I pour the mixture?
Aim for ½-inch thickness on your baking sheet. Too thin and it becomes brittle; too thick and it won’t cook evenly. Use a heatproof spatula to spread it quickly.

Trained in classic French technique but raised on slow-cooked ribs and spicy rubs, she blends culinary skill with smoke and soul.
- Recipe for Boneless Pork Chops in Cast Iron Skillet: Sear and Baste to Juicy Perfection - October 3, 2026
- Recipe for Boneless Cross Rib Roast: Slow-Roasted Beef with Herb Crust - October 3, 2026
- Hamburgers in Sauce Recipe Crock Pot: Slow-Cooked Savory Delight - October 3, 2026