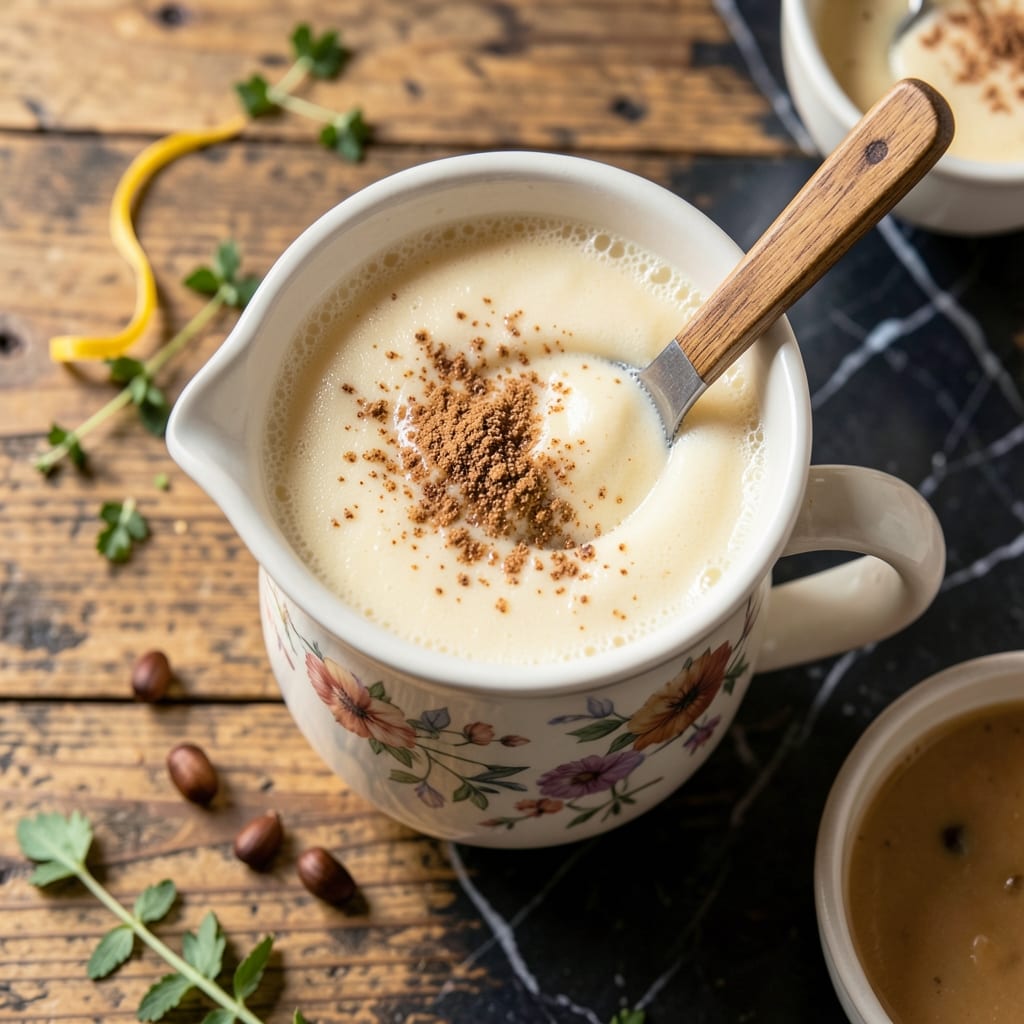
There’s a reason eggnog remains the undisputed champion of holiday beverages—its rich, velvety texture and warmly spiced flavor capture the season in a glass. This version delivers the creamy indulgence you expect with a subtle depth that elevates it beyond the ordinary.
I’ve refined this recipe over years of holiday gatherings, focusing on the perfect balance of dairy, spices, and just the right touch of sweetness. The result is a classic that tastes like tradition, with a smooth finish that lingers.
What sets this apart is the slow infusion of spices, allowing their flavors to meld completely with the eggs and cream. The process requires patience, but the payoff is a drink that’s worth every minute.
Serve it chilled or warmed, depending on your preference. Either way, it’s the perfect addition to your holiday spread.
Ingredients for Hood Eggnog
Rich dairy, warm spices, and a touch of holiday cheer in every sip.
| Ingredient | Amount | Notes |
|---|---|---|
| Whole Milk 🥛 | 4 cups | Whole for creaminess |
| Heavy Cream 🥛 | 1 cup | Full-fat for richness |
| Large Eggs 🥚 | 6 whole | Fresh, pasteurized if raw |
| Granulated Sugar 🍚 | ¾ cup | Adjust to taste |
| Vanilla Extract 🌿 | 2 tsp | Pure extract preferred |
| Ground Nutmeg 🌰 | 1 tsp | Freshly grated for best flavor |
| Ground Cinnamon 🌿 | 1 tsp | Warm spice essential |
| Ground Cloves 🌿 | ¼ tsp | Use sparingly |
| Bourbon or Rum 🥃 | ½ cup | Optional for a boozy kick |
| Whipped Cream 🥛 | ½ cup | For topping, optional |
| Cinnamon Sticks 🌿 | 4 pieces | For garnish |
[recipe_ingredient_scaler]
The dairy is everything here. Whole milk and heavy cream give that signature velvety texture—skipping the fat means missing the magic. I grab mine from Whole Foods or a trusted local dairy farmer (the fresher, the better). If you’re using raw eggs, pasteurized is safer for serving to a crowd. For the cream, look for at least 36% fat for that ultra-rich finish.
No bourbon? Dark rum or brandy works just as well—use what you’d actually drink. Skip the alcohol altogether if preferred (just add a splash of milk to compensate). Fresh nutmeg is worth the effort—one whole nutmeg, grated as needed, beats pre-ground every time. The cinnamon can be Ceylon or Cassia (Cassia is more common and affordable). Out of cloves? A pinch of allspice gets you close.
This keeps in the fridge for 4-5 days—the flavors actually deepen over time. Freeze without the cream for up to 1 month, then whisk in fresh cream after thawing. Serve cold or gently warm (don’t boil, or the eggs will curdle).
Why You’ll Love This Recipe
- One Bowl Magic: I just dump everything in, whisk, and let the stove do the work—no fancy gadgets needed.
- Velvety Dream: The heavy cream and vanilla make it so rich and smooth, it’s like drinking a warm hug.
- Holiday Starter: I make a big batch for Christmas morning, but honestly, it’s good any time I need a cozy treat.
- Pennywise Luxury: Whole milk and eggs keep it affordable, yet it tastes like a fancy dessert my guests rave about.
Step-by-Step Instructions for Hood Eggnog
This holiday favorite comes together with careful heating and plenty of rich flavor.
Step 1: Whisk Eggs and Sugar Until Light
In a large bowl, combine the 6 whole Large Eggs and 0.75 cup Granulated Sugar. Whisk vigorously for 2-3 minutes until the mixture turns pale yellow and slightly thickens. This step incorporates air, creating a silky base for your eggnog.
I like to use a stand mixer for this if available, but a sturdy whisk and strong arm work just as well. You’ll know it’s ready when the mixture leaves ribbons that hold their shape briefly on the surface.
Step 2: Gently Heat the Dairy
In a heavy saucepan, combine the 4 cups Whole Milk and 1 cup Heavy Cream. Warm over medium-low heat for 5-7 minutes, stirring occasionally, until small bubbles form at the edges. Don’t let it boil.
This gentle heating ensures the dairy doesn’t scorch while bringing it to the perfect temperature for tempering the eggs. You’re aiming for 160-170°F—hot enough to cook the eggs later but not so hot it curdles them now.
Step 3: Temper and Thicken the Mixture
Slowly pour about 1 cup of the hot dairy into the egg mixture while whisking constantly. Then pour the tempered eggs back into the saucepan with the remaining dairy. Cook over low heat for 8-10 minutes, stirring constantly, until the mixture thickens enough to coat the back of a spoon.
This is the critical step—constant stirring prevents the eggs from curdling. The mixture should reach 160°F to safely cook the eggs. If it starts to look lumpy, immediately remove from heat and whisk vigorously to smooth it out.
Step 4: Add Flavorings and Chill
Remove from heat and stir in the 2 tsp Vanilla Extract, 1 tsp Ground Nutmeg, 1 tsp Ground Cinnamon, and 0.25 tsp Ground Cloves. Then stir in the 0.5 cup Bourbon or Rum if using. Pour the mixture into a large bowl and let it cool to room temperature, about 30 minutes.
Once cooled, cover and refrigerate for at least 4 hours or overnight. This chilling time allows the flavors to meld and the eggnog to reach its signature creamy consistency.
Step 5: Serve with Festive Garnishes
Give the eggnog a good stir before serving. Pour into glasses and top each with a dollop of whipped cream and a sprinkle of extra nutmeg. Garnish with the 4 pieces Cinnamon Sticks for a festive touch.
The eggnog should be thick, creamy, and richly spiced. Serve it ice-cold for the best experience. This recipe serves 4 generously, perfect for sharing with family and friends during the holiday season.
Pro Tips For Making Hood Eggnog
- Temper the Eggs: Slowly whisk about a cup of the warm milk mixture into the eggs before combining everything—I learned this the hard way after scrambling a batch.
- Use Full-Fat Dairy: Skip the low-fat milk or half-and-half; whole milk and heavy cream give that rich, velvety texture you can’t fake.
- Don’t Boil It: Heat the dairy just until it’s steaming, around 160°F—any hotter and you’ll curdle the eggs, ruining the custard base.
- Chill Overnight: After mixing, refrigerate it for at least 4 hours, but overnight is better—my grandmother swore by this, and she was right.
Pro Cooking Tips for Perfect Results
Temperature Control
Keep your dairy mixture at a gentle 160-170°F when heating—never let it boil. I use a candy thermometer clipped to the saucepan for precision. This ensures your eggs cook safely without curdling.
Tempering Technique
When combining hot dairy with eggs, pour slowly while whisking constantly. I add about 1 cup of hot liquid first to bring the eggs up to temperature gradually. This prevents scrambled eggs in your mixture.
Stirring Consistently
During the thickening phase, stir constantly over low heat for 8-10 minutes. I use a wooden spoon to scrape the bottom of the pan. The mixture should coat the back of a spoon when done.
If you see lumps forming, remove from heat immediately and whisk vigorously. 🌡️
Chilling Properly
Let the mixture cool to room temperature for 30 minutes before refrigerating. I place my bowl in an ice bath to speed this up. Cover with plastic wrap pressed directly on the surface to prevent a skin from forming.
Alcohol Addition
Add your bourbon or rum off the heat to preserve the alcohol content. I prefer Maker’s Mark bourbon for its smooth vanilla notes. If skipping alcohol, add ¼ cup extra milk for balance.
Nutrition Facts
Frequently Asked Questions
Can I make this without alcohol?
Just omit the bourbon and add ¼ cup extra milk to maintain the right consistency. The rich dairy and spice flavors will still shine through beautifully.
How long does homemade eggnog keep?
It stays fresh in the fridge for 4-5 days. For longer storage, freeze without the cream for up to 1 month, then whisk in fresh cream after thawing.
What if my eggnog curdles while cooking?
Don’t panic! Immediately remove from heat and whisk vigorously—this often smooths it out. To prevent this, keep the heat at low and stir constantly during thickening.
Can I use low-fat milk instead?
I don’t recommend it—whole milk and heavy cream are key for that signature velvet texture. Lower-fat versions will make your eggnog thin and less indulgent.

Trained in classic French technique but raised on slow-cooked ribs and spicy rubs, she blends culinary skill with smoke and soul.
- Recipe for Boneless Pork Chops in Cast Iron Skillet: Sear and Baste to Juicy Perfection - October 3, 2026
- Recipe for Boneless Cross Rib Roast: Slow-Roasted Beef with Herb Crust - October 3, 2026
- Hamburgers in Sauce Recipe Crock Pot: Slow-Cooked Savory Delight - October 3, 2026