I’ll be real with you: melting cream cheese properly is one of those kitchen skills that separates smooth, velvety sauces from lumpy disappointments. After burning through more blocks of cream cheese than I’d like to admit (and learning the hard way that patience is everything), I’ve finally cracked the code for perfectly melted cream cheese every single time.
Here’s the thing—cream cheese is finicky. Too much heat and it breaks, too little and you’re left with stubborn chunks. The secret lies in gentle, controlled melting using either a double boiler or carefully timed microwave bursts. I’ve tested both methods extensively, and when done right, they transform that dense brick of cream cheese into a silky base for dips, sauces, or frostings.
What you’re aiming for is a smooth, lump-free consistency that blends seamlessly into your recipes. Whether you’re making spinach-artichoke dip that’s creamy throughout or a cheesecake frosting with that signature velvety texture, properly melted cream cheese makes all the difference. No graininess, no separation—just pure, rich creaminess.
Fair warning: this isn’t about speed. Rushing the process almost guarantees clumps or curdling. But with the right technique (and my hard-won tips), you’ll achieve professional results without the stress. Let’s get that cream cheese melting properly!
📚 In This Guide
- What You’ll Need
- Instructions
- Tips and Common Mistakes
What Youll Need
- ● Cream cheese – 8 oz (1 block) of full-fat for best results (low-fat may separate).
- ● Heat source – Stovetop (low-medium heat) or microwave (600W+ for even melting).
- ● Mixing bowl – Microwave-safe or heatproof glass/ceramic (avoid metal for microwaving!).
- ○ Liquid – 1–2 tbsp milk, heavy cream, or water to thin (optional but helpful).
- ● Utensils: Rubber spatula or wooden spoon (gentle stirring).
- ● Whisk (for ultra-smooth texture).
- ○ Optional add-ins – Vanilla extract, lemon juice, or herbs (for flavor).
- ● Double boiler setup (for stovetop) – Heatproof bowl + saucepan with 1 inch of water.
- ○ Kitchen thermometer (optional) – Ideal temp: 120–140°F (prevents curdling).
Instructions
Here’s the foolproof method to achieve perfectly melted cream cheese every time—no lumps, no fuss.
Choose and Prepare Your Cream Cheese
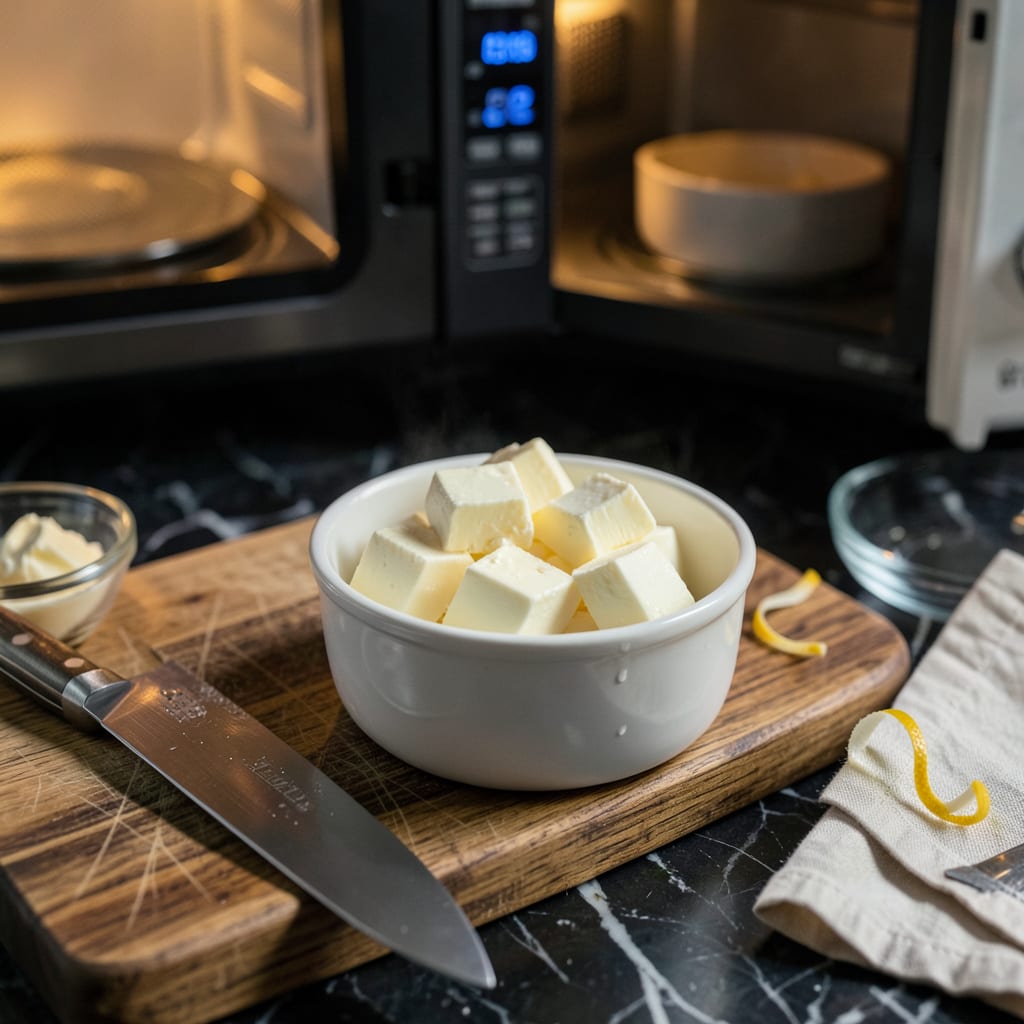
Start with full-fat cream cheese for the smoothest results. Low-fat versions contain more water and tend to separate or become grainy when melted. Remove the cream cheese from its packaging and cut it into 1-inch cubes using a sharp knife.
This step is crucial because smaller pieces melt more evenly and quickly. If you’re working with a cold block straight from the fridge, let it sit at room temperature for 15-20 minutes first—this prevents sudden temperature shock when heating, which can cause clumping.
Select Your Melting Method
For the microwave method, place the cubed cream cheese in a microwave-safe bowl. Use medium power (50%) and heat in 20-second intervals, stirring between each burst. This gentle approach prevents overheating the edges while the center remains cold.
If using the stovetop, set a heatproof bowl over a pot of simmering water (double boiler method) or use low heat directly in a saucepan. The double boiler gives you more control, while direct heat requires constant stirring to prevent scorching. Both methods work well—choose based on what you’re comfortable with.
Melt Gradually With Constant Attention
Whether using microwave or stovetop, stir the cream cheese after every heating interval with a silicone spatula. You’ll notice it softens first, then becomes creamy, and finally transforms into a smooth, pourable consistency. This process typically takes 1-2 minutes total for 8 ounces of cream cheese.
The key is patience—don’t rush by cranking up the heat. Overheating causes the fats to separate, leaving you with a greasy, curdled mess. You’re aiming for a velvety texture that coats the back of a spoon. If you see any lumps, keep stirring; they’ll dissolve with gentle heat and movement.
Incorporate Liquids for Sauces or Dips
If you’re making a sauce or dip, now’s the time to add your liquids. Remove the melted cream cheese from heat and let it cool for 1 minute before slowly whisking in warm (not hot) liquids like milk, broth, or tomato sauce. Adding 1-2 tablespoons at a time prevents shocking the cheese and causing it to seize up.
For cheesecake batter or frosting, let the melted cream cheese cool to room temperature before combining with other ingredients. This prevents melting butter in frosting or cooking eggs in cheesecake batter. The ideal consistency should be smooth but thick enough to hold its shape when stirred.
Use Immediately or Store Properly
Use your melted cream cheese right away in recipes, or transfer it to an airtight container if storing. It will thicken slightly as it cools, so if you need to reheat, use the same gentle method. Melted cream cheese keeps in the refrigerator for up to 5 days—stir well before using as some separation may occur.
For best results in recipes, work with the melted cream cheese while it’s still warm but not hot. This is when it blends most easily with other ingredients. If you notice any graininess after melting, a quick 10-second blast in the microwave followed by vigorous stirring usually smooths it out.
Tips and Common Mistakes
Mastering the art of melting cream cheese smoothly comes down to a few key details I’ve learned through trial and error.
Temperature Control: The 15-20 minutes of room temperature resting in Step 1 makes all the difference. I’ve found that cold cream cheese straight from the fridge takes nearly twice as long to melt evenly, and often develops stubborn lumps that refuse to dissolve. Those 20-second microwave intervals in Step 2 might seem tedious, but they’re crucial – any longer and you risk creating hot spots that cause separation. Trust me, I’ve ruined more than one batch by getting impatient with this step.
The Stirring Secret: In Step 3, when you’re stirring after every heating interval, use a silicone spatula and really scrape the bottom and sides of the bowl. This is where cream cheese tends to stick and overheat first. The 1-2 minutes total melting time is just right – you’ll know it’s done when the mixture coats the back of your spatula like heavy cream. If you see any resistance when stirring, keep going for another 10 seconds before checking again.
Liquid Incorporation: That 1-minute cooling period in Step 4 is non-negotiable. I learned this the hard way when I poured cold milk into just-melted cream cheese and ended up with a curdled mess. The cream cheese needs that brief rest to stabilize before accepting liquids. When adding your 1-2 tablespoons at a time, warm the liquid slightly first – it blends in much more smoothly than cold liquid.
Storage Wisdom: If you’re storing melted cream cheese as mentioned in Step 5, transfer it to a container while it’s still warm. As it cools in the fridge over those 5 days, it will thicken considerably. Before using refrigerated melted cream cheese, let it sit at room temperature for about 30 minutes and give it a good stir – this brings back that smooth, workable consistency you originally achieved.
Pro Tips for How Do You Melt Cream Cheese
- Mastering the art of melting cream cheese smoothly comes down to a few key details I’ve learned through trial and error.
- Temperature Control: The 15-20 minutes of room temperature resting in Step 1 makes all the difference. I’ve found tha…
- The Stirring Secret: In Step 3, when you’re stirring after every heating interval, use a silicone spatula and really …
Frequently Asked Questions
Can I melt cream cheese in the microwave?
Yes! Use a microwave-safe bowl and heat in 10-15 second bursts at 50% power, stirring between each. Avoid high heat—it can cause curdling or a grainy texture. Add a splash of milk or cream if it’s too thick.
How long does it take to melt cream cheese on the stovetop?
On low heat, it typically takes 3–5 minutes, stirring constantly. Use a double boiler (or a heatproof bowl over simmering water) for even melting without scorching. Patience prevents lumps!
What’s the best substitute if I don’t have cream cheese?
For similar creaminess, try:
- Mascarpone (richer, less tangy)
- Ricotta (blend for smoothness)
- Greek yogurt + butter (for tang and fat)
Why does my melted cream cheese look lumpy or greasy?
Overheating or rapid temperature changes cause separation. Fix it by:
- Removing from heat and whisking vigorously
- Adding a 1 tsp of lemon juice or cornstarch to stabilize
- Straining if lumps persist
Can I melt cream cheese directly in a sauce or soup?
Yes, but temper it first! Mix a ladle of hot liquid into the cream cheese to warm it gradually, then stir into the pot. This prevents shocking the dairy and creating clumps.
Melting cream cheese perfectly is all about gentle heat, patience, and the right technique—whether you’re using a microwave, stovetop, or double boiler. 🎯 With these simple steps, you’ll say goodbye to lumps and hello to velvety smooth sauces, dips, or desserts every time!
Now that you’ve mastered the basics, why not put your skills to the test? Try whipping up a creamy pasta sauce or a decadent cheesecake filling—your taste buds will thank you! 😊

Trained in classic French technique but raised on slow-cooked ribs and spicy rubs, she blends culinary skill with smoke and soul.
- Recipe for Pan Fried: Golden Crust with Savory Depth - October 3, 2026
- Recipe For Fried Chicken In A Pressure Cooker: Crispy Golden Bites in Half the Time - October 3, 2026
- Recipe For Leftover Fried Fish: Crunchy Leftovers Transformed - October 3, 2026