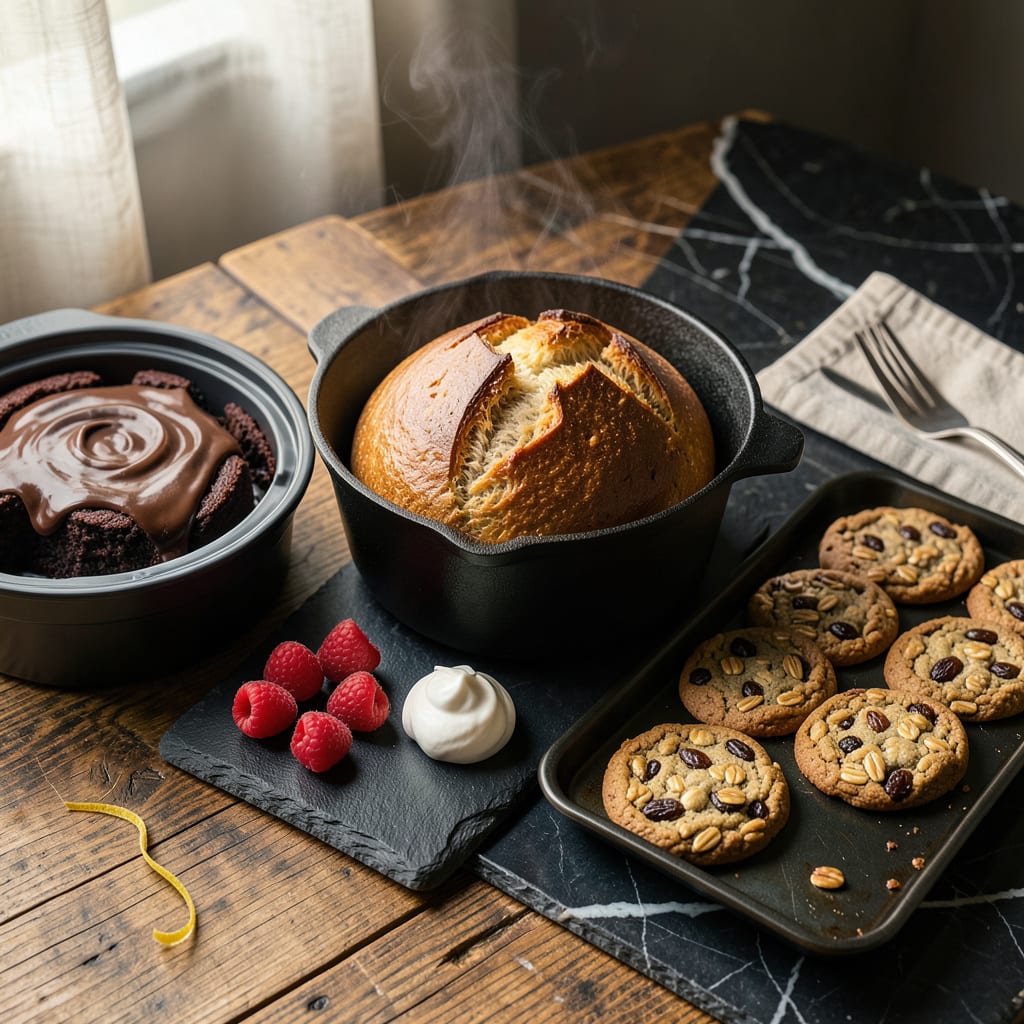
No oven? No problem. I’ve spent years perfecting ways to bake when traditional equipment isn’t available, and let me tell you—some of these methods actually produce better results than conventional baking. Whether you’re camping, dealing with a broken appliance, or just want to try something new, these techniques will change how you think about baking.
From stovetop Dutch ovens to solar-powered setups, I’ve tested every method to ensure perfect results without compromising texture or flavor. The key is understanding heat distribution—something I learned the hard way during my first attempt at stovetop bread (which ended up more like a hockey puck). Now I can guarantee fluffy cakes and crispy crusts using just a burner or even sunlight.
What surprised me most was discovering that some alternative methods actually create unique textures you can’t achieve in a standard oven. A slow cooker, for instance, produces the most tender, moist cakes I’ve ever made. And don’t even get me started on how a cast iron skillet transforms simple batter into golden, crusty perfection.
I’ll walk you through the six most reliable techniques, including the equipment you’ll need and exactly how to adjust recipes for each method. By the end, you’ll be baking with confidence—no oven required. Let’s get started with the methods that actually work.
📚 In This Guide
- What You’ll Need
- Instructions
- Tips and Common Mistakes
What Youll Need
- ● Heat source: A gas/electric stovetop, portable burner, grill, or campfire (with a stable grate).
- ● Cooking vessel: 1 heavy-bottomed pot or Dutch oven (4-6 qt, oven-safe up to 450°F).
- ● OR 1 slow cooker (5-7 qt for cakes/bread).
- ● OR 1 large, deep skillet (10-12” with lid).
- ● Baking tools: 1 heatproof baking pan (8-9” round or loaf pan—must fit inside your pot/skillet).
- ● 1 wire rack or trivet (to elevate the pan inside the pot).
- ● Aluminum foil (to cover and trap heat).
- ● Parchment paper (for easy release).
- ○ Optional but helpful: 1 instant-read thermometer (to check doneness).
- ● 1 silicone mat (for even heat distribution).
- ● 1 pair of heat-resistant gloves (safety first!).
- ● Ingredients: Your recipe’s usual dry/wet ingredients + extra patience (no-oven baking takes 20-50% longer!).
Step-by-Step Instructions for Baking Without an Oven
Here’s how to achieve perfect results using alternative methods—no oven required.
Prepare Your Alternative Heat Source
Start by choosing your heat source based on what you’re baking. For a stovetop, use a heavy-bottomed pot or Dutch oven that’s slightly larger than your baking pan. A slow cooker works best for moist baked goods like cakes or breads, while a toaster oven can handle smaller batches of cookies or muffins.
If using a stovetop, add about 1 inch of sand or salt to the bottom of the pot to create an even heat distribution layer. This prevents direct heat from burning the bottom of your baked goods. For a slow cooker, line it with parchment paper to prevent sticking and make removal easier.
Adjust Your Recipe for Alternative Baking
Most recipes need slight modifications when baking without an oven. Reduce baking powder or soda by 25% since alternative methods often cook more slowly. For cakes and breads, add 1-2 tablespoons extra liquid to compensate for longer cooking times that can dry out your creation.
If using a stovetop, preheat your pot or pan on medium-low heat for 10 minutes before adding your batter or dough. This mimics an oven’s preheating process. For slow cookers, there’s no need to preheat—just set it to high for the first 30 minutes, then reduce to low for even cooking.
Create the Baking Environment
For stovetop baking, place a wire rack or small metal stand inside your pot to elevate your baking pan above the heat source. This allows heat to circulate around your food, similar to an oven. Cover the pot tightly with its lid to trap heat and moisture.
When using a toaster oven, position the rack in the middle and leave at least 1 inch of space around your baking pan for proper air circulation. For slow cookers, tent aluminum foil over the top to prevent condensation from dripping onto your baked goods while still allowing some steam to escape.
Monitor and Adjust Cooking Times
Alternative baking methods typically require 25-50% longer cooking times than conventional oven baking. Check for doneness using visual cues: cakes should pull away from pan edges, breads should sound hollow when tapped, and cookies should be golden brown around the edges.
For stovetop baking, rotate your pan every 10-15 minutes to ensure even cooking, as heat distribution isn’t as uniform as in an oven. With slow cookers, avoid lifting the lid during the first 2 hours of cooking to maintain consistent temperature. Use a toothpick test for cakes and breads—it should come out clean with just a few moist crumbs.
Finish and Cool Properly
Once your creation passes the doneness test, remove it from the heat source immediately to prevent overcooking. Let cakes and breads cool in their pans for 10 minutes before transferring to a wire rack. This brief rest period allows them to set without becoming dense.
For cookies and other delicate items, let them cool completely in the pan before attempting to remove them. The texture might be slightly different than oven-baked goods—stovetop items often have a denser crumb, while slow cooker creations tend to be extra moist. Embrace these unique characteristics as part of the alternative baking experience.
Tips and Common Mistakes for Perfect No-Oven Baking
Mastering these alternative methods takes some practice, but a few key insights will make all the difference in your results.
Heat Distribution Secret: In Step 1, when adding that 1 inch of sand or salt to your stovetop pot, make sure it’s completely level before placing your rack. Uneven sand creates hot spots that can burn one side of your baked goods while leaving the other undercooked. I learned this the hard way after ruining a batch of cookies with lopsided sand distribution.
Preheating Precision: The 10 minutes of preheating on medium-low heat mentioned in Step 2 isn’t arbitrary—it’s crucial for mimicking an oven’s steady heat. If you rush this step, your baked goods may develop a tough crust before the inside cooks through. Trust me, those 10 minutes prevent a world of texture problems.
Slow Cooker Temperature Control: When using the slow cooker method from Step 2, resist the urge to peek during the first 2 hours of cooking. Every time you lift the lid, you lose about 20-30 minutes of cooking time because the temperature drops significantly. I’ve found that maintaining that initial high setting for the full 30 minutes before switching to low gives the most even results.
Visual Doneness Cues: The golden brown edges mentioned in Step 4 are your best indicator for cookies and bars, but for cakes and breads, look beyond color. A perfectly baked cake will spring back when gently pressed in the center, while bread should sound hollow when tapped on the bottom. These cues are more reliable than time estimates when baking without an oven.
Pro Tips for Bake Without An Oven
- Mastering these alternative methods takes some practice, but a few key insights will make all the difference in your …
- Heat Distribution Secret: In Step 1, when adding that 1 inch of sand or salt to your stovetop pot, make sure it’s com…
- Preheating Precision: The 10 minutes of preheating on medium-low heat mentioned in Step 2 isn’t arbitrary—it’s crucia…
Frequently Asked Questions
Got questions about baking without an oven? You’re not alone! Here are the most common concerns—and quick answers—to help you bake like a pro, no oven required.
Can I really bake cakes or bread without an oven?
Absolutely! Methods like stovetop baking (using a heavy pot or Dutch oven), slow cookers, or even microwave mug cakes work surprisingly well. For bread, try a skillet or air fryer—just adjust heat and timing for even cooking.
How do I prevent burning when baking on a stovetop?
Use low to medium heat and check frequently. A heat diffuser or double boiler setup helps distribute heat evenly. Covering with foil or parchment paper can also shield food from direct flames. Patience is key!
What’s the fastest no-oven baking method?
The microwave wins for speed—mug cakes or cookies take just 1–3 minutes! For crispier results (like brownies), finish with a quick sear in a pan. Air fryers are also speedy for small batches.
Do I need special equipment?
Not necessarily! A heavy-bottomed pot, skillet, or slow cooker works for most methods. If you’re using a stovetop, a cake pan that fits inside a pot is handy. Improvising with foil or parchment is totally fine!
Why did my no-oven cake turn out dense or gummy?
Overmixing batter or uneven heat are common culprits. For stovetop baking, preheat the pot before adding the pan. In microwaves, avoid overcooking—stop when edges are just set. Let cakes rest 5–10 minutes before slicing.
Who knew you could whip up delicious baked goods without an oven? 🎉 From stovetop hacks to slow cooker magic, these six methods prove that creativity—and a little patience—are all you need. Whether you’re craving cookies, bread, or even cake, there’s always a way to satisfy that sweet (or savory!) tooth.
Now that you’re armed with these tricks, pick one method and give it a try this weekend! Share your no-oven masterpiece with friends or tag us on social media—we’d love to see (and taste!) your results. Happy baking—oven optional! 😉

Trained in classic French technique but raised on slow-cooked ribs and spicy rubs, she blends culinary skill with smoke and soul.
- Recipe for Boneless Pork Chops in Cast Iron Skillet: Sear and Baste to Juicy Perfection - October 3, 2026
- Recipe for Boneless Cross Rib Roast: Slow-Roasted Beef with Herb Crust - October 3, 2026
- Hamburgers in Sauce Recipe Crock Pot: Slow-Cooked Savory Delight - October 3, 2026