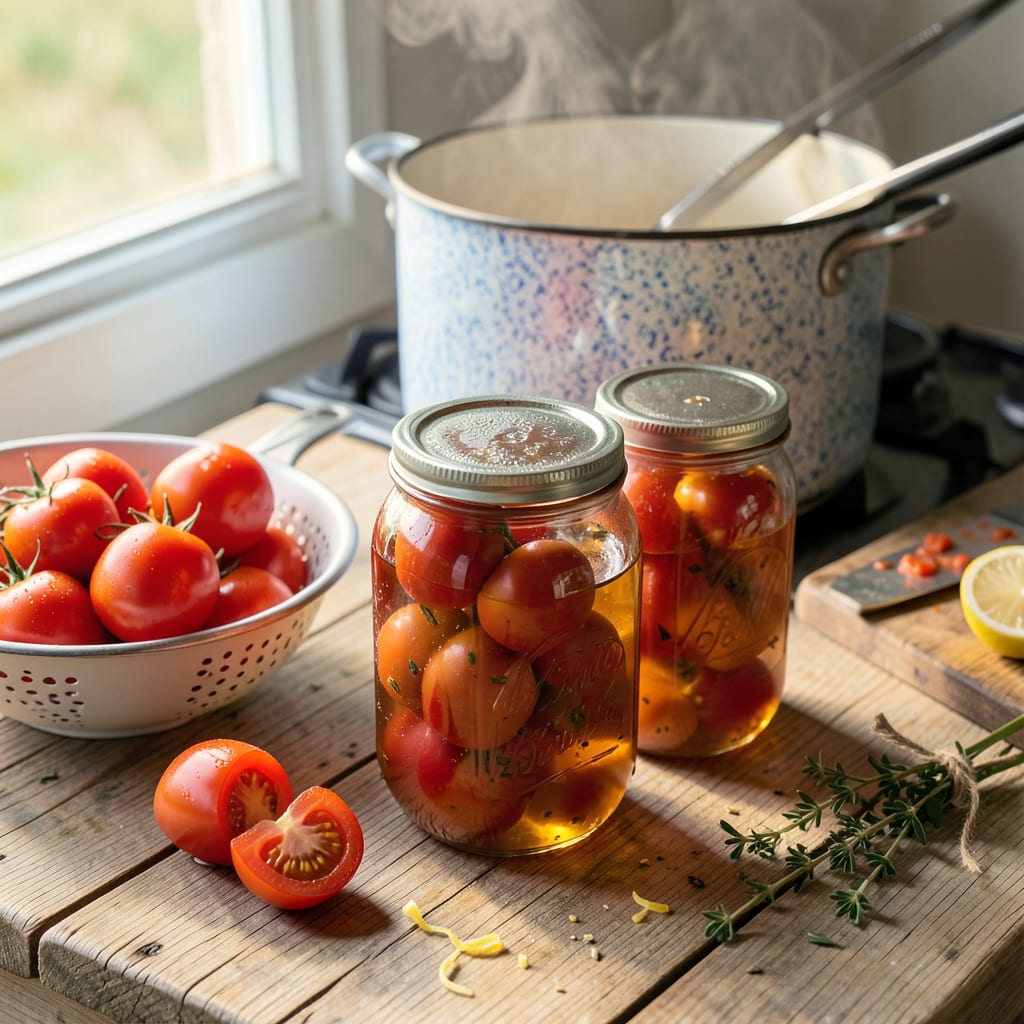
Preserving summer’s bounty through home canning transforms fresh tomatoes into pantry staples that deliver year-round flavor. This foolproof method follows USDA-approved guidelines to ensure safety while capturing peak tomato quality. Whether you’re processing whole peeled tomatoes, crushed varieties, or rich tomato sauce, the technique remains fundamentally the same—sterilization, proper acidification, and precise processing times.
The process begins with selecting ripe, unblemished tomatoes and preparing them through blanching and peeling. I’ve refined this method over years of preserving seasonal harvests, always prioritizing food safety through tested pH balancing. The water bath canning technique works perfectly for acidic tomatoes, creating a shelf-stable product without requiring pressure canning equipment.
What you’ll achieve is jars of vibrant, flavorful tomatoes ready for soups, stews, or pasta sauces throughout the year. The method preserves not just the tomatoes but their summer-fresh taste, allowing you to enjoy garden-quality produce during winter months. Each jar becomes a time capsule of summer’s peak flavors, waiting to elevate your cooking.
From sterilizing jars to processing times, I’ll guide you through each critical step while sharing variations for different tomato preparations. The result is a pantry filled with homemade tomato products that surpass anything store-bought in both flavor and quality.
📚 In This Guide
- What You’ll Need
- Instructions
- Tips and Common Mistakes
What Youll Need
- ● Fresh tomatoes: 15–20 lbs (about 5–7 quarts of canned tomatoes). Choose firm, ripe, and blemish-free varieties like Roma, San Marzano, or Beefsteak.
- ● Canning jars: 7–9 pint-sized (16 oz) or 4–5 quart-sized (32 oz) sterilized mason jars with lids and bands (new lids recommended).
- ● Large pot or water bath canner: Deep enough to submerge jars by 1–2 inches of water. A rack (to prevent jar contact with the pot bottom) is a must!
- ● Jar lifter: To safely move hot jars (tongs won’t cut it!).
- ● Lemon juice or citric acid: 2 tbsp bottled lemon juice or ½ tsp citric acid per quart (1 tbsp/¼ tsp per pint) to ensure safe acidity.
- ○ Canning salt (optional): 1 tsp per quart (½ tsp per pint) for flavor—iodized salt can cloud brine.
- ● Sharp knife & cutting board: For peeling and chopping (a paring knife works best for scoring skins).
- ● Large bowl: For ice water bath (to loosen tomato skins after blanching).
- ● Slotted spoon: To transfer tomatoes between boiling water and ice bath.
- ● Bubble remover tool or plastic utensil: To release air pockets in jars (a chopstick works in a pinch!).
- ● Clean kitchen towels: For wiping jar rims and spills.
- ● Timer: To track processing time (critical for safety!).
- ○ Optional: Herbs (basil, oregano), garlic cloves, or red pepper flakes for flavored tomatoes.
Instructions for Canning Tomatoes at Home
Follow this straightforward process to preserve summer’s bounty safely and deliciously.
Prepare Your Tomatoes and Equipment
Start by selecting firm, ripe tomatoes free from bruises or blemishes. I prefer Roma tomatoes for their meaty texture and lower water content, but any variety will work. Wash them thoroughly under cool running water, then remove the stems and any damaged areas.
While the tomatoes drain, sterilize your canning jars and lids. Place the jars in a large pot of water, ensuring they’re completely submerged, and boil for 10 minutes. Keep the jars hot until you’re ready to fill them. This sterilization step is crucial for preventing bacterial growth during storage.
Blanch and Peel the Tomatoes
Bring a large pot of water to a rolling boil. Using a sharp knife, score an “X” on the bottom of each tomato. This simple step makes peeling infinitely easier. Prepare an ice water bath in a large bowl while you wait for the water to boil.
Working in batches, carefully lower the tomatoes into the boiling water for 30-60 seconds until the skins begin to split. Immediately transfer them to the ice bath to stop the cooking process. The skins should now slip off effortlessly with your fingers or a paring knife. Discard any tough cores or excess seeds if desired.
Pack the Jars and Add Acid
Pack the peeled tomatoes tightly into your sterilized jars, leaving about ½-inch headspace at the top. I like to gently press them down to eliminate air pockets while being careful not to crush them. For whole tomatoes, you can add them directly; for crushed tomatoes, simply break them apart with your hands as you pack.
To each pint jar, add 1 tablespoon bottled lemon juice or ¼ teaspoon citric acid. For quart jars, use 2 tablespoons lemon juice or ½ teaspoon citric acid. This crucial step ensures proper acidity for safe canning. Pour hot water or tomato juice over the tomatoes, maintaining that ½-inch headspace.
Process in a Water Bath Canner
Wipe the jar rims clean with a damp cloth to ensure a proper seal. Place the lids on the jars and screw on the bands until fingertip-tight. Process pint jars for 40 minutes and quart jars for 45 minutes in a boiling water bath canner, making sure the water covers the jars by at least 1-2 inches throughout processing.
Start timing only after the water returns to a full rolling boil. If you’re at an altitude above 1,000 feet, you’ll need to adjust your processing time accordingly—add 5 minutes for each additional 1,000 feet of elevation. This extended processing time compensates for the lower boiling point of water at higher altitudes.
Cool and Store Your Canned Tomatoes
After processing, carefully remove the jars using canning tongs and place them on a towel-lined countertop. Let them cool undisturbed for 12-24 hours. You’ll likely hear satisfying “pings” as the jars seal—this is the sound of success! After cooling, check that each lid has sealed properly by pressing down on the center; it shouldn’t pop up or down.
Label your sealed jars with the contents and date, then store them in a cool, dark place. Properly canned tomatoes will maintain their quality for 12-18 months, though they’re best used within a year for optimal flavor. Any jars that didn’t seal properly should be refrigerated and used within a week or reprocessed with new lids.
Tips and Common Mistakes
Here’s what I’ve learned from years of canning tomatoes—these small details make all the difference between good and great results.
Tomato Selection Wisdom: For Step 1, choosing the right tomatoes is everything. Roma tomatoes are my top pick for their meaty texture and lower water content, which means less liquid in your jars and better flavor concentration. If using other varieties, look for firm, ripe tomatoes with thick walls—they’ll hold up better during the 30-60 second blanching in Step 2 without turning to mush. Avoid overripe tomatoes that might disintegrate during processing.
Blanching Technique: In Step 2, the 30-60 second blanch is critical for easy peeling, but timing matters. Start checking at 30 seconds—you want the skins to just begin splitting. Over-blanching makes tomatoes too soft to pack neatly in Step 3. I use a slotted spoon to transfer tomatoes directly from boiling water to ice bath, which stops the cooking instantly and preserves texture. Don’t skip the ice bath; it’s what keeps your tomatoes firm enough for tight packing.
Acidity Precision: The lemon juice or citric acid measurements in Step 3 aren’t arbitrary—1 tablespoon per pint or 2 tablespoons per quart ensures safe acidity levels. I always use bottled lemon juice (not fresh) because its consistent acidity is tested for canning safety. When adding hot water or juice to fill jars, use a canning funnel to maintain that precise ½-inch headspace. Any less risks improper sealing; any more might prevent a good vacuum seal.
Processing Perfection: During Step 4’s water bath processing, maintaining that 1-2 inch water coverage over jars is non-negotiable. I place a rack in the bottom of my canner to prevent jars from direct heat contact, which can cause breakage. For the 40 minutes (pints) or 45 minutes (quarts) processing time, set a timer and don’t start counting until you have a full rolling boil. At higher altitudes, that additional 5 minutes per 1,000 feet isn’t optional—it compensates for lower boiling temperatures that could under-process your tomatoes.
Pro Tips for Can Tomatoes At Home
- Here’s what I’ve learned from years of canning tomatoes—these small details make all the difference between good and …
- Tomato Selection Wisdom: For Step 1, choosing the right tomatoes is everything. Roma tomatoes are my top pick for the…
- Blanching Technique: In Step 2, the 30-60 second blanch is critical for easy peeling, but timing matters. Start check…
Frequently Asked Questions
Got questions about canning tomatoes at home? You’re not alone! Here are the most common concerns—answered in a snap so you can get back to preserving that garden-fresh goodness.
Do I need to peel tomatoes before canning them?
It’s not mandatory, but peeling improves texture and prevents bitterness. For easy peeling, blanch tomatoes in boiling water for 30–60 seconds, then plunge into ice water. The skins will slip right off! Skip this step if you’re making rustic sauces or salsas.
How long do home-canned tomatoes last?
Properly canned tomatoes stay safe and delicious for 12–18 months in a cool, dark pantry. Once opened, refrigerate and use within 5–7 days. Always check for signs of spoilage (mold, off smells, or bulging lids) before using.
Can I can tomatoes without a pressure canner?
Yes! Tomatoes are high-acid, so you can use a water bath canner (no pressure needed). Just add bottled lemon juice or citric acid (1 tbsp per pint) to ensure safety. Pressure canning is only required for low-acid veggies like green beans or carrots.
Why did my canned tomatoes turn out mushy?
Overripe tomatoes, overcooking, or using a food processor can break down texture. For firmer results:
- Pick firm, slightly underripe tomatoes.
- Pack jars raw (hot-pack only if needed for space).
- Avoid excessive stirring or crushing.
What’s the best tomato variety for canning?
Paste tomatoes like Roma, San Marzano, or Amish Paste are ideal—they’re meaty, low-seed, and less watery. Heirlooms work too but may require longer cooking to thicken. Mix varieties for balanced flavor!
Canning tomatoes at home is easier than you think—and the payoff is fresh, flavorful tomatoes all year long! 🍅✨ With the right tools, a little patience, and these simple steps, you’ll preserve summer’s bounty like a pro. Whether you’re prepping for sauces, stews, or snacks, your pantry will thank you.
Ready to dive in? Start with a small batch to build confidence, then scale up once you’ve mastered the process. Happy canning—your future meals just got a whole lot tastier! 🏡💛

Trained in classic French technique but raised on slow-cooked ribs and spicy rubs, she blends culinary skill with smoke and soul.
- Recipe for Boneless Pork Chops in Cast Iron Skillet: Sear and Baste to Juicy Perfection - October 3, 2026
- Recipe for Boneless Cross Rib Roast: Slow-Roasted Beef with Herb Crust - October 3, 2026
- Hamburgers in Sauce Recipe Crock Pot: Slow-Cooked Savory Delight - October 3, 2026