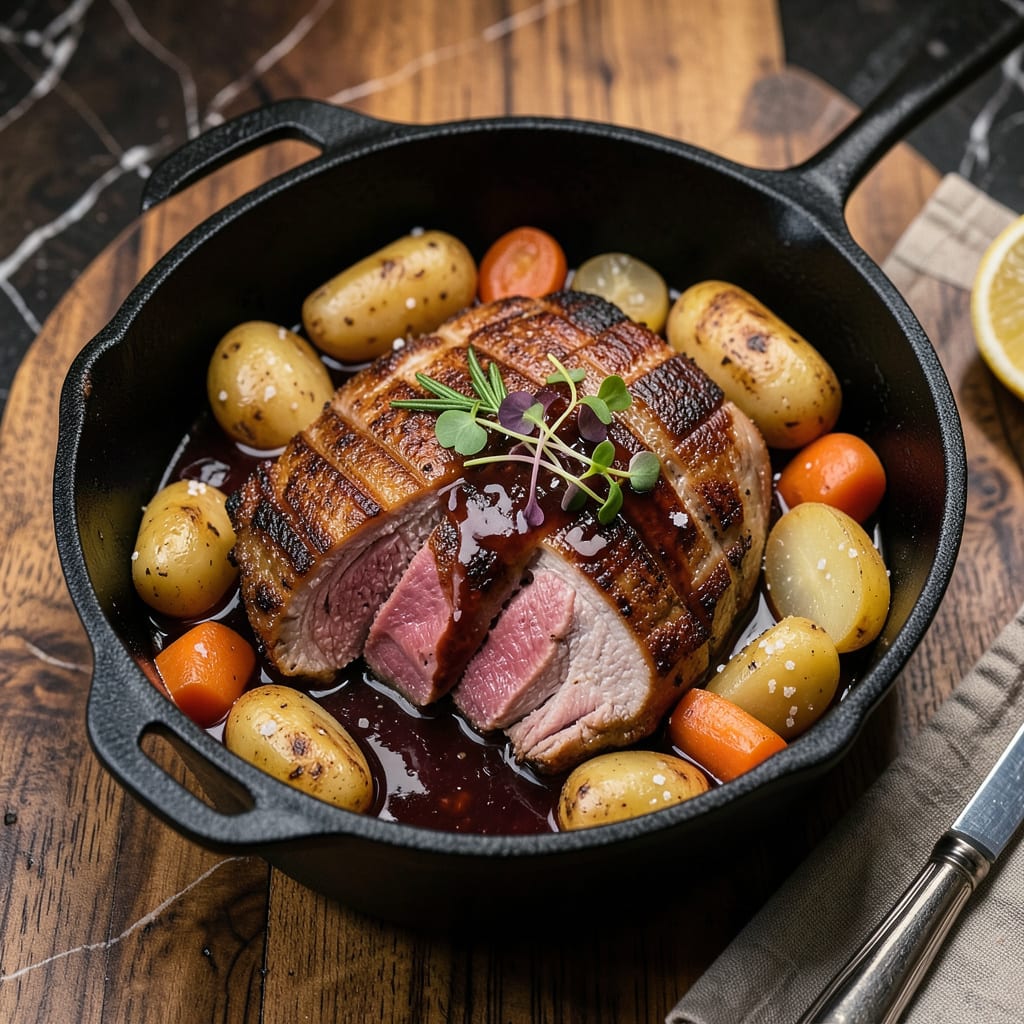
Cooking a frozen roast on the stovetop doesn’t have to mean sacrificing tenderness or flavor. This method transforms even the toughest cuts into fall-apart tender meat in under three hours, using simple techniques that maximize moisture and flavor development. No thawing required—just proper heat control and patience.
The key lies in starting with a hard sear to build flavor, then transitioning to a low-and-slow braise with aromatic vegetables and liquid. I’ve perfected this approach through years of working with tough cuts, learning how to coax maximum tenderness from even the most stubborn pieces of meat. The result is a roast that’s juicy throughout, with rich, developed flavors.
By maintaining a steady simmer and using the right liquid ratio, you’ll create an environment where the frozen roast cooks evenly without drying out. The connective tissues break down gradually, resulting in meat that pulls apart effortlessly with a fork. This technique works particularly well with chuck roast or bottom round cuts.
Serve this with mashed potatoes to soak up the rich pan juices, or alongside roasted root vegetables for a complete meal. The best part? You’ll have plenty of flavorful drippings left to make a quick gravy that ties everything together beautifully.
📚 In This Guide
- What You’ll Need
- Instructions
- Tips and Common Mistakes
What Youll Need
- ● 1 frozen beef roast (3–5 lbs, like chuck, rump, or bottom round)
- ● 2–3 tbsp cooking oil (avocado, vegetable, or olive oil—high smoke point preferred)
- ● 1 large onion, sliced (yellow or white works best)
- ● 4–5 garlic cloves, minced (or 1 tbsp pre-minced for convenience)
- ● 2–3 cups beef broth (low-sodium if preferred, or substitute with water + bouillon)
- ● 1 tbsp Worcestershire sauce (for depth of flavor)
- ● 1 tsp dried rosemary, thyme, or Italian seasoning (or 1 tbsp fresh)
- ● Salt & black pepper (to taste—about 1 tsp each to start)
- ● Heavy-bottomed pot or Dutch oven (5–6 quart, with tight-fitting lid)
- ● Tongs (for flipping the roast safely)
- ○ Meat thermometer (optional but highly recommended for perfect doneness)
- ● Wooden spoon or silicone spatula (for scraping up browned bits)
- ● Cutting board & sharp knife (for prep work)
- ● Timer (your phone works great! ⏰)
Step-by-Step Instructions for Cooking a Frozen Roast on the Stove Top
Here’s the no-fail method I use to transform a rock-hard frozen roast into fall-apart tender meat.
Sear the Frozen Roast for Maximum Flavor
Start by selecting a heavy pot with a tight-fitting lid—Dutch ovens work best for this. Place your frozen roast in the cold pot and add just enough water to cover the bottom (½ inch depth). The cold start prevents thermal shock that can make meat tough.
Turn the heat to medium-high and let the roast sear undisturbed for 8-10 minutes until you hear a steady sizzle. You’ll notice the frozen exterior starting to thaw and brown—that’s exactly what you want. Don’t be tempted to add oil; the natural juices will release as it heats.
After the initial sear, flip the roast and sear the other side for another 5-7 minutes. You’re building a flavor foundation here, not trying to cook it through. The goal is a deep golden crust on both sides before adding liquid.
Build the Braising Liquid for Tenderness
Once both sides are seared, pour in 2 cups of beef broth or water—enough to come about ⅓ up the sides of the roast. Add 1 tablespoon of apple cider vinegar or lemon juice; the acid helps break down the tough muscle fibers.
Bring the liquid to a gentle boil, then immediately reduce heat to low. You want just a few bubbles breaking the surface—what I call a “lazy simmer.” Cover the pot tightly with the lid. This trapped steam is what will slowly penetrate and tenderize the frozen meat from the inside out.
Real talk: this is where most people mess up by boiling too vigorously. A hard boil will make the exterior dry out before the center thaws. Patience here guarantees that fall-apart texture you’re after.
Slow Cook Until Fork-Tender
Maintain that gentle simmer and let the roast cook undisturbed for 2-2½ hours. I know it seems weird to cook frozen meat this way, but the combination of steam and low heat works like a charm. You’ll notice the liquid level dropping as the roast thaws and releases its own juices.
After about 90 minutes, check the roast with a fork. It should start to give slightly when pressed. If the liquid has reduced too much, add another ½ cup of water or broth. The meat is done when it reaches an internal temperature of 195-205°F and a fork slides in with zero resistance.
Here’s the thing—you can’t rush this part. The connective tissues need this extended cook time to break down completely. I’ve found that 2½ hours is the sweet spot for most 3-4 pound frozen roasts to become perfectly tender.
Rest and Shred for Serving
Once the roast is fork-tender, use tongs to transfer it to a cutting board. Let it rest for 10 minutes before shredding—this allows the juices to redistribute so they don’t all run out when you cut into it. The meat should be so tender that you can shred it easily with two forks.
While it rests, skim any excess fat from the surface of the cooking liquid. I like to reduce this liquid by simmering it uncovered for 5-7 minutes until it thickens slightly into a light gravy. Pour this over the shredded meat for maximum flavor.
The final test: take a bite. The meat should practically melt in your mouth with no chewy bits. If there are any tough spots, return them to the pot with a splash of liquid and cook for another 15-20 minutes until perfect.
Tips and Tricks for Perfect Stove-Top Frozen Roast
Let me share the hard-earned secrets that turn this method from good to extraordinary.
The Searing Secret: In Step 1, those 8-10 minutes on medium-high heat aren’t just about browning—they’re about creating a flavor foundation. Don’t rush it. You want to hear that steady sizzle and see the frozen exterior transform into a deep golden crust before flipping. The natural juices that release during this process will become the base of your braising liquid.
Simmer Science: When you reduce to low heat in Step 2, you’re aiming for what I call a “lazy simmer”—just a few bubbles breaking the surface. This gentle heat is crucial for the 2-2½ hours of cooking. Too vigorous and you’ll dry out the exterior before the center thaws; too weak and the connective tissues won’t break down properly. The perfect simmer should maintain the liquid level while slowly tenderizing the meat from the inside out.
Temperature Matters: That 195-205°F internal temperature range in Step 3 isn’t arbitrary. This is where collagen melts into gelatin, transforming tough muscle fibers into silky tenderness. Use an instant-read thermometer to check multiple spots, especially near the center. The meat should feel buttery when pressed with tongs, not springy or firm.
Resting Ritual: The 10 minutes of resting in Step 4 might seem like an afterthought, but it’s when the magic happens. As the meat rests, the juices redistribute throughout the fibers instead of pooling on your cutting board. Skip this step and you’ll lose up to 30% of the moisture you worked so hard to preserve during cooking.
Pro Tips for Cook A Frozen Roast On The Stove Top
- Let me share the hard-earned secrets that turn this method from good to extraordinary.
- The Searing Secret: In Step 1, those 8-10 minutes on medium-high heat aren’t just about browning—they’re about creati…
- Simmer Science: When you reduce to low heat in Step 2, you’re aiming for what I call a “lazy simmer”—just a few bubbl…
Frequently Asked Questions
Can I cook a frozen roast directly without thawing it first?
This method is designed for frozen roasts—just add 30–50% more cooking time than thawed meat. The low-and-slow approach ensures even cooking and tenderness. Avoid high heat, which can burn the outside while leaving the center raw.
How long does it take to cook a 3–4 lb frozen roast on the stove?
Plan for 2.5–3 hours on medium-low heat (simmering). Larger roasts (5+ lbs) may need up to 4 hours. Use a meat thermometer—145°F for medium-rare or 160°F for well-done—to check doneness without guessing. Tough meat usually means it needs more time or moisture. Try this: Return it to the pot, add ½ cup broth, cover, and simmer another 30–60 minutes. Slicing against the grain when serving also improves tenderness. Yes! For a slow cooker, cook on Low 8–10 hours or High 5–6 hours with liquid. In an Instant Pot, use the “Meat/Stew” setting for 90 minutes with natural release. Both methods work great for frozen roasts! Searing isn’t required but adds flavor. If searing frozen meat: Pat it very dry, use high heat (3–4 mins per side), and watch for splatter. Skip searing if short on time—braising will still deliver rich flavor.What if my roast is still tough after cooking?
Can I use a slow cooker or Instant Pot instead?
Do I need to sear the roast first, even if it’s frozen?
Cooking a frozen roast on the stove top doesn’t have to be stressful—with the right technique, you can achieve juicy, fall-apart tenderness in just a few hours! 🍖✨ Remember: low heat, patience, and a flavorful braising liquid are your best friends for locking in moisture and taste.
Now that you’ve mastered this method, why not experiment? Try swapping herbs, adding veggies, or even testing a slow cooker for hands-off convenience. Your next perfect roast is just one pot away! 😉

Trained in classic French technique but raised on slow-cooked ribs and spicy rubs, she blends culinary skill with smoke and soul.
- Recipe for Boneless Pork Chops in Cast Iron Skillet: Sear and Baste to Juicy Perfection - October 3, 2026
- Recipe for Boneless Cross Rib Roast: Slow-Roasted Beef with Herb Crust - October 3, 2026
- Hamburgers in Sauce Recipe Crock Pot: Slow-Cooked Savory Delight - October 3, 2026