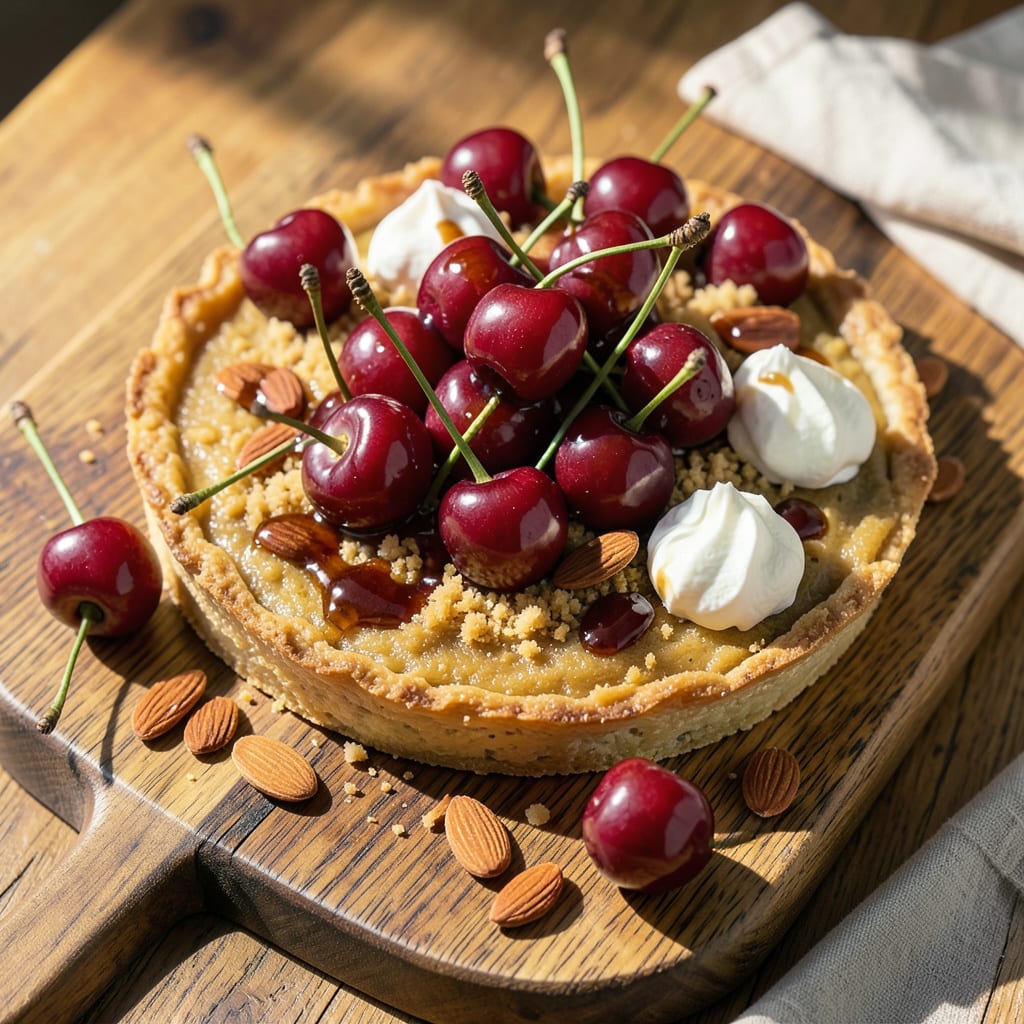
Here’s the thing—cooking cherries without pitting first might sound crazy, but it’s actually a game-changer for preserving their juicy texture. I discovered this trick when making cherry compote and realized the pits help maintain the fruit’s shape while infusing subtle almond-like flavor. The key is gentle heat and knowing when to stop.
What you’ll end up with is perfectly cooked cherries that stay plump and vibrant, with pits that either rise to the surface during simmering or can be easily strained out later. I’ve used this method for everything from clafoutis to cocktail syrups, and it works every time. The pits actually protect the fruit from turning mushy too quickly.
Fair warning: you’ll need to watch the heat carefully. Too high and the pits might crack, releasing bitter compounds. But get it right, and you’ll have cherries that burst with juice when bitten—no sad, shriveled fruit here. The pits also make it easier to remove stems if you’re working with fresh cherries.
This technique shaves serious prep time while delivering better results. Whether you’re making jam, pie filling, or infused liquor, cooking cherries whole first means more flavor and less hassle. Let’s get those pits working for us instead of against us.
📚 In This Guide
- What You’ll Need
- Instructions
- Tips and Common Mistakes
What Youll Need
- ● Fresh cherries – 2 lbs (washed, stems removed, unpitted 🍒)
- ● Large pot or saucepan (3-4 qt capacity, non-reactive like stainless steel or enamel)
- ● Wooden spoon (for gentle stirring to avoid crushing pits)
- ● Sugar or sweetener – ½ to 1 cup (adjust to taste; honey or maple syrup work too!)
- ● Lemon juice – 1 tbsp (preserves color and adds brightness)
- ○ Water or fruit juice – ½ cup (optional, for simmering liquid)
- ○ Spices (optional) – 1 cinnamon stick, 2 star anise, or ½ tsp vanilla extract
- ● Fine-mesh strainer or cheesecloth (for post-cooking pit removal, if desired)
- ● Heat-resistant spatula (to scrape the bottom and prevent sticking)
- ● Glass jars or airtight containers (for storing cooked cherries)
- ● Kitchen timer (to monitor simmering time ⏰)
- ● Oven mitts (for handling hot pots safely)
Instructions
Here’s how to keep every bite bursting with juicy cherry goodness—no pitting required.
Choose the Right Cherries
Start with fresh, firm cherries that still have their stems attached. I prefer sweet varieties like Bing or Rainier for cooking, as they hold up better to heat. Give them a quick rinse under cool water to remove any dirt or debris, then pat them completely dry with a clean kitchen towel.
It’s important to leave the stems on—they’ll act as little handles when you’re ready to serve. Check each cherry for any soft spots or bruises, and set those aside for another use. You want only the plumpest, firmest cherries for this method to ensure they stay intact during cooking.
Prepare Your Cooking Method
For stovetop cooking, use a wide, heavy-bottomed pan that gives the cherries plenty of room. Add just enough water to cover the bottom of the pan—about ¼ inch deep. If you’re baking, preheat your oven to 350°F and line a baking dish with parchment paper to prevent sticking.
The key here is gentle, even heat. Too much water will boil the cherries and make them burst prematurely, while too little might scorch them. You’re creating a steamy environment that softens the fruit while keeping the pits contained. For extra flavor, you can add a splash of lemon juice or a cinnamon stick to the cooking liquid.
Cook with Careful Attention
Place the cherries in your prepared pan in a single layer, stems facing up. Cover with a tight-fitting lid if stovetop cooking, or with foil if baking. Cook for 8-10 minutes on medium-low heat or until the cherries are tender but still holding their shape.
Resist the urge to stir or move the cherries around—they’ll release their juices naturally as they heat. You’ll know they’re done when the skins start to wrinkle slightly and the fruit yields gently when pressed with a spoon. The stems should still be firmly attached, making them easy to pick up and eat around the pit.
Serve with Simple Elegance
Use a slotted spoon to transfer the cooked cherries to a serving dish, leaving any excess liquid behind. The cherries should glisten with their natural juices but not be swimming in liquid. Let them cool for 5 minutes before serving—they’ll be quite hot straight from the pan.
Arrange them stem-side up so they’re easy to pick up. The pits will stay perfectly contained within the softened fruit, allowing you to enjoy the tender flesh without any messy pitting. Serve them warm over ice cream, alongside roasted meats, or simply as they are with a drizzle of their cooking juices.
Enjoy the Juicy Results
To eat, simply hold each cherry by its stem and bite the flesh off around the pit. The heat will have intensified the natural sweetness while keeping the texture pleasantly firm. You’ll get all the juicy flavor without the hassle of pitting—each bite delivers that perfect burst of cherry goodness.
Any leftover cooking liquid makes a wonderful syrup for desserts or cocktails. Just strain it through a fine-mesh sieve and reduce it by half on the stovetop for a more concentrated flavor. Store cooked cherries in the refrigerator for up to 3 days, though they’re truly best enjoyed fresh.
Tips and Common Mistakes
Here’s what I’ve learned from years of cooking cherries this way—small details that make a big difference in texture and flavor.
Cherry Selection: In Step 1, choosing the right cherries is everything. I can’t stress enough how important it is to use firm, stem-on cherries like Bing or Rainier varieties. The stems aren’t just for looks—they become your built-in handles for easy eating later. Avoid any cherries with soft spots, as they’ll turn to mush during the 8-10 minute cooking time and ruin the texture we’re going for.
Water Level Precision: When preparing your pan in Step 2, that ¼ inch of water is critical. I’ve found that using a ruler to measure this depth prevents the two biggest problems: too much water makes cherries burst prematurely, while too little risks scorching. The perfect amount creates just enough steam to soften the fruit while keeping the pits contained. For extra insurance against sticking, I always use a heavy-bottomed stainless steel pan—it distributes the medium-low heat more evenly than thinner pans.
Visual Doneness Cues: During the 8-10 minute cooking time in Step 3, watch for two key signs: the skins will start to wrinkle slightly, and the cherries will yield just a bit when pressed gently with a spoon. Don’t be tempted to stir them—letting them cook undisturbed preserves their shape. I learned this the hard way after my first batch turned into cherry compote from too much movement!
Serving Temperature: Those 5 minutes of cooling time in Step 4 aren’t optional. Straight from the pan, the cherries are too hot to handle and their flavors haven’t fully settled. This brief rest allows the juices to redistribute while cooling just enough to be comfortable to eat. I like to use this time to reduce any leftover cooking liquid into a quick syrup—it makes a beautiful drizzle for serving.
Pro Tips for Cook Cherries Without Pitting
- Here’s what I’ve learned from years of cooking cherries this way—small details that make a big difference in texture …
- Cherry Selection: In Step 1, choosing the right cherries is everything. I can’t stress enough how important it is to …
- Water Level Precision: When preparing your pan in Step 2, that ¼ inch of water is critical. I’ve found that using a r…
Frequently Asked Questions
Can I bake cherries without pitting them first?
Yes! Baking whole cherries (pits and all) is totally safe—the pits add a subtle almond-like flavor. Just warn guests to spit, not swallow! For even cooking, prick each cherry with a fork to prevent bursting. Works great in clafoutis, cobblers, or roasted desserts.
How long does it take to cook unpitted cherries compared to pitted ones?
Unpitted cherries may need 5–10 extra minutes (depending on the recipe) since pits slow heat penetration. Simmer whole cherries in syrups or sauces for 15–20 minutes (vs. 10–12 for pitted). For baking, extend time by 10% and check doneness with a toothpick.
What’s the easiest alternative if I don’t want to pit cherries later?
Use a cherry pitter tool post-cooking—warmed cherries release pits more easily! Or, freeze cherries first (pits loosen when thawed). For sauces, strain through a fine-mesh sieve after cooking to remove pits in one go. Pro tip: Save pits for infusing syrups or homemade liqueurs!
Will unpitted cherries make my dessert bitter?
Not if cooked properly! Pits contain amygdalin, which releases a mild almond flavor—not bitterness—when heated. Overcooking (beyond 30 minutes) or crushing pits can turn flavors harsh. Stick to gentle simmering or baking at 350°F (175°C) or lower for best results.
Can I can or preserve whole unpitted cherries?
Technically yes, but USDA guidelines recommend pitting for safety—pits may harbor bacteria in long-term storage. For short-term fridge preserves (up to 2 weeks), whole cherries in syrup are fine. For canning, pit first or use a tested recipe for pit-in fruit (like traditional cherry bounce).
Cooking cherries without pitting is easier than you think—and the payoff is big, bold flavor in every bite! 🍒 Whether you’re whipping up a rustic clafoutis, a tangy compote, or a boozy cherry sauce, these methods let you skip the tedious prep while keeping all that juicy goodness intact.
Now that you’ve got the know-how, why not pick a recipe and give it a try? Start with something simple, like a no-fuss compote, and taste the difference for yourself. Happy cooking—pit-free! 😉

Trained in classic French technique but raised on slow-cooked ribs and spicy rubs, she blends culinary skill with smoke and soul.
- Recipe for Boneless Pork Chops in Cast Iron Skillet: Sear and Baste to Juicy Perfection - October 3, 2026
- Recipe for Boneless Cross Rib Roast: Slow-Roasted Beef with Herb Crust - October 3, 2026
- Hamburgers in Sauce Recipe Crock Pot: Slow-Cooked Savory Delight - October 3, 2026