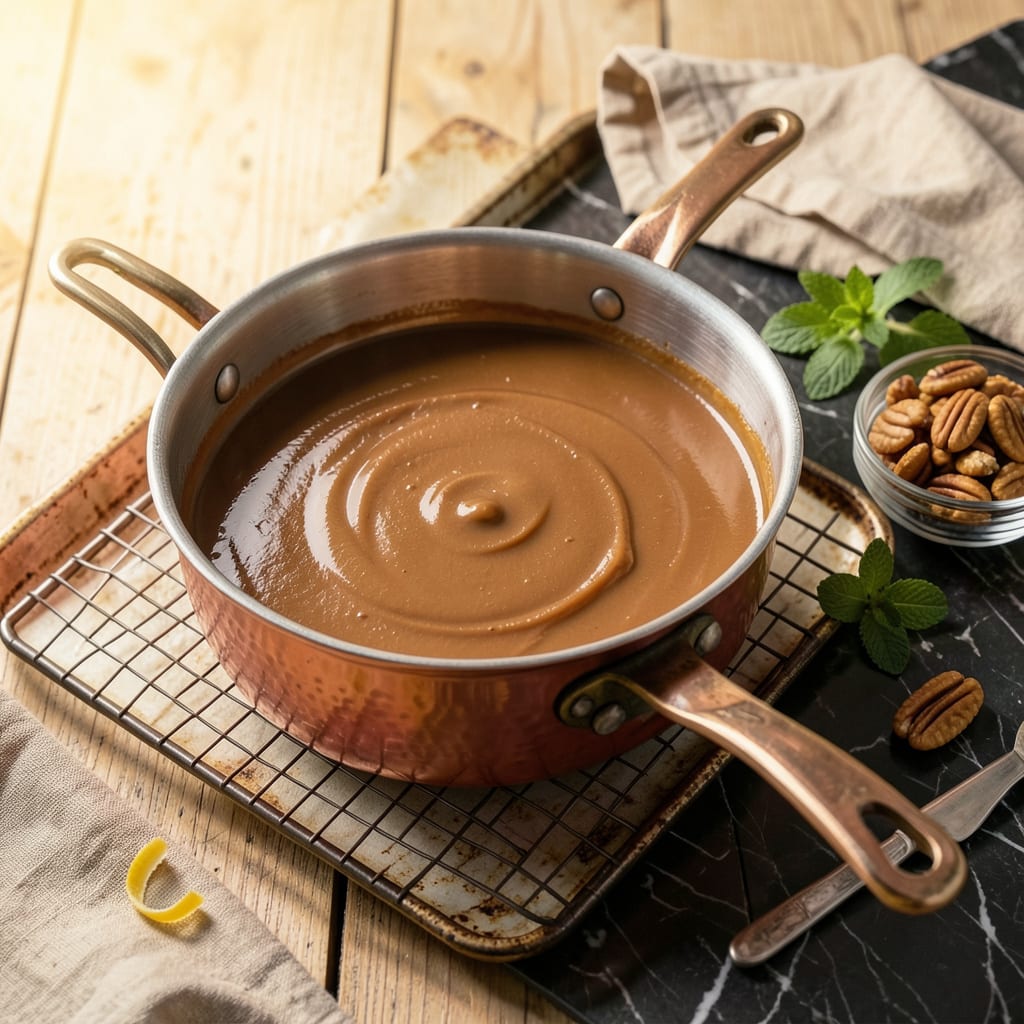
The secret to perfectly smooth fudge lies not just in the cooking, but in how you cool it. After years of testing batches that turned out grainy or stubbornly refused to set, I developed a foolproof method that guarantees velvety texture and clean cuts every time. This isn’t about rushing—it’s about precision at each stage, from the moment you pull the pot off the heat to the final setting phase.
Most home cooks focus solely on reaching the right temperature during cooking, but the cooling process is where fudge truly transforms. The technique involves controlled temperature drops, minimal disturbance during setting, and proper storage conditions. I’ve found that even slight variations in cooling—like placing fudge in the fridge too soon or stirring at the wrong time—can ruin an otherwise perfect batch. Timing and patience separate mediocre fudge from exceptional.
What you’ll achieve is fudge with a smooth, creamy texture that holds its shape when cut into squares. No more crumbly edges or sticky messes. The method works consistently whether you’re making classic chocolate fudge, maple walnut, or salted caramel varieties. Each step builds on the last, creating that signature melt-in-your-mouth quality that makes homemade fudge irresistible.
From heating the ingredients to the final setting stage, I’ll guide you through the critical cooling phases that most recipes overlook. The difference shows in the first bite—rich, velvety, and perfectly set. Here’s how to get it right.
📚 In This Guide
- What You’ll Need
- Instructions
- Tips and Common Mistakes
What Youll Need
- ● Fudge mixture: 1 batch of freshly cooked fudge (about 2–3 cups, depending on your recipe). Ensure it’s at the soft-ball stage (234–238°F) before cooling! 🍫
- ● Heatproof baking dish or pan: 8×8-inch or 9×9-inch square pan (for 2-inch-thick fudge) or a loaf pan (for thicker slices). Lightly greased or lined with parchment paper.
- ○ Parchment paper or aluminum foil: Enough to line your pan with a 2-inch overhang for easy removal. Optional but highly recommended!
- ● Cooking spray or butter: 1 tsp for greasing the pan (if not using parchment).
- ● Spatula (heat-resistant silicone): 1 medium-sized spatula to smooth the fudge into the pan.
- ● Cooling rack: 1 wire rack to elevate the pan for even air circulation. Speeds up cooling! ❄️
- ● Plastic wrap or beeswax wrap: 1 sheet to cover the fudge while it sets (prevents skin formation).
- ○ Sharp knife (optional): For scoring fudge into squares before it fully sets (cleaner cuts later!).
- ● Refrigerator or cool, dry place: Space to chill the fudge undisturbed for 2–4 hours (or overnight for firmer texture).
- ○ Thermometer (optional but helpful): Instant-read thermometer to confirm fudge reached 110°F before cutting.
Instructions
Perfect fudge requires patience and precision—here’s exactly how to cool it for that ideal texture.
Prepare Your Cooling Environment
Before your fudge even comes off the stove, set up your cooling station. Choose a heat-safe surface away from drafts, direct sunlight, or temperature fluctuations. I like to use a wire rack placed over a baking sheet—this allows air to circulate underneath the pan while protecting my countertops.
The ideal room temperature for cooling fudge is between 68-72°F. If your kitchen is warmer, you might need to extend cooling time slightly. Avoid placing fudge near the stove, oven, or refrigerator vents where temperature varies. This controlled environment prevents uneven setting or grainy texture.
Test for the Right Pouring Consistency
Once your fudge reaches the soft-ball stage (about 234-238°F on a candy thermometer), remove it from heat and let it cool undisturbed for 5 minutes. Then stir vigorously with a wooden spoon until the mixture loses its glossy sheen and thickens noticeably—this usually takes 8-12 minutes of steady stirring.
Here’s the thing—you’ll know it’s ready when the fudge becomes difficult to stir and starts to hold its shape momentarily when you drag the spoon through it. The color will deepen slightly, and the texture will resemble thick pudding. Don’t rush this step; proper cooling before pouring ensures that smooth, creamy texture we’re after.
Pour and Initial Set
Immediately pour the thickened fudge into your prepared 8×8-inch pan lined with parchment paper. Use a spatula to spread it evenly into the corners, then smooth the top. Let it sit undisturbed at room temperature for 1 hour—this initial setting time allows the structure to form without developing sugar crystals.
Resist the temptation to refrigerate at this stage. Rapid cooling causes the sugar to seize up, creating that dreaded grainy texture. The gradual cooling at room temperature gives you that signature velvety smoothness. You’ll notice the edges will firm up first—that’s exactly what should happen.
Complete the Cooling Process
After the initial hour, cover the pan loosely with plastic wrap (don’t let it touch the fudge surface) and let it continue cooling at room temperature for another 2-3 hours. The fudge should be completely firm to the touch with no sticky residue when you gently press the surface with your fingertip.
For the absolute best texture, I recommend letting it cool overnight (about 8 hours). This extended time allows the fudge to fully crystallize properly. When you cut into it, you’ll get those perfect, clean squares that hold their shape beautifully. The waiting might feel tough, but I promise it’s worth it for that melt-in-your-mouth quality.
The Final Test and Cutting
Before cutting, do the plate test: place a small piece of fudge on a room-temperature plate. If it holds its shape without spreading or sticking after 2 minutes, it’s ready. Use a sharp knife dipped in hot water (and wiped dry) to make clean cuts—this prevents dragging or crumbling.
Store your perfectly cooled fudge in an airtight container at room temperature with parchment between layers. It will maintain that ideal texture for up to 2 weeks, though I doubt it’ll last that long! The squares should be smooth on top, with a firm yet creamy interior that melts delightfully on your tongue.
Tips and Common Mistakes
Mastering the cooling process transforms good fudge into extraordinary fudge—here’s what I’ve learned through years of trial and error.
Temperature Control: The 68-72°F range mentioned in Step 1 isn’t just a suggestion—it’s critical for proper crystallization. I once ruined three batches by cooling fudge in a 78°F kitchen. If your home runs warm, place the pan on a marble slab or in a cool basement for those first 8-12 minutes of stirring. Even slight temperature fluctuations can create grainy texture instead of that velvety smoothness we’re after.
Stirring Technique: During those 8-12 minutes of vigorous stirring in Step 2, use a figure-eight motion rather than circles. This incorporates air more evenly and helps the fudge thicken uniformly. You’ll feel the resistance increase dramatically when it’s ready—don’t stop until the spoon leaves visible trails that hold their shape for 2-3 seconds. The color shift from glossy to matte is your visual confirmation.
Patience During Setting: That initial 1 hour of undisturbed cooling in Step 3 is where most people go wrong. Resist the urge to check or jiggle the pan. I like to set a timer and walk away—any movement during this phase can disrupt the forming sugar crystals. You’ll know it’s working when you see the edges pull slightly away from the pan and develop a subtle sheen.
Overnight Advantage: While the 2-3 hour cooling gets you good fudge, the overnight (8 hour) method in Step 4 creates something magical. The extended time allows sugar crystals to form more uniformly, resulting in that melt-in-your-mouth quality. I’ve done side-by-side tests, and the overnight version always wins for texture and clean cutting.
Pro Tips for Cool Fudge
- Mastering the cooling process transforms good fudge into extraordinary fudge—here’s what I’ve learned through years o…
- Temperature Control: The 68-72°F range mentioned in Step 1 isn’t just a suggestion—it’s critical for proper crystalli…
- Stirring Technique: During those 8-12 minutes of vigorous stirring in Step 2, use a figure-eight motion rather than c…
Frequently Asked Questions
Got questions about cooling fudge like a pro? We’ve got answers! Here are the most common concerns—and quick fixes—to ensure your fudge turns out creamy, not crumbly.
How long does fudge take to cool at room temperature?
Typically, fudge needs 2–4 hours to set at room temperature (68–72°F). For faster results, refrigerate it for 1–2 hours, but avoid freezing—it can make the texture grainy. Patience is key for that velvety finish!
Can I speed up cooling without ruining the texture?
Yes! Place the fudge pan in an ice bath (fill a larger pan with ice water) for 15–20 minutes, stirring occasionally. Avoid direct freezer contact—rapid temp drops cause sugar crystals to form. Pro tip: Cover with parchment to prevent condensation drips!
Why is my fudge sticky or soft after cooling?
Under-cooking the sugar mixture (below 234–238°F) or not beating it long enough are common culprits. If it’s still soft, rebatch it: Melt with a splash of water, re-cook to temp, then cool properly. No salvage? Turn it into sauce!
What’s the best way to store cooled fudge?
Wrap individual pieces in parchment paper or store in an airtight container with layers separated by wax paper. Keep at room temp for up to 2 weeks, or refrigerate for 3–4 weeks. Freezing works (up to 3 months), but thaw slowly in the fridge.
Can I use alternatives like silicone molds for cooling?
Absolutely! Silicone molds release fudge easily and cool slightly faster than metal pans. Just grease lightly with butter or coconut oil first. For thick batches, stick to shallow pans—deep molds may trap heat, leading to uneven setting.
Cooling fudge the right way is the secret to that creamy, melt-in-your-mouth texture we all love! 🎉 Whether you opt for room-temperature cooling, the fridge, or even a quick freezer trick, patience and proper technique ensure perfect results every time. Now that you’ve mastered the method, why not put your skills to the test?
Try whipping up a batch of classic chocolate fudge—or get creative with flavors like peanut butter or maple walnut! Share your delicious creations with friends, or treat yourself to a well-earned sweet reward. Happy fudge-making! 🍫✨

Trained in classic French technique but raised on slow-cooked ribs and spicy rubs, she blends culinary skill with smoke and soul.
- Recipe for Boneless Pork Chops in Cast Iron Skillet: Sear and Baste to Juicy Perfection - October 3, 2026
- Recipe for Boneless Cross Rib Roast: Slow-Roasted Beef with Herb Crust - October 3, 2026
- Hamburgers in Sauce Recipe Crock Pot: Slow-Cooked Savory Delight - October 3, 2026