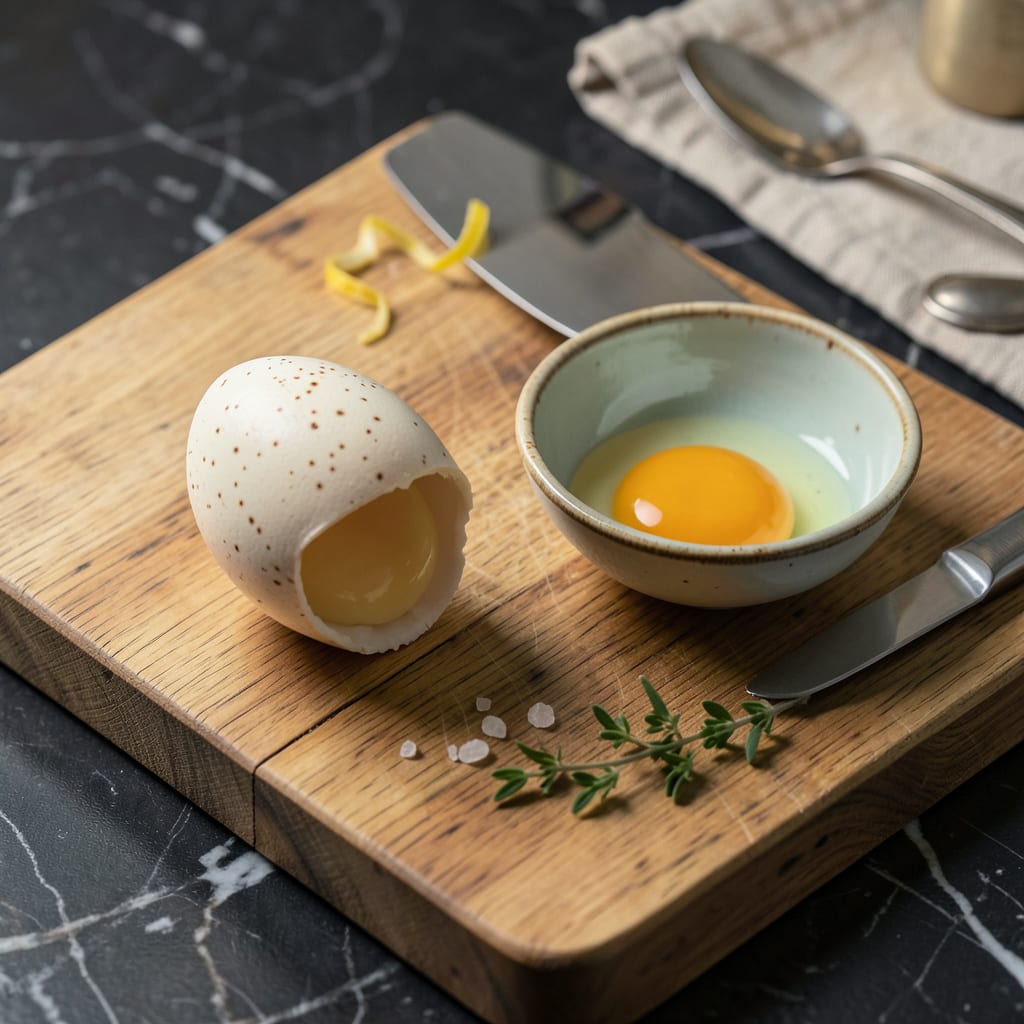
Mastering the art of cracking an egg without breaking the yolk is a game-changer for any home cook. This fundamental skill unlocks perfect eggs Benedict, silky custards, and rich carbonara—dishes where yolk integrity makes all the difference. After years of breaking more yolks than I care to admit, I’ve refined a foolproof one-handed method that works every time.
The technique relies on three key principles: proper hand positioning, controlled force, and using the right surface. You don’t need special tools—just a flat surface, a bowl, and eggs at room temperature. Cold eggs are more prone to cracking unevenly, while room-temperature eggs give you better control over the separation process.
What separates this method from others is the precision of the tap. Most people crack eggs against a bowl edge, which creates uneven pressure. Instead, we’ll use a flat surface to create a clean break while maintaining yolk integrity. This approach reduces shell fragments in your dish and gives you complete control over yolk placement.
Once you’ve mastered this technique, you’ll approach egg-based recipes with new confidence. The difference between a broken yolk and an intact one can mean the difference between a good dish and an extraordinary one. Let’s break down the exact steps to achieve perfect results every time.
📚 In This Guide
- What You’ll Need
- Instructions
- Tips and Common Mistakes
What Youll Need
- ● 1–2 fresh eggs (cold eggs are easier to handle than room-temperature ones)
- ● A flat, stable surface (like a clean countertop or cutting board)
- ● A small bowl or ramekin (to catch the egg—3–4 inches wide works best)
- ● Your dominant hand (confidence is key! 😉)
- ○ Optional: A sharp knife or egg cracker (for beginners who want extra control)
- ○ Optional: A damp paper towel (to wipe sticky fingers afterward)
Instructions
Mastering this technique takes practice, but these steps will have you cracking eggs like a pro in no time.
Select the Right Egg and Surface
Choose a fresh, room-temperature egg—cold eggs are more likely to crack unevenly. I always inspect the shell for hairline cracks before starting, as these can lead to disaster when pressure is applied. The ideal surface is flat and slightly textured, like a countertop or cutting board, which provides just enough grip to prevent the egg from rolling away.
Place a small bowl or ramekin nearby to catch the egg. I prefer something with a wide opening that’s at least 4 inches in diameter—this gives you more room for error. The bowl should be positioned close to your cracking surface but not directly underneath, as you’ll be guiding the egg contents rather than dropping them.
Position Your Hand for Optimal Control
Hold the egg with your dominant hand using a three-finger grip: thumb on one side, middle and index fingers on the opposite side. Your ring finger and pinky should curl naturally against your palm for stability. This grip distributes pressure evenly and gives you maximum control during the cracking process.
I’ve found that positioning the egg so the wider end (where the air pocket is) faces upward helps center the yolk. The air pocket acts as a cushion when you crack the shell. Keep your wrist straight and your forearm parallel to the surface—this alignment prevents accidental downward pressure that could break the yolk.
Execute the Crack with Precision
Bring the egg down to the surface at a 45-degree angle with moderate speed—not too fast, not too slow. The goal is to create a clean fracture in the shell without transferring force to the yolk. I aim for the egg’s equator (the widest part) where the shell is strongest and least likely to shatter unpredictably.
As soon as the shell cracks, immediately stop all downward motion. Here’s the critical moment: use your thumbs to gently but firmly pry the shell apart while keeping the egg level. The yolk should settle naturally into the lower half of the shell. Tilt the egg slightly toward the bowl and let the white flow out first, then guide the yolk into the bowl with a gentle rolling motion of your wrist.
Separate the Shells Cleanly
Once the initial crack is made, transfer the egg to your non-dominant hand, still keeping it level. Use your dominant thumb to carefully lift away the smaller shell fragment while supporting the egg with your fingers. The key is to create a nickel-sized opening—large enough for the contents to flow out but small enough to maintain structural integrity.
I rotate the egg slightly as I separate the shells, which helps the white flow out more evenly. Don’t rush this step—patience prevents yolk breakage. If you notice any small shell fragments in the bowl, use a clean piece of eggshell to fish them out (shell attracts shell). The yolk should remain perfectly intact in the center of the bowl, surrounded by the white.
Transfer the Yolk with Confidence
With the white in the bowl, you’ll notice the yolk sitting proudly in the remaining shell half. Gently tilt this half toward the bowl and let the yolk slide out naturally. If it sticks, tap the shell very lightly against the bowl’s edge—just enough to dislodge it without breaking the membrane.
For the final test of success, observe the yolk’s shape in the bowl. It should maintain a perfect spherical form with the membrane completely intact. The white should surround it evenly without any yellow streaks. With practice, you’ll develop a rhythm where the entire process takes less than 10 seconds from crack to transfer, with perfect results every time.
Tips and Common Mistakes
Perfecting this technique is all about understanding the physics of eggshells and developing muscle memory. Here’s what I’ve learned from years of practice.
Surface Selection: The countertop or cutting board you choose makes a surprising difference. I recommend a matte-finish surface rather than polished granite or stainless steel. The slight texture provides just enough friction to prevent the egg from rolling while still allowing a clean crack. Avoid using the edge of a bowl—this creates uneven pressure points that often lead to yolk breakage. A perfectly flat surface ensures the force is distributed evenly across the shell’s strongest point at the equator.
Hand Positioning: The three-finger grip described in Step 2 isn’t just for control—it’s about force distribution. Your thumb and fingers should apply equal pressure on opposite sides of the egg, creating a balanced compression. I’ve found that positioning my thumb slightly higher than my fingers (about 1/8 inch) helps guide the initial crack upward rather than downward toward the yolk. This subtle adjustment prevents that frustrating moment when the yolk gets pierced by the shell’s jagged edge during separation.
Crack Execution: The 45-degree angle mentioned in Step 3 is critical for creating what I call the “clean fracture.” When you bring the egg down too vertically, you risk a spiderweb crack pattern that weakens the entire shell. Too shallow an angle, and you’ll just get a dent. The perfect 45-degree impact creates a single clean break line that you can then gently pry apart. I practice this motion with uncooked rice in an eggshell to perfect the technique without wasting eggs—the resistance feels remarkably similar.
Shell Separation: That nickel-sized opening in Step 4 is your golden ticket to success. Here’s what nobody tells you—rotate the egg 180 degrees after making the initial opening. This allows the white to flow from both sides of the yolk simultaneously, creating even pressure that keeps the yolk perfectly centered. The rotation also helps dislodge any white that might be clinging to the top shell, preventing those annoying white strands that can pull on the yolk during transfer.
Pro Tips for Crack An Egg Without Breaking The Yolk
- Perfecting this technique is all about understanding the physics of eggshells and developing muscle memory. Here’s wh…
- Surface Selection: The countertop or cutting board you choose makes a surprising difference. I recommend a matte-fini…
- Hand Positioning: The three-finger grip described in Step 2 isn’t just for control—it’s about force distribution. You…
Frequently Asked Questions
Can I crack an egg straight into a hot pan without breaking the yolk?
Yes, but timing is key! Heat the pan on medium-low first, add a bit of oil/butter, then gently crack the egg close to the surface. A sudden temperature shock can break the yolk, so avoid sizzling-hot pans. Pro tip: Swirl the pan lightly after cracking to help the white set first!
What’s the easiest alternative if I keep breaking yolks?
Try the bowl-first method: Crack the egg into a small ramekin or cup, then slowly slide it into the pan. This gives you control and lets you inspect the yolk before cooking. Bonus: It’s great for poached eggs too!
Does egg temperature affect yolk cracking?
Cold eggs straight from the fridge have firmer yolks, making them less likely to break when cracked. Room-temperature eggs spread faster in the pan, so chill them for 10 minutes first if you’re struggling.
Why does my yolk break when I crack it one-handed?
Common mistakes: Hitting the egg too hard on the bowl/pan edge. Using a dull edge (like a flat surface). Squeezing too tightly. Practice on a rounded edge (like a small plate) with a confident, single tap!
Can I separate the yolk without cracking it first?
Yes! Use an egg separator tool or the hand-pass method: Crack the egg into your hand, let the white slip through your fingers, and keep the yolk cupped. Works best with ultra-fresh eggs (their whites are thicker and cling less to the yolk).
Mastering the art of cracking an egg without breaking the yolk takes a little practice—but now you’ve got the foolproof method! 🎯 With the right technique (and maybe a gentle tap of confidence), you’ll be separating yolks like a pro in no time. Ready to put your skills to the test? Grab a fresh egg and try it out over a bowl—your next perfect sunny-side-up or custard is just a crack away! 🍳

Trained in classic French technique but raised on slow-cooked ribs and spicy rubs, she blends culinary skill with smoke and soul.
- Recipe for Boneless Pork Chops in Cast Iron Skillet: Sear and Baste to Juicy Perfection - October 3, 2026
- Recipe for Boneless Cross Rib Roast: Slow-Roasted Beef with Herb Crust - October 3, 2026
- Hamburgers in Sauce Recipe Crock Pot: Slow-Cooked Savory Delight - October 3, 2026