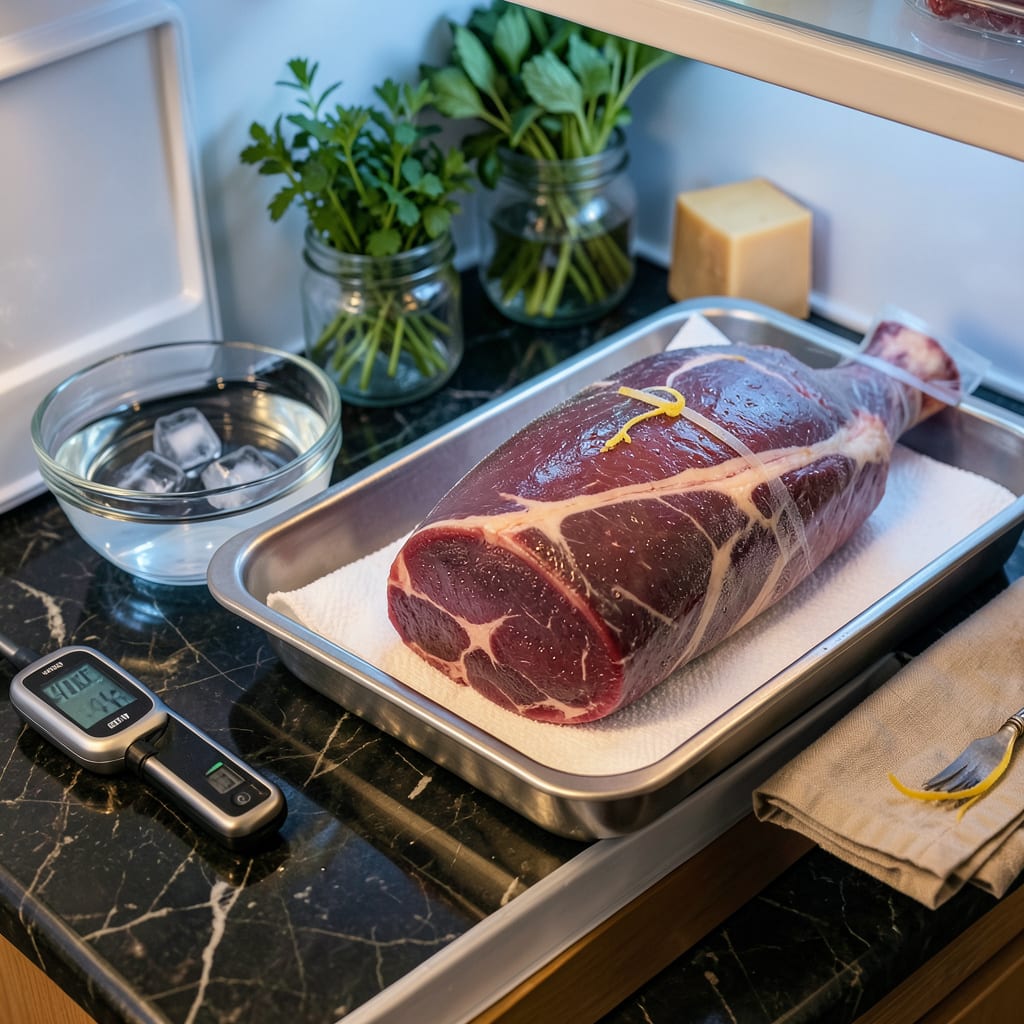
Defrosting a leg of lamb properly is the difference between a perfect roast and a food safety disaster. Honestly, I’ve seen too many good cuts ruined by rushed thawing—this is where your meal’s success starts. Whether you’re planning a Sunday roast or holiday centerpiece, getting this step right ensures even cooking and maximum flavor.
I’ll cut through the confusion: there are only three safe methods (fridge, cold water, microwave), and each has strict rules. The fridge is my go-to for overnight thawing—it’s foolproof if you plan ahead. Cold water works in a pinch, but you’ve got to change it every 30 minutes. Microwave? Only if you’re cooking immediately after, and even then, it’s risky business.
Here’s what most recipes won’t tell you: how you defrost affects the final texture. A properly thawed leg of lamb will cook evenly, stay juicy, and take seasoning better. I always pat it bone-dry before seasoning—this is where that crispy exterior starts. And never, ever leave it sitting at room temperature; that’s asking for bacterial trouble.
Once your lamb is ready, you’re minutes away from something spectacular. I’ve got a herb-crusted recipe that’ll make it the star of your table—just don’t skip these defrosting steps first. They’re the foundation everything else builds on.
📚 In This Guide
- What You’ll Need
- Instructions
- Tips and Common Mistakes
What Youll Need
- ● Leg of lamb – 4–8 lbs (1.8–3.6 kg), frozen solid (check packaging for exact weight)
- ● Large leak-proof container or tray – Deep enough to hold the lamb + liquid (e.g., a roasting pan or food-safe plastic bin)
- ● Cold water – ~2–4 gallons (7.5–15 L), for the water-bath method
- ● Heavy-duty resealable plastic bag (1–2 gallon size) – BPA-free, for submerged defrosting
- ○ Kitchen thermometer – Instant-read (optional but recommended for food safety)
- ● Paper towels or clean cloth – For patting dry post-defrost
- ● Refrigerator space – Cleared shelf or bottom drawer (for slow-thaw method)
- ● Timer or phone alarm – To track defrosting time
- ● Sharp knife or kitchen shears – For trimming packaging (if needed)
- ○ Microwave-safe dish (optional) – Only for microwave defrosting (last-resort method)
Step-by-Step Instructions for Defrosting Leg of Lamb
Here’s how to safely thaw your leg of lamb while maintaining perfect texture and flavor.
Plan Ahead for Refrigerator Thawing (Best Method)
For the safest and most consistent results, I always recommend refrigerator thawing. Place the sealed leg of lamb on a tray or in a shallow pan to catch any potential drips. This prevents cross-contamination with other foods in your fridge.
Allow approximately 24 hours of thawing time for every 5 pounds of lamb. A typical 7-8 pound leg will need about 36-48 hours to fully defrost. The lamb is ready when it’s completely pliable and no ice crystals remain in the center.
This slow method preserves the meat’s cellular structure better than any other technique, ensuring your roasted lamb stays juicy and tender. I’ve found it also gives the most even thaw, preventing any partially frozen sections that could cook unevenly.
Use the Cold Water Bath for Faster Thawing
When you’re short on time, the cold water method works beautifully. Keep the lamb in its original packaging or place it in a leak-proof plastic bag. Submerge it completely in a large container of cold tap water (never warm or hot).
Change the water every 30 minutes to maintain a consistently cold temperature. A 7-8 pound leg will typically thaw in 4-6 hours using this method. You’ll know it’s ready when the meat feels uniformly soft and pliable throughout.
Real talk: this method requires your attention, but it’s worth it when you need to get dinner on the table faster. Just don’t walk away—set a timer to remind yourself to change the water regularly.
Microwave Thawing for Last-Minute Needs
If you’re truly in a pinch, you can use the microwave’s defrost setting, though this requires careful attention. Remove any packaging and place the lamb on a microwave-safe dish. Use the defrost function based on weight—typically 8-10 minutes per pound.
Check and rotate the lamb every 5 minutes to ensure even thawing. The meat is ready when it’s pliable but still cool to the touch. Be extremely cautious—microwaves can create hot spots that begin cooking the meat, leading to dry, tough sections.
Here’s the thing—microwave thawing changes the meat’s texture slightly, so I only recommend this when absolutely necessary. If you use this method, plan to cook the lamb immediately after thawing for best results.
Verify Complete Thawing Before Cooking
Regardless of which method you choose, always verify the lamb is fully thawed before cooking. Press on the thickest part of the leg—it should yield easily under gentle pressure with no resistance from ice crystals. Check the bone area particularly carefully, as this often thaws last.
For absolute certainty, insert a thin metal skewer into the center. If it slides in and out easily without meeting resistance, your lamb is ready. Any remaining ice will cause uneven cooking, potentially leaving some sections underdone while others overcook.
Remember that properly thawed lamb will cook more evenly and retain its natural juices better. This final check ensures you’ll get that perfect medium-rare center and crispy exterior when you roast it.
Cook Immediately After Thawing
Once completely thawed, cook the lamb within 1-2 days if using the refrigerator method, or immediately if using cold water or microwave thawing. Never refreeze lamb after thawing—this breaks down the meat’s cell structure and leads to a dry, mealy texture.
Pat the lamb dry with paper towels before seasoning and cooking. This removes excess moisture from the thawing process, allowing for better browning and crispier skin during roasting. Your careful thawing will pay off with perfectly cooked, juicy lamb every time.
I’ve found that proper thawing makes all the difference between a good roast and an exceptional one. The time you invest in doing it right will be evident in every tender, flavorful bite.
Tips and Common Mistakes for Defrosting Leg of Lamb
Here’s what I’ve learned through years of experience to ensure perfect thawing every time.
Refrigerator Method Insight: The 24-hour rule for every 5 pounds isn’t just a suggestion—it’s critical for even thawing. For that 7-8 pound leg, the 36-48 hour window gives the meat time to thaw uniformly from center to surface. I’ve found that rushing this process leads to partially frozen centers that cook unevenly, ruining your perfect roast. Place the lamb on the bottom shelf where temperatures are most consistent, and use a tray to catch any condensation that might form.
Cold Water Technique Tip: When using the 4-6 hour cold water method, the 30-minute water changes are non-negotiable. I learned this the hard way when I let the water sit too long—it warmed up and started cooking the outer layers of the lamb. Use a large container that can fully submerge the leg, and set a timer so you don’t forget to refresh the water. The meat should feel uniformly soft when ready, with no firm spots near the bone.
Microwave Caution: With the 8-10 minutes per pound microwave method, those 5-minute checks are your safety net. I always rotate the lamb 180 degrees each time to prevent hot spots. Remember, the meat should remain cool to the touch—if any areas feel warm, you’ve started cooking it. This method does alter the texture slightly, making the meat a bit more prone to drying out during roasting, so I reserve it for true emergencies only.
Final Verification: That skewer test in Step 4 is my secret weapon. When checking for doneness, test multiple spots—especially near the bone and in the thickest part of the meat. Any resistance means ice crystals remain. I’ve ruined more than one roast by skipping this step, only to find frozen sections in the center after cooking. The skewer should slide in and out as easily as it would through room-temperature butter.
Pro Tips for Defrost Leg Of Lamb
- Here’s what I’ve learned through years of experience to ensure perfect thawing every time.
- Refrigerator Method Insight: The 24-hour rule for every 5 pounds isn’t just a suggestion—it’s critical for even thawi…
- Cold Water Technique Tip: When using the 4-6 hour cold water method, the 30-minute water changes are non-negotiable. …
Frequently Asked Questions
Got questions about defrosting a leg of lamb? We’ve got answers! Here are the most common concerns—solved.
How long does it take to defrost a leg of lamb in the fridge?
A 5–8 lb leg of lamb typically takes 24–48 hours in the fridge. Plan ahead: allow 5–6 hours per pound for even, safe thawing. Keep it on a tray to catch drips and avoid cross-contamination.
Can I cook a leg of lamb from frozen?
Yes, but it’s not ideal. Cooking from frozen requires 50% more time and risks uneven doneness. For best results, defrost first—unless using a slow cooker (add 2+ hours on low). Use a meat thermometer to hit 145°F safely.
What’s the fastest way to defrost a leg of lamb?
The cold-water method wins for speed! Seal the lamb in a leak-proof bag, submerge in cold water (change every 30 mins), and thaw in 2–4 hours. Never use warm water—it promotes bacterial growth.
Is it safe to defrost lamb on the counter?
No! Room-temperature thawing lets bacteria multiply in the “danger zone” (40–140°F). Stick to the fridge, cold water, or microwave (if cooking immediately). Safety first!
Can I refreeze a defrosted leg of lamb?
Only if thawed in the fridge and still cold (below 40°F). Refreezing after other methods (or if left out) risks texture loss and spoilage. When in doubt, cook it first before refreezing.
Defrosting a leg of lamb safely doesn’t have to be complicated—just remember: slow and steady wins the race! 🏆 Whether you choose the fridge, cold water, or microwave method, keeping food safety top of mind ensures juicy, flavorful results every time. Now that your lamb is perfectly thawed, why not take the next step? Fire up the oven or grill and explore delicious leg of lamb recipes to make your meal unforgettable! 🍽️

Trained in classic French technique but raised on slow-cooked ribs and spicy rubs, she blends culinary skill with smoke and soul.
- Recipe for Fried Pork Chops With Flour: Crispy Crust and Juicy Centers - October 3, 2026
- Octopus Recipe Pan Fried: Crispy Edges With Tender Bites - October 3, 2026
- Recipe For Fried Pork Chops In An Iron Skillet: Crispy Crust With Juicy Centers - October 3, 2026