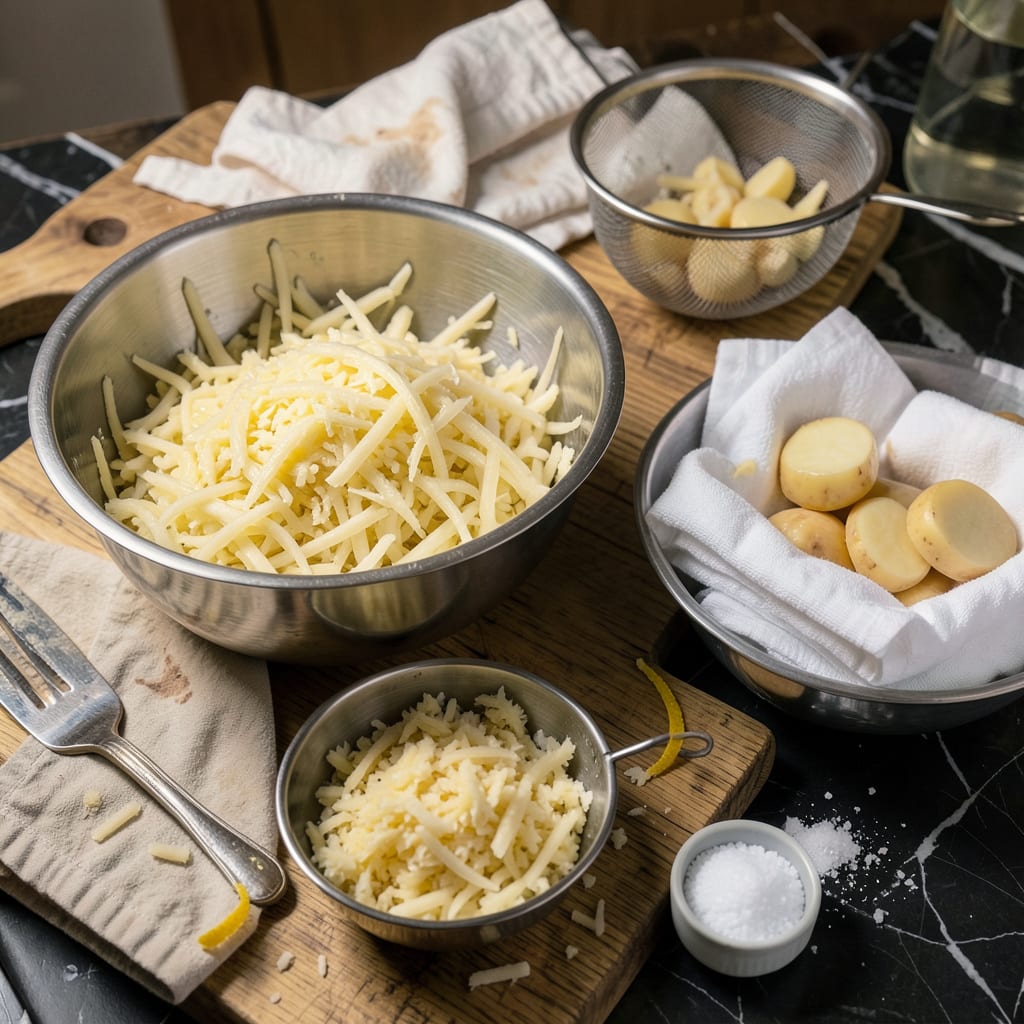
Let me tell you, the difference between soggy hash browns and crispy, golden ones comes down to one simple step: drying your potatoes properly. I learned this the hard way after years of making hash browns that stuck together or turned out mushy. That extra moisture is the enemy of crispiness, and removing it changes everything.
Here’s the thing—potatoes are packed with water and starch, which means they need help releasing that moisture before they hit the pan. I’ve tested every method, from salting to air-drying, and the best results come from a combination of soaking and thorough drying. It takes a little patience, but the payoff is hash browns that actually stay crispy.
You don’t need fancy equipment—just a colander, some paper towels, and about 30 minutes of your time. The potatoes should feel dry to the touch and look slightly dull when they’re ready. If they still feel wet or sticky, they need more time. This step is non-negotiable if you want that diner-style crunch.
Once you’ve nailed the drying process, you’re 90% of the way to perfect hash browns. The rest is just heat and timing. Now that your potatoes are prepped right, you’re ready to turn them into something amazing—let’s get those skillets hot and make some hash browns that’ll put your local diner to shame.
📚 In This Guide
- What You’ll Need
- Instructions
- Tips and Common Mistakes
What Youll Need
- ● Potatoes: 4–5 medium russet potatoes (or 2 lbs total)—starchy and low-moisture for best results! 🥔
- ● Salt: 1 tbsp kosher salt (for soaking) + extra for seasoning
- ● Cold water: Enough to fully submerge potatoes in a large bowl
- ● Paper towels or clean kitchen towels: 4–6 sheets (for patting dry)
- ● Large mixing bowl: 3–4 quart capacity (for soaking)
- ● Cheesecloth or nut milk bag: For extra-dry results (squeezes out moisture like a pro!)
- ● Mandoline slicer: For uniform ⅛-inch shreds (or a sharp chef’s knife + patience 🔪)
- ● Food processor: With a shredding attachment (saves time!)
- ● Colander: For draining post-soak (fine mesh prevents potato escape!)
- ● Baking sheet + parchment paper: If air-drying before cooking
Instructions
Here’s the foolproof method I use to get potatoes perfectly dry for the crispiest hash browns you’ve ever made.
Select and Prepare Your Potatoes
Start with russet potatoes—they’re the gold standard for hash browns because of their high starch and low moisture content. Give them a good scrub under cool running water to remove any dirt, then peel them completely. I know peeling feels like extra work, but it ensures your hash browns get that uniform golden crispiness without any chewy bits.
Cut the potatoes into even 1-inch cubes. Consistency in size is key here—it guarantees they’ll cook at the same rate later. As you cut, place the cubes immediately into a large bowl of cold water. This prevents browning and starts removing some of the surface starch right away.
Rinse Away Excess Starch
Drain the potatoes in a colander, then return them to the bowl and cover with fresh cold water. Agitate them vigorously with your hands for about 30 seconds. You’ll see the water turn cloudy—that’s the starch releasing. Drain again, then repeat this process 2-3 more times until the water stays mostly clear.
This starch removal is what makes the difference between soggy and crispy hash browns. I’ve found that skipping this step or rushing through it leads to potatoes that stick together in clumps when cooking. After your final rinse, give the colander a good shake to remove as much water as possible before moving to the next step.
Dry the Potatoes Thoroughly
Spread the rinsed potato cubes in a single layer on a clean kitchen towel or several layers of paper towels. Pat them completely dry with another towel, pressing down firmly. Don’t be gentle here—you want to remove every drop of moisture. I like to roll the potatoes around in the towel, applying pressure as I go.
For extra insurance against soggy hash browns, let the dried potatoes sit uncovered on the counter for 10-15 minutes. This brief air-drying period allows any remaining surface moisture to evaporate. You’ll notice the potatoes develop a slightly dull, matte appearance—that’s how you know they’re properly dried and ready for cooking.
Optional Par-Cooking for Extra Crispiness
Here’s my secret weapon for restaurant-quality hash browns: par-cook the dried potatoes. Heat 2 tablespoons of neutral oil in a large skillet over medium-high heat. Add the potatoes in a single layer (work in batches if needed) and cook for 5-6 minutes, stirring occasionally, until they’re just beginning to soften but aren’t browned yet.
Transfer the par-cooked potatoes to a plate lined with paper towels. This step removes even more moisture while creating tiny fissures in the potatoes that will crisp up beautifully when you finish cooking. Let them cool completely before storing or proceeding to the final cook—this is when they’ll develop that perfect hash brown texture you’re after.
Store Properly Until Cooking
If you’re not cooking immediately, transfer the completely cooled, dried potatoes to an airtight container lined with paper towels. The towels will absorb any last bits of moisture that might release. Store in the refrigerator for up to 24 hours—this actually improves the texture as the potatoes continue to dry out slightly.
When you’re ready to cook, you’ll notice these potatoes crisp up faster and more evenly than fresh ones. They’ll develop that coveted golden crust while staying tender inside, with none of the steaminess that plagues improperly dried potatoes. This is the moment when all your drying efforts pay off in perfectly crispy hash browns every time.
Tips and Common Mistakes
These simple but powerful techniques will transform your hash browns from good to restaurant-quality every time.
Drying Technique: In Step 3, don’t rush the towel-drying process. I use two clean kitchen towels—one to spread the potatoes on and another to press down firmly. Roll the potatoes in the towel while applying pressure to extract every last drop of moisture. The potatoes should feel completely dry to the touch, almost powdery. This extra effort prevents steam from forming during cooking, which is what creates that perfect crispy exterior.
Air-Drying Secret: That 10-15 minute air-drying period in Step 3 is non-negotiable for truly crispy results. I’ve tested skipping this step, and the difference is dramatic. You’ll notice the potatoes develop a slightly dull, matte finish—that’s your visual cue they’re ready. This brief rest allows surface moisture to evaporate completely, which means your potatoes will crisp up faster and more evenly when cooked.
Par-Cooking Wisdom: If you choose the optional par-cooking in Step 4, use exactly 2 tablespoons of neutral oil heated to medium-high heat. The 5-6 minute cook time is perfect for creating those micro-fissures in the potatoes that will become ultra-crispy later. Don’t let them brown during this stage—you want them just tender enough that a fork meets slight resistance. This pre-cooking step removes even more moisture while setting up the perfect texture for final crisping.
Storage Strategy: When storing your prepped potatoes for up to 24 hours, line your container with paper towels both underneath and on top of the potatoes. This double-layer absorbs any residual moisture that might release during refrigeration. The potatoes will actually improve during this time as they continue to dry out slightly, making them even crispier when you cook them the next day.
Pro Tips for Dry Potatoes For Hash Browns
- These simple but powerful techniques will transform your hash browns from good to restaurant-quality every time.
- Drying Technique: In Step 3, don’t rush the towel-drying process. I use two clean kitchen towels—one to spread the po…
- Air-Drying Secret: That 10-15 minute air-drying period in Step 3 is non-negotiable for truly crispy results. I’ve tes…
Frequently Asked Questions
How long should I dry potatoes before making hash browns?
For best results, let shredded potatoes dry for at least 10–15 minutes on paper towels or a clean kitchen towel. If you’re short on time, pat them dry vigorously. For extra crispiness, let them sit uncovered in the fridge for 30–60 minutes to remove more moisture.
Can I use a salad spinner to dry potatoes faster?
A salad spinner is a game-changer—spin shredded potatoes in batches for 20–30 seconds to remove excess water quickly. Just follow up with a paper towel pat-down to soak up any lingering moisture.
Why are my hash browns soggy even after drying?
Sogginess usually means too much moisture or overcrowding the pan. Dry potatoes thoroughly, use high heat (medium-high to high), and cook in small batches with enough oil. Avoid flipping too soon—wait until edges are golden!
Can I dry potatoes overnight in the fridge?
Yes! Spread shredded potatoes on a baking sheet lined with paper towels, cover loosely with a towel, and refrigerate up to 12 hours. This deep-dries them for ultra-crispy hash browns. Just stir once or twice to prevent sticking.
What’s the best alternative if I don’t have time to dry potatoes?
In a pinch, squeeze shredded potatoes in a cheesecloth or clean towel to wring out moisture. You can also microwave them for 1–2 minutes on a paper towel-lined plate, then pat dry. Crisis averted!
Drying your potatoes the right way is the game-changer for hash browns that are crispy on the outside and tender inside! 🥔✨ Whether you pat them dry, soak in cold water, or use the rice flour trick, removing excess moisture ensures that perfect golden crunch every time. Now that you’ve mastered the prep, it’s time to fire up the skillet and put your new skills to the test—whip up a batch and enjoy the crispiest hash browns you’ve ever made! Hungry for more? Try experimenting with seasonings or toppings to make them uniquely yours.

Trained in classic French technique but raised on slow-cooked ribs and spicy rubs, she blends culinary skill with smoke and soul.
- Recipe for Boneless Pork Chops in Cast Iron Skillet: Sear and Baste to Juicy Perfection - October 3, 2026
- Recipe for Boneless Cross Rib Roast: Slow-Roasted Beef with Herb Crust - October 3, 2026
- Hamburgers in Sauce Recipe Crock Pot: Slow-Cooked Savory Delight - October 3, 2026