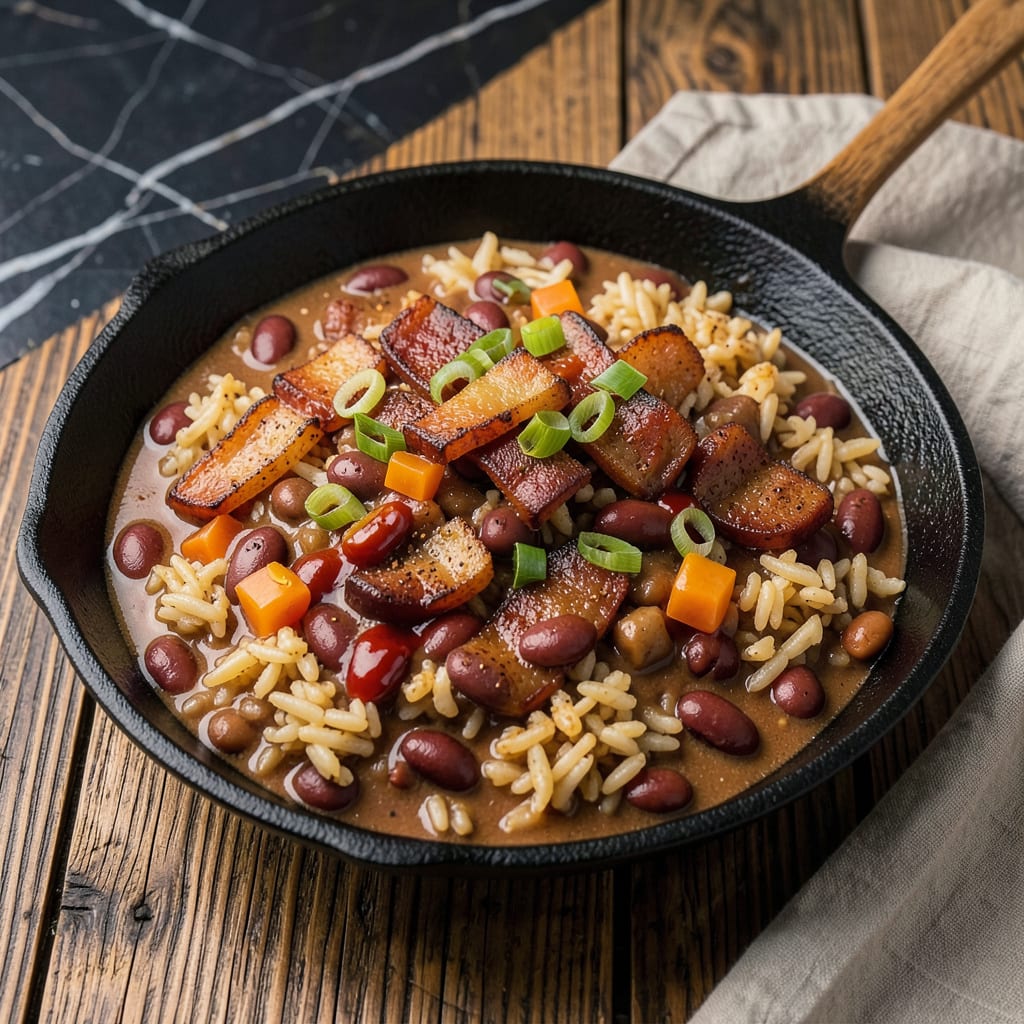
Nothing ruins a good bowl of red beans and rice faster than watery, thin beans that slide right off your fork. I’ve been there—stirring that pot for hours, only to end up with something closer to soup than the creamy, spoon-standing dish I grew up eating. The difference between home-cooked and restaurant-style? It’s all in the thickening.
Here’s the thing—most recipes don’t tell you that the secret isn’t just time, it’s technique. Whether you’re working with leftover beans that turned out too thin or starting from scratch, I’ve got three foolproof methods that’ll transform your pot into that rich, velvety texture you’re after. And no, you don’t need any fancy ingredients—just a little know-how and patience.
The best part? These techniques work whether you’re using smoked ham hocks, andouille sausage, or keeping it vegetarian with broth. I’ve tested them all in my own kitchen (and yes, I’ve messed up enough times to know what actually works). By the time you’re done, you’ll have beans so thick and restaurant-style creamy, they’ll cling to every grain of rice.
Fair warning: the biggest mistake people make is trying to fix thin beans too late in the cooking process. We’re going to avoid that by building thickness from the start—while keeping all that deep, smoky flavor intact. Let me show you how it’s done.
📚 In This Guide
- What You’ll Need
- Instructions
- Tips and Common Mistakes
What Youll Need
- ● Cooked red beans – 4 cups (or 2 cans, drained and rinsed)
- ● Cooked white rice – 2 cups (long-grain or jasmine works best)
- ● Broth or stock – 1–2 cups (chicken, vegetable, or ham broth for extra flavor)
- ● Roux ingredients – ¼ cup all-purpose flour + ¼ cup oil, butter, or bacon fat
- ● Seasonings – 1 tsp garlic powder, 1 tsp onion powder, ½ tsp smoked paprika, salt & pepper to taste
- ○ Optional thickeners – 1 mashed potato (½ cup), ½ cup blended beans, or 1 tbsp cornstarch slurry
- ● Heavy-bottomed pot or Dutch oven (for even heat)
- ● Wooden spoon (roux-stirring essential!)
- ● Immersion blender or fork (for mashing beans)
- ● Measuring cups/spoons (precision matters!)
Instructions
Here’s the foolproof method I use to transform watery red beans and rice into that creamy, dreamy texture you crave.
Start with the Right Bean Cooking Method
If your beans are still in the cooking phase, you’ve got the perfect opportunity to build creaminess from the start. After soaking your red beans (or using canned beans you’ve drained), cover them with fresh water by about 2 inches and bring to a boil. Then reduce to a gentle simmer.
Here’s the secret: let them cook uncovered for the first 30 minutes, then cover and continue simmering for another 1-2 hours until they’re tender. This initial uncovered cooking allows some liquid to evaporate naturally, concentrating the bean starches that will later thicken your dish. Stir occasionally and add water only if the beans start to peek above the liquid level.
Mash Some Beans for Natural Thickening
Once your beans are fully cooked and tender, it’s time for the magic step. Using a potato masher or the back of a wooden spoon, mash about one-third of the beans right in the pot. I like to press them against the side of the pot – you’ll see them break down into a creamy paste that blends beautifully with the whole beans.
This technique releases the beans’ natural starches, creating that velvety texture without any artificial thickeners. The mashed beans will dissolve into the liquid as you stir, gradually transforming your broth from watery to luscious. Keep the heat at a low simmer during this process to prevent the beans from sticking to the bottom of the pot.
Simmer and Reduce for Maximum Flavor
Now comes the patience part – and it’s crucial for that restaurant-style creaminess. With your mashed and whole beans combined, let the mixture simmer uncovered at low heat for another 20-30 minutes. You’re looking for a gentle bubble, not a rolling boil.
Stir frequently during this time, scraping the bottom of the pot to prevent sticking. You’ll notice the liquid gradually reducing and the mixture becoming thicker. The beans will continue to break down slightly, releasing more of their starchy goodness. When you drag your spoon through the beans, it should leave a clear path that slowly fills in – that’s how you know it’s getting there.
Add the Rice at the Perfect Moment
Timing is everything when adding your rice to achieve that ideal creamy consistency. Wait until your bean mixture has thickened to the point where it coats the back of a spoon but still has some liquid movement. Then stir in your uncooked rice (using the ratio from your original recipe) and just enough water to cover everything by about ½ inch.
Bring the mixture to a brief boil, then immediately reduce to the lowest possible simmer and cover tightly. Let it cook undisturbed for 15-20 minutes – no peeking! The rice will absorb the creamy bean liquid as it cooks, and the starch from both the beans and rice will create that perfect, cohesive texture you’re after.
Rest and Fluff for Final Perfection
When the rice is tender and all liquid has been absorbed, remove the pot from heat but keep it covered. Let it rest for 10 minutes – this final step is what separates good red beans and rice from extraordinary. During this resting period, the residual heat continues to gently cook the dish while the starches fully absorb and distribute.
After resting, uncover and give everything a gentle fluff with a fork. You’ll be amazed at how the texture has transformed – creamy yet with distinct beans and perfectly cooked rice. If it seems a bit too thick at this point, just stir in a splash of hot water or broth to reach your ideal consistency. The flavors will have melded beautifully, giving you that rich, restaurant-quality result in every bite.
Tips and Common Mistakes
These small but mighty details will transform your red beans and rice from good to restaurant-worthy.
The Simmering Secret: In Step 1, that initial 30 minutes of uncovered cooking is non-negotiable. I learned this the hard way after skipping it once and ending up with soup instead of creamy beans. This step concentrates the starches that naturally thicken your dish later. Stir occasionally and add water only if the beans start to peek above the liquid level – you want some evaporation to happen.
Mashing Technique: When you get to Step 2, don’t just mash randomly. Press about one-third of the beans against the side of the pot using a potato masher or wooden spoon. This creates a creamy paste that blends seamlessly with the whole beans. I like to tilt the pot slightly to gather beans in one area for easier mashing. Keep the heat at a low simmer during this process to prevent sticking.
Reduction Patience: The 20-30 minutes of simmering in Step 3 is where the magic happens. You’re looking for a gentle bubble, not a rolling boil. Stir frequently and scrape the bottom to prevent sticking. When you drag your spoon through, it should leave a clear path that slowly fills in – that’s your visual cue that the beans are thickening perfectly.
Rice Timing: In Step 4, wait until your bean mixture coats the back of a spoon but still has some movement before adding rice. The 15-20 minutes of undisturbed cooking is crucial – no peeking! The rice absorbs the creamy bean liquid while the starch from both creates that perfect cohesive texture we’re after.
Pro Tips for Thicken Red Beans And Rice
- These small but mighty details will transform your red beans and rice from good to restaurant-worthy.
- The Simmering Secret: In Step 1, that initial 30 minutes of uncovered cooking is non-negotiable. I learned this the h…
- Mashing Technique: When you get to Step 2, don’t just mash randomly. Press about one-third of the beans against the s…
Frequently Asked Questions
How long does it take to thicken red beans and rice?
Thickening typically takes 20–30 minutes on medium-low heat after the beans are fully cooked. Stir frequently to prevent sticking, and check consistency every 5–10 minutes. If using a roux, it adds 10–15 extra minutes for cooking the flour-fat mix before combining. Patience is key—rushing can lead to burnt flavors!
Can I thicken red beans and rice without a roux?
Try these alternatives: Each method adds a slightly different texture, so adjust to taste! Common culprits include: Fix it by simmering longer or adding a thickener like a roux or mashed beans. Yes, but it’s trickier! Slow cookers retain moisture, so: Stir occasionally to avoid a soupy result. Minimally! A roux (cooked flour + fat) adds a subtle nuttiness, while mashed beans deepen the natural flavor. Cornstarch or instant potatoes are neutral but may dilute seasoning slightly—taste and adjust salt/spices after thickening. Pro tip: Use bean-cooking liquid for slurries to keep flavor intact!
Why is my red beans and rice still watery after cooking?
Can I thicken red beans and rice in a slow cooker?
Does thickening red beans and rice change the flavor?
Now you’ve got the tools to turn watery red beans and rice into a rich, velvety masterpiece every time! 🎉 Whether you mash the beans, simmer longer, or use a roux, the key is patience and a little technique. No more soggy results—just bold, creamy Louisiana-style flavor that’ll have everyone asking for seconds.
Ready to put your new skills to the test? Bookmark this guide, grab your ingredients, and get cooking! And if you’re craving more Southern comfort food tips, check out our guide on perfecting jambalaya next. Happy cooking! 🍚❤️

Trained in classic French technique but raised on slow-cooked ribs and spicy rubs, she blends culinary skill with smoke and soul.
- Recipe for Boneless Pork Chops in Cast Iron Skillet: Sear and Baste to Juicy Perfection - October 3, 2026
- Recipe for Boneless Cross Rib Roast: Slow-Roasted Beef with Herb Crust - October 3, 2026
- Hamburgers in Sauce Recipe Crock Pot: Slow-Cooked Savory Delight - October 3, 2026