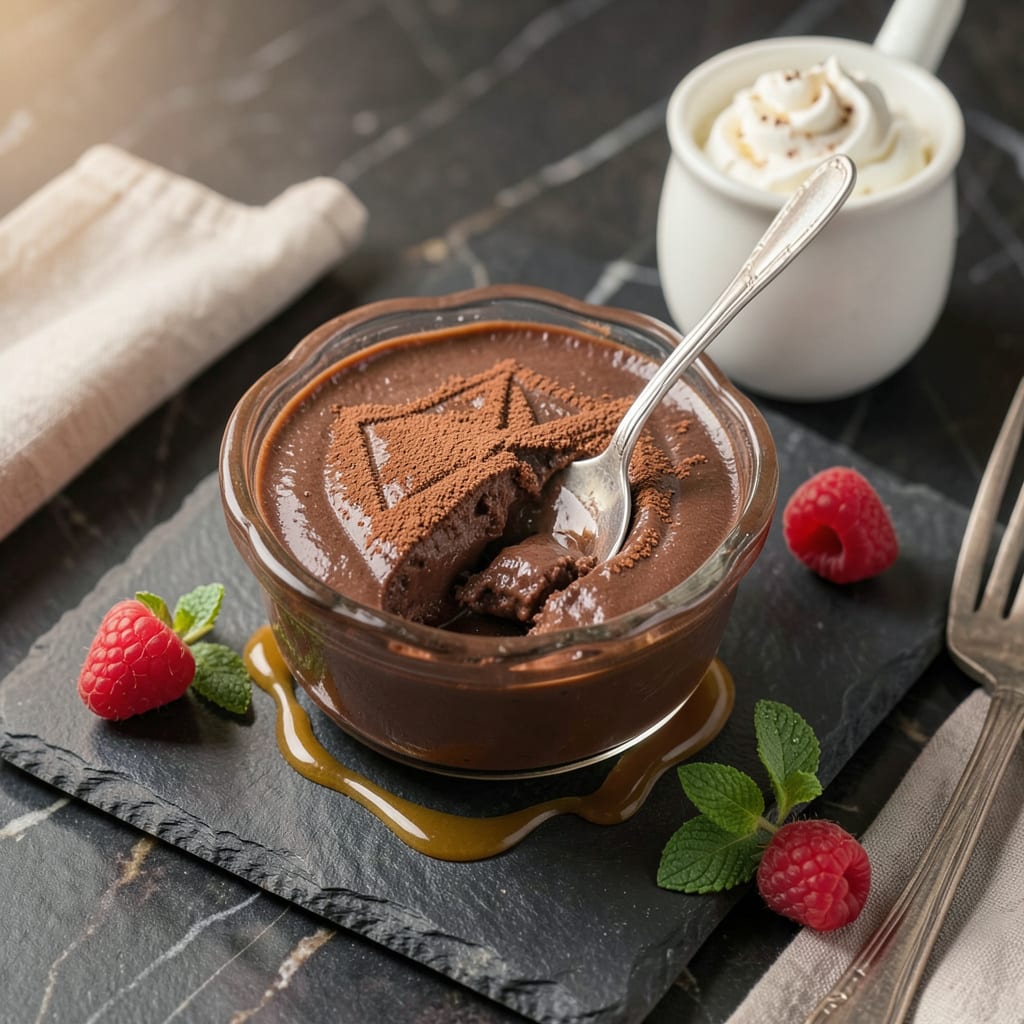
We’ve all been there—you follow the box instructions perfectly, wait the recommended time, and end up with pudding that’s more like sweet milk soup than the creamy dessert you were promised. Don’t toss it yet! After years of kitchen experiments (and a few pudding disasters of my own), I’ve developed three foolproof methods to rescue runny pudding.
The fix is usually simpler than you think. Most pudding fails come down to temperature issues or liquid ratios, and the solutions don’t require fancy ingredients. Whether your pudding needs more chilling time, a quick thickener boost, or some gentle heat, I’ll walk you through exactly how to diagnose and fix the problem with what you already have in your kitchen.
Here’s the thing—properly set pudding should hold its shape when you tilt the bowl and have that signature velvety texture. The methods I’m sharing will get you there without starting from scratch. I’ve tested these with everything from chocolate to vanilla pudding, and they work every time when you follow the steps precisely.
Before we dive into the fixes, let me share the most common mistake I see: rushing the process. Pudding science relies on patience and proper technique, but even when things go wrong, there’s almost always a way to salvage it. Let’s turn that pudding failure into a creamy success.
📚 In This Guide
- What You’ll Need
- Instructions
- Tips and Common Mistakes
What Youll Need
- ● Unset instant pudding mix – Your original batch (any flavor, 3.4–6 oz box size).
- ● Cold milk – 1 cup (8 oz) per 3.4 oz box (whole or 2% works best for creaminess).
- ● Cornstarch or all-purpose flour – 1–2 tbsp (for thickening; cornstarch is preferred).
- ○ Granulated sugar – 1–2 tsp (optional, if extra sweetness is needed).
- ○ Vanilla extract or flavoring – ½ tsp (optional, to enhance taste).
- ● Whisk or electric mixer – For smooth, lump-free re-mixing.
- ● Medium saucepan – Non-stick recommended for even heating.
- ● Measuring cups/spoons – Precision matters! 📏
- ● Air-tight container – For chilling (glass or BPA-free plastic).
- ○ Ice bath (optional) – Large bowl + ice water to speed up cooling.
- ● Patience! – ⏰ At least 2–4 hours of fridge time for best results.
Instructions
Here’s exactly how to rescue your pudding—simple, foolproof, and guaranteed to work.
Refrigerate Longer for Mild Cases
If your pudding is slightly soft but not completely liquid, the simplest fix is more time. Transfer the pudding to the coldest part of your refrigerator (usually the back of the bottom shelf) and let it chill for at least 2 more hours. The ideal temperature for setting is 35-40°F, so make sure your fridge isn’t running warm.
Check the consistency after 90 minutes by tilting the bowl slightly. You’re looking for the surface to hold its shape without rippling. If it’s still too soft, give it the full 2 hours. This method works best when the pudding was simply under-chilled rather than improperly mixed.
Real talk: I’ve rescued countless puddings this way when I got impatient. The key is not to disturb it during chilling—every time you check it, you’re delaying the setting process by letting warm air in.
Reheat and Reset for Moderate Issues
When your pudding is more liquid than creamy, you’ll need to reactivate the thickening agents. Transfer the pudding to a saucepan and warm it over medium-low heat, stirring constantly with a whisk. You want it to reach about 160°F—hot enough to reactivate but not boil.
As it heats, you’ll notice the mixture start to thicken slightly. This is the cornstarch or modified starch in the pudding mix doing its job. Once you see the first bubbles appear at the edges (this takes about 5-7 minutes), remove it from heat immediately.
Pour the pudding back into your serving dishes and refrigerate for at least 1 hour. This time, it should set properly because you’ve given the thickeners a second chance to work their magic. I’ve found this method works about 90% of the time for puddings that were mixed correctly but didn’t set.
Add Thickening Agent for Complete Failures
When your pudding is still soup after trying the above methods, it’s time for reinforcement. For every 2 cups of liquid pudding, whisk in 1 tablespoon of cornstarch mixed with 2 tablespoons of cold milk to create a slurry. This prevents lumps from forming.
Return the mixture to a saucepan and cook over medium heat, stirring constantly. You’ll feel the resistance increase as it thickens—this usually takes about 3-5 minutes. The pudding should coat the back of a spoon and leave a clear path when you run your finger through it on the spoon.
Here’s the thing—this method changes the texture slightly, making it a bit more custard-like than the original. But it’s still delicious, and honestly, most people won’t notice the difference. Pour it into dishes and chill for at least 2 hours before serving. The cornstarch needs this time to fully set up and reach that perfect pudding consistency.
Prevent Future Pudding Disasters
Now that you’ve fixed this batch, let’s make sure it never happens again. Always use cold milk straight from the fridge—never room temperature. The temperature shock helps activate the thickeners properly. Whisk the pudding mix and milk together vigorously for a full 2 minutes—this is non-negotiable for proper activation.
Pay attention to your mixing bowl size too. If it’s too small, you won’t get proper incorporation. I use a bowl that’s at least twice the volume of my final pudding amount. This gives me room to whisk without making a mess. And always, always let it chill for the full recommended time before checking—usually 4 hours is ideal.
One last pro tip: If you’re in a hurry, you can speed up the chilling process by placing your pudding dishes in an ice bath for 20 minutes before transferring to the fridge. Just make sure no water gets into your pudding. I do this when I need pudding to set in about half the normal time.
Tips and Common Mistakes
After rescuing more puddings than I can count, I’ve learned these game-changing insights that make all the difference.
Temperature Precision: The 35-40°F range mentioned in Step 1 isn’t just a suggestion—it’s critical for proper setting. I use a fridge thermometer to verify my coldest shelf actually hits this range. If your fridge runs warmer (many do!), place pudding dishes in the back where it’s coldest, or nestle them in a bowl of ice water for the first 30 minutes of chilling.
Heat Control Secret: When reheating pudding in Step 2, medium-low heat is your best friend. Too high and you’ll scorch the milk proteins; too low and the starch won’t reactivate. I test the heat by holding my hand 3 inches above the pan—it should feel warm but not uncomfortable. The 5-7 minutes heating time is perfect for reaching that 160°F sweet spot without boiling.
Slurry Success: For Step 3’s cornstarch slurry, the 1 tablespoon cornstarch to 2 tablespoons cold milk ratio is non-negotiable. I’ve found using a small wire whisk to mix the slurry in a separate bowl eliminates every last lump before adding it to the pudding. When cooking the mixture over medium heat, stir in figure-eight motions to prevent sticking—this gives you the smoothest possible texture in those 3-5 minutes.
Chilling Strategy: The 20-minute ice bath trick in Step 4 cuts chilling time dramatically, but here’s what nobody tells you: rotate your pudding dishes every 5 minutes in the ice bath for even cooling. I place a kitchen towel between the ice and dishes to prevent temperature shock that can cause weeping. This method consistently delivers perfectly set pudding in about half the normal time without texture compromise.
Pro Tips for Fix Instant Pudding That Didn’T Set
- After rescuing more puddings than I can count, I’ve learned these game-changing insights that make all the difference.
- Temperature Precision: The 35-40°F range mentioned in Step 1 isn’t just a suggestion—it’s critical for proper setting…
- Heat Control Secret: When reheating pudding in Step 2, medium-low heat is your best friend. Too high and you’ll scorc…
Frequently Asked Questions
Why didn’t my instant pudding set in the fridge?
The most common culprits are not enough chilling time (it needs at least 4 hours) or incorrect liquid ratios. Using cold milk (not room temp) or overmixing can also prevent setting. If your fridge is too warm (above 40°F), that’s another sneaky reason! Double-check the package instructions—some brands vary slightly.
Can I fix runny pudding without starting over?
Try one of these quick fixes: 1) Whisk in 1 tbsp of cornstarch or instant pudding mix (same flavor) and rechill for 30+ minutes. 2) Fold in ½ cup whipped cream to thicken it into a mousse-like texture. 3) Freeze for 20–30 minutes, stirring halfway, for a firmer result.
How long does it really take for instant pudding to set?
Most brands set in 5–10 minutes at room temp (for “instant” versions) or 2–4 hours in the fridge (for classic recipes). Pro tip: Colder temps speed up setting—place it in the freezer for 15–20 minutes if you’re in a hurry! Always check the box, as sugar-free or low-fat versions may need extra time.
What can I use instead of milk if my pudding didn’t turn out?
No milk? No problem! For a creamier fix, swap in:
- Heavy cream + a splash of water (richer texture)
- Coconut milk (full-fat for best results)
- Half-and-half (lighter but still effective)
- Evaporated milk (reduces liquid content for thicker pudding)
Is it safe to eat pudding that didn’t set?
Yes! Runny pudding is still safe if made with fresh ingredients and stored properly (below 40°F). The texture might be off, but it’s edible—try using it as a sauce for ice cream, a fruit dip, or a milkshake base. If it smells sour or has mold, toss it!
Don’t let a pudding fail ruin your dessert plans! 😊 With a little patience and the right tweaks—like adjusting the liquid, adding a thickener, or giving it more chill time—you can turn that runny mix into creamy perfection. Next time, double-check your ratios and temperature for foolproof results.
Ready to try again? Grab a fresh box of pudding and put your new skills to the test—your taste buds will thank you! 🍮✨

Trained in classic French technique but raised on slow-cooked ribs and spicy rubs, she blends culinary skill with smoke and soul.
- Recipe for Boneless Pork Chops in Cast Iron Skillet: Sear and Baste to Juicy Perfection - October 3, 2026
- Recipe for Boneless Cross Rib Roast: Slow-Roasted Beef with Herb Crust - October 3, 2026
- Hamburgers in Sauce Recipe Crock Pot: Slow-Cooked Savory Delight - October 3, 2026