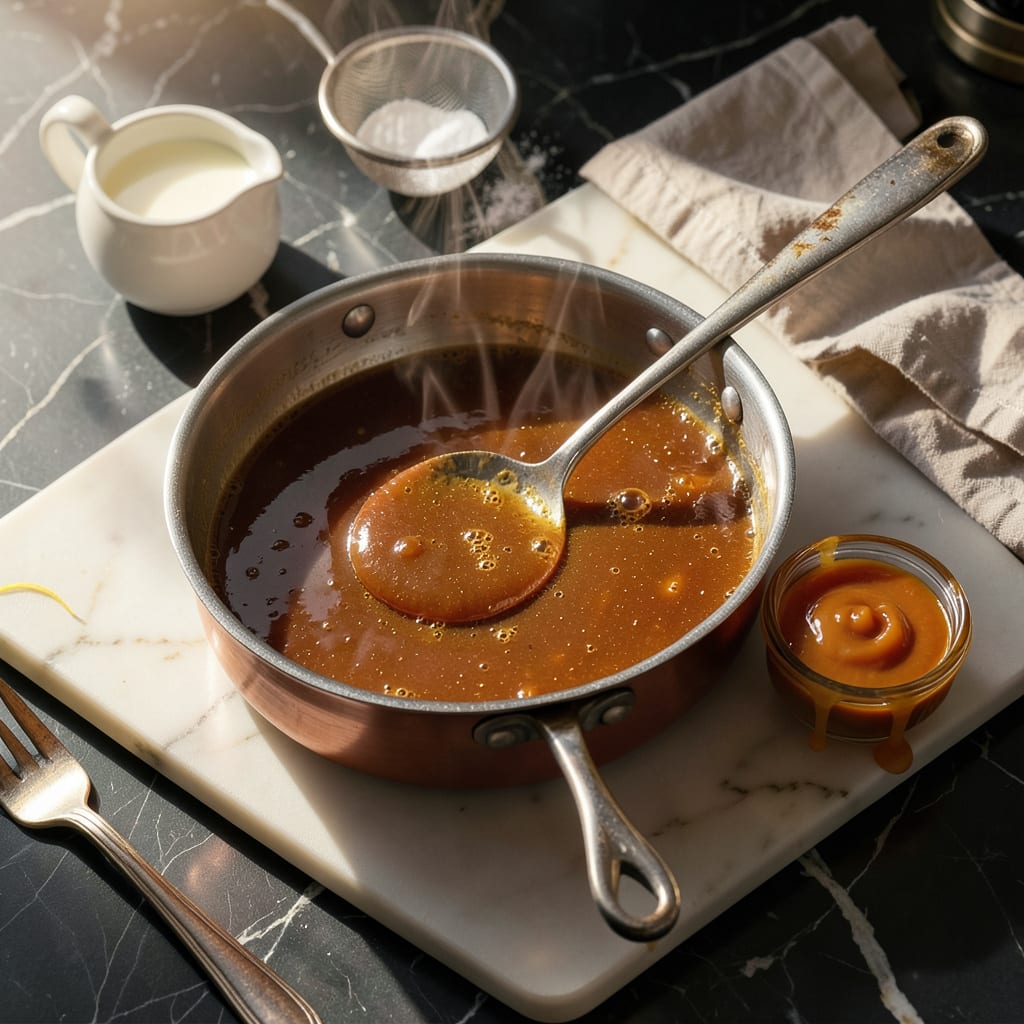
Hard caramel got you stuck? I’ve been there—staring at a rock-solid batch when you need silky sauce for your dessert. 💫 The good news is you can rescue it without starting over. After burning through more caramel experiments than I’d like to admit, I’ve nailed the foolproof way to bring it back to that perfect pourable consistency.
Here’s the thing—caramel hardens when it cools too much, but heat is your best friend for fixing it. The trick is gentle warmth and patience, not blasting it with high heat. I learned this the hard way after ruining a batch by rushing it on the stove. Whether you’re working with homemade or store-bought caramel, this method transforms it from brick to velvety smooth in minutes.
You’ll end up with caramel that’s just as good as fresh—maybe better, since you’ve got more control over the texture. No graininess, no separation, just that perfect glossy finish that drizzles beautifully over ice cream or cakes. I use this technique constantly in my kitchen, especially when prepping desserts ahead of time.
Fair warning: hot sugar is no joke, so we’ll cover how to handle it safely. With just a few simple steps and some careful attention, you’ll never waste hardened caramel again. Let’s get that caramel flowing!
📚 In This Guide
- What You’ll Need
- Instructions
- Tips and Common Mistakes
What Youll Need
- ● Hardened caramel – ½ cup to 2 cups (depending on batch size; store-bought or homemade)
- ● Heavy cream or whole milk – 1–3 tbsp (room temperature for best results)
- ○ Unsalted butter – ½–1 tbsp (optional, for extra creaminess)
- ● Water – 1–2 tsp (only if caramel is extremely hard)
- ● Microwave-safe bowl (or double boiler for stovetop method)
- ● Silicone spatula or wooden spoon (heat-resistant)
- ● Measuring spoons (for precise liquid additions)
- ● Air-tight container (for storage; glass preferred)
- ● Vanilla extract – ¼ tsp (enhances flavor after softening)
- ● Salt – pinch (balances sweetness if needed)
- ● Candy thermometer (if reheating homemade caramel to monitor temp)
Step-by-Step Instructions for Softening Caramel
Ready to transform that stubborn caramel into silky perfection? Here’s exactly how to do it.
🍳 Step 1: Assess Your Caramel’s Condition
First, examine your caramel’s current state. If it’s rock-hard and brittle, you’ll need more gentle heat than if it’s just slightly thickened. I always start by breaking it into smaller pieces (about 1-inch chunks) if possible—this creates more surface area for even heating.
Check the color too. If it’s very dark, you’ll want to use lower heat to prevent burning. Lighter caramels can handle slightly more aggressive heat. This quick assessment helps you choose the right softening method and prevents overheating.
🔥 Step 2: Choose Your Heat Source Wisely
For the gentlest approach, create a double boiler by placing your caramel in a heatproof bowl over a pot of simmering water. The steam provides indirect heat that melts caramel slowly and evenly. I keep the water at a gentle simmer—you should see just a few bubbles breaking the surface.
If you’re in a hurry, use the microwave method: place caramel in a microwave-safe bowl and heat in 10-second bursts at 50% power. Stir vigorously between each burst. The microwave can be tricky—it heats unevenly, so stirring is crucial to prevent hot spots that could burn your caramel.
👨🍳 Step 3: Stir Constantly for Perfect Texture
As the caramel begins to soften, switch to a silicone spatula and stir constantly in smooth, circular motions. You’ll notice the edges melt first—keep folding these melted portions into the center. I like to scrape the sides and bottom of the bowl frequently to incorporate all the caramel evenly.
The moment it becomes stirrable (usually after 2-3 minutes of gentle heat), reduce your heat source immediately. For double boiler method, remove the bowl from over the water. For microwave, switch to 5-second bursts. This prevents overheating once the caramel becomes fluid.
⏰ Step 4: Test and Adjust Consistency
Dip a spoon into the caramel and let it drip back into the bowl. You’re looking for a smooth, steady stream that holds its shape briefly before merging with the rest. If it’s still too thick, return to gentle heat for another 30-60 seconds, stirring constantly.
Here’s the thing—caramel continues to thicken as it cools. I always aim for a consistency that’s slightly thinner than my final goal. If you accidentally over-soften it, don’t panic! Just let it cool for 5-10 minutes while stirring occasionally—it will thicken up beautifully.
🥘 Step 5: Use or Store Your Silky Caramel
Once you’ve achieved that perfect, ribbon-like consistency, use your caramel immediately for the best results. It’s ideal for drizzling over desserts, swirling into drinks, or using as a dip. The warmth makes it extra pourable and glossy.
If you need to store it, transfer to an airtight container while still warm. As it cools, it will thicken slightly but remain soft and spreadable. To reheat later, use the same gentle methods—just 5-10 seconds in the microwave or brief warming over simmering water usually does the trick!
Tips & Tricks for Perfectly Softened Caramel
Here’s what I’ve learned from countless caramel rescues—these little details make all the difference!
Heat Control Magic: When using the double boiler method in Step 2, keep that water at the barest simmer—just a few tiny bubbles breaking the surface. Too much heat creates steam that can make your caramel seize up! I learned this the hard way after ruining two batches with boiling water. The 2-3 minutes of gentle heat is perfect for transforming those 1-inch chunks into silky smoothness.
Microwave Mastery: For the microwave method, those 10-second bursts at 50% power are non-negotiable! I always count “one Mississippi, two Mississippi” between bursts to ensure I’m not rushing. And here’s the game-changer: use a glass bowl—it distributes heat more evenly than plastic. Stir like you’re trying to win a prize—vigorous, constant motion prevents scorching!
Texture Test Secret: In Step 4, when you’re testing consistency with that spoon drip, look for what I call the “slow-motion honey” effect. The caramel should flow like warm honey, not water (too thin) or molasses (too thick). If you overshoot during those 30-60 seconds of adjustment time, don’t stress—just let it cool while stirring. That 5-10 minutes of cooling time works miracles for thickening!
Storage Pro Tip: When storing your perfected caramel, press plastic wrap directly onto the surface before sealing the container. This creates an airtight barrier that prevents that annoying skin from forming. For reheating, those 5-10 seconds in the microwave are usually spot-on, but stir immediately after—it continues to soften as you stir!
Pro Tips for Soften Caramel
- Here’s what I’ve learned from countless caramel rescues—these little details make all the difference!
- Heat Control Magic: When using the double boiler method in Step 2, keep that water at the barest simmer—just a few ti…
- Microwave Mastery: For the microwave method, those 10-second bursts at 50% power are non-negotiable! I always count “…
Frequently Asked Questions
Can I soften caramel in the microwave, and how long does it take?
Yes! Microwaving is the quickest method. Place caramel in a microwave-safe bowl, add 1-2 tsp of water or cream, and heat in 10-second bursts, stirring between each. Most caramels soften in 30-60 seconds, but watch closely to avoid burning. Thin with extra liquid if needed.
What if my caramel hardens while I’m using it? How do I fix it fast?
No panic! For hardened caramel in a saucepan, reheat on low heat with a splash of heavy cream or water, stirring constantly. If it’s already on dessert, warm a spoon in hot water, then press it gently over the caramel to soften the top layer.
Are there substitutes for cream to soften caramel?
Try these swaps:
- Milk or half-and-half (thinner result, use less)
- Butter (adds richness, melt first)
- Coconut milk (for dairy-free, heat gently)
- Corn syrup or honey (1 tsp at a time, prevents graininess)
Why did my caramel turn grainy after softening? What went wrong?
Graininess usually means the sugar recrystallized. Causes include:
- Stirring too vigorously while heating
- Adding cold liquid to hot caramel (always warm liquids first)
- Overheating (keep temps below 250°F/121°C)
Fix it by gently reheating with a tiny bit of corn syrup or lemon juice.
How long does softened caramel stay smooth? Can I store it?
Softened caramel keeps its texture for 2-3 days in an airtight container at room temp. For longer storage:
- Fridge: Up to 2 weeks (reheat with cream to restore smoothness)
- Freezer: 3 months (thaw overnight in the fridge, then reheat)
Pro tip: Add a pinch of salt before storing to prevent separation!
Softening caramel doesn’t have to be stressful—whether you’re using heat, moisture, or a little patience, you can rescue even the toughest batch! 🎉 With these simple tricks, you’ll turn hard, sticky caramel into a velvety sauce that drizzles like a dream. Ready to put your skills to the test? Grab that spoon and dive into your next dessert project—maybe a salted caramel cheesecake or gooey caramel-stuffed cookies! 🍪✨

Trained in classic French technique but raised on slow-cooked ribs and spicy rubs, she blends culinary skill with smoke and soul.
- Recipe for Boneless Pork Chops in Cast Iron Skillet: Sear and Baste to Juicy Perfection - October 3, 2026
- Recipe for Boneless Cross Rib Roast: Slow-Roasted Beef with Herb Crust - October 3, 2026
- Hamburgers in Sauce Recipe Crock Pot: Slow-Cooked Savory Delight - October 3, 2026