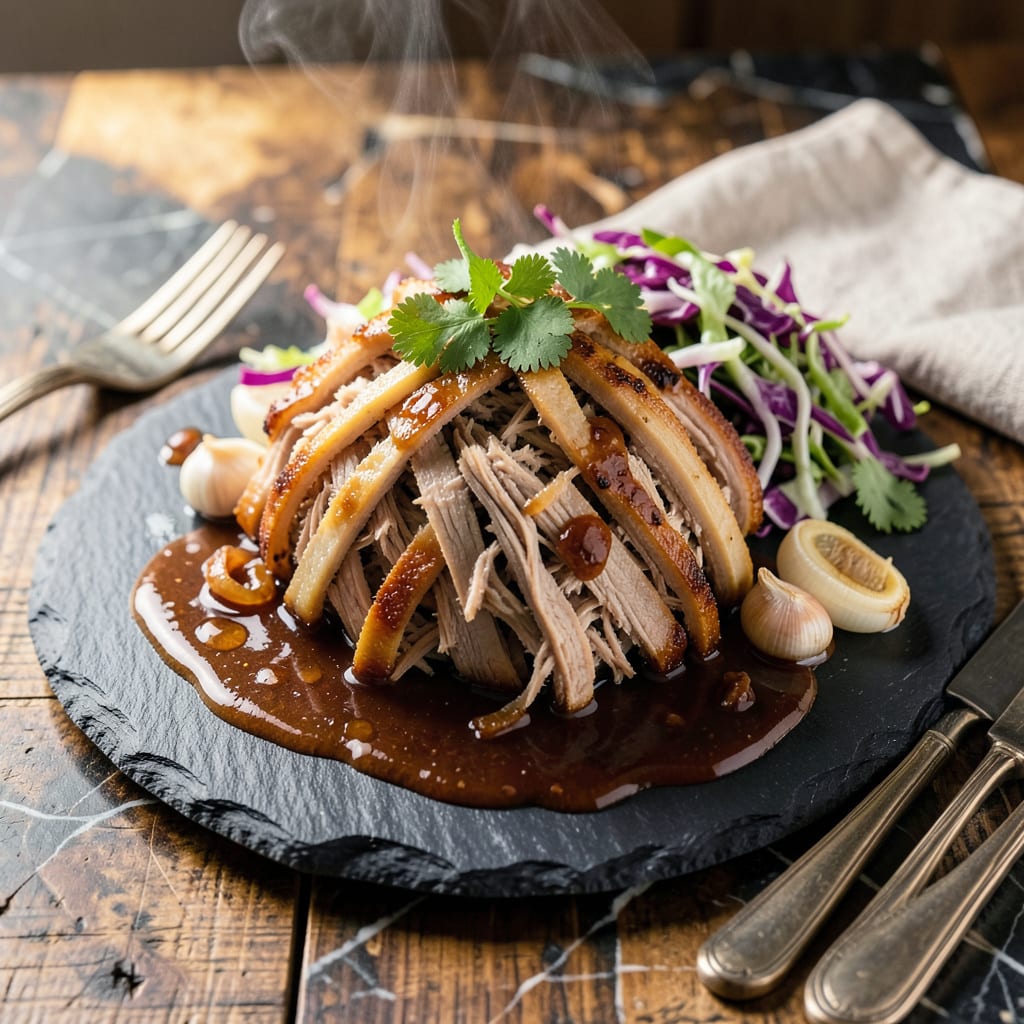
Nothing stings worse than spending hours smoking pork only to end up with tough, chewy results. I’ve been there—standing over a smoker at 3 AM during my first BBQ competition, praying my pork would magically transform. The good news? Even the driest pulled pork can be saved with a few simple tricks I’ve perfected over years of pitmaster trials.
The secret lies in moisture and gentle heat. I always keep a bottle of apple cider vinegar and rich chicken broth on hand—these are your lifesavers. Adding just ½ cup of liquid to your pork and letting it steam in a covered pan at 300°F for 30 minutes works wonders. The liquid penetrates the fibers while the heat breaks down tough connective tissue.
Here’s where most people mess up: they try to force it. Don’t rush the process or overwork the meat. After steaming, let it rest for 15 minutes before gently pulling it apart with forks. This resting time lets the juices redistribute, giving you that fall-apart texture we’re all after. I learned this lesson the hard way after ruining three butts in a row.
Even if your pork isn’t perfect, the right serving strategy can save the meal. Pile it on soft buns with tangy coleslaw and a drizzle of vinegar-based sauce—the acidity and crunch make up for any remaining dryness. This isn’t just damage control; it’s how I’ve won over skeptical judges at competitions with less-than-ideal meat.
📚 In This Guide
- What You’ll Need
- Instructions
- Tips and Common Mistakes
What Youll Need
- ● Tough pulled pork – 2–4 lbs (leftover or freshly cooked, shredded or chopped)
- ● Liquid for moisture – ½–1 cup (choose one or mix): Broth (chicken, beef, or pork)
- ● Apple cider vinegar (diluted 1:1 with water)
- ● Apple juice or cola (for sweetness)
- ● Beer (dark ale or lager for depth)
- ● Fat or binder – 2–4 tbsp (pick one): Butter, lard, or bacon fat
- ● Mayonnaise (sounds weird, works amazingly!)
- ● Seasoning boost – 1–2 tbsp (adjust to taste): BBQ rub, brown sugar, or honey
- ● Worcestershire sauce or soy sauce
- ● Large skillet, Dutch oven, or slow cooker (with lid)
- ● Tongs or forks (for shredding)
- ○ Meat thermometer (optional but helpful for precision)
- ● Aluminum foil (if using the oven method)
Instructions
Don’t throw out that dry pork—here’s exactly how to transform it into tender, juicy perfection.
Assess the Damage and Prep for Moisture
First, determine how severely overcooked your pork is. If it’s just slightly dry, we can fix it quickly. If it’s rock-hard and stringy, we’ll need to take more aggressive steps. I always start by pulling apart a small piece with two forks—if it resists or feels rubbery, we’ve got work to do.
Transfer the pork to a large, oven-safe dish or Dutch oven. Break it into smaller chunks (about 2-3 inch pieces) to maximize surface area for absorbing moisture. This is crucial—bigger pieces won’t rehydrate evenly. Don’t worry about shredding it yet; we’ll do that after the fix.
Create a Moisture-Rich Bath
For every 2 cups of tough pork, you’ll need about ½ cup of liquid to rehydrate it. I use a 50/50 mix of apple cider vinegar and chicken broth—the acidity helps break down tough fibers while the broth adds flavor. Pour this over the pork until it’s about ⅓ submerged.
Cover the dish tightly with foil or a lid. This traps steam, which is our secret weapon. The steam penetrates the meat fibers, softening them from the inside out. If you’re using a Dutch oven, the heavy lid works perfectly. For a baking dish, double-layer the foil for a better seal.
Gentle Heat Application
Place the covered dish in a 275°F oven for 30-45 minutes. This low-and-slow approach gives the liquid time to work its magic without further drying out the meat. You’ll know it’s working when you start smelling that familiar pork aroma again.
Check the pork after 30 minutes by piercing a piece with a fork. It should slide in with minimal resistance. If it’s still tough, give it another 15 minutes. Real talk: this step requires patience, but it’s where the transformation happens. Don’t rush it by cranking up the heat.
Shred and Incorporate Juices
Once the pork is tender, remove it from the oven and let it sit covered for 5 minutes. This resting time allows the juices to redistribute. Then, use two forks to shred the pork directly in the cooking liquid—this ensures every strand absorbs maximum moisture.
Here’s the thing—don’t drain the liquid! That’s pure flavor. Toss the shredded pork in the juices until it’s fully coated. If it still seems dry, add another ¼ cup of broth and toss again. The pork should glisten slightly and clump together when pressed—not fall apart into dry strings.
Optional Flavor Boost
If your pork needs more than just moisture, stir in 1 tablespoon of BBQ sauce per cup of meat after shredding. The sugar in the sauce helps mask any remaining toughness while adding back that classic pulled pork flavor. Warm it through in the oven for 10 minutes at 300°F.
For smoked flavor, add ½ teaspoon of liquid smoke to your moisture bath before the oven step. I’ve found this makes store-bought pork taste like it came straight from the smoker. Taste as you go—you can always add more, but you can’t take it out once it’s in there.
Tips and Common Mistakes
Here’s what I’ve learned from rescuing countless batches of dry pork—small details make all the difference.
Liquid Ratio Precision: When creating your moisture bath in Step 2, stick exactly to the ½ cup liquid per 2 cups pork ratio. I’ve found that apple cider vinegar and chicken broth work best because the acidity tenderizes while the broth adds depth. Don’t eyeball this—too much liquid makes the pork soggy, too little won’t rehydrate properly. The ⅓ submersion level is perfect for steam circulation without drowning the meat.
Low Temperature Patience: That 275°F oven temperature in Step 3 isn’t negotiable. Higher heat will just dry it out further. I check at the 30-minute mark by testing with a fork—it should slide in like butter. If it’s still resistant, the extra 15 minutes at this gentle temperature works miracles. Trust me, I’ve tried rushing it at 350°F and ended up with tough pork all over again.
Juice Retention Technique: In Step 4, when you’re shredding the pork, work directly in the cooking liquid. Every time I’ve drained the liquid first, I’ve lost that juicy texture we’re after. The 5-minute resting time is crucial too—it lets those juices redistribute throughout the meat. If it still seems dry after tossing, that extra ¼ cup of broth makes all the difference.
Flavor Layering: For the optional BBQ sauce addition in Step 5, warm it through at 300°F for exactly 10 minutes. This temperature is high enough to blend flavors without drying out your newly tender pork. I always taste before adding the full tablespoon per cup—sometimes half is enough to bring back that classic pulled pork taste.
Pro Tips for Fix Tough Pulled Pork
- Here’s what I’ve learned from rescuing countless batches of dry pork—small details make all the difference.
- Liquid Ratio Precision: When creating your moisture bath in Step 2, stick exactly to the ½ cup liquid per 2 cups pork…
- Low Temperature Patience: That 275°F oven temperature in Step 3 isn’t negotiable. Higher heat will just dry it out fu…
Frequently Asked Questions
Can I fix tough pulled pork after it’s already shredded?
Yes! If your pork is dry or chewy after shredding, return it to a slow cooker or pot with extra liquid (broth, apple juice, or BBQ sauce) and cook on low for 30–60 minutes. Stir occasionally to redistribute moisture. Avoid high heat—it’ll dry it out further!
How long does it take to fix tough pulled pork in the oven?
Wrap the pork tightly in foil with ½ cup of liquid (like beer or broth), then bake at 275°F (135°C) for 1–2 hours. Check every 30 minutes—it’s done when a fork slides in effortlessly. Patience is key!
What’s the best liquid to use for reviving dry pulled pork?
Acidic or sweet liquids work best! Try apple cider vinegar + broth (tangy), cola or root beer (sweet), or BBQ sauce + pineapple juice (fruity). Avoid water—it dilutes flavor. Use ½–1 cup per pound of pork.
Can I use a pressure cooker to fix tough pulled pork fast?
Add the pork with 1 cup of liquid (broth, sauce, or juice), seal the lid, and cook on high pressure for 20–30 minutes. Natural release for 10 minutes ensures tender results. Pro tip: Shred after cooking, not before!
Is there a way to prevent tough pulled pork next time?
Yes! Cook low and slow (225–250°F) until internal temp hits 195–203°F. Use a meat thermometer—never guess! Let it rest 30+ minutes before shredding to lock in juices. Fat cap up during cooking = self-basting!
Don’t let tough pulled pork ruin your meal—with the right techniques, you can turn it into tender, juicy perfection in no time! 🍖✨ Whether you opt for extra cooking time, a flavorful braising liquid, or a quick acid trick, the key is patience and a little know-how. Next time, try low-and-slow cooking from the start or invest in a meat thermometer to nail that ideal 195–205°F internal temp.
Ready to put your new skills to the test? Fire up the smoker or slow cooker and try a fresh batch—this time, with confidence! For more BBQ tips, check out our guide on mastering pulled pork rubs.

Trained in classic French technique but raised on slow-cooked ribs and spicy rubs, she blends culinary skill with smoke and soul.
- Recipe for Cut Up Chicken: One-Pan Crispy Bites - October 3, 2026
- Recipe For Oven Baked Haddock: Buttery Crumbs With Zesty Lemon Topping - October 3, 2026
- Recipe For Fried Salmon Patties With Flour: Crispy Golden Crust With Flaky Centers - October 3, 2026