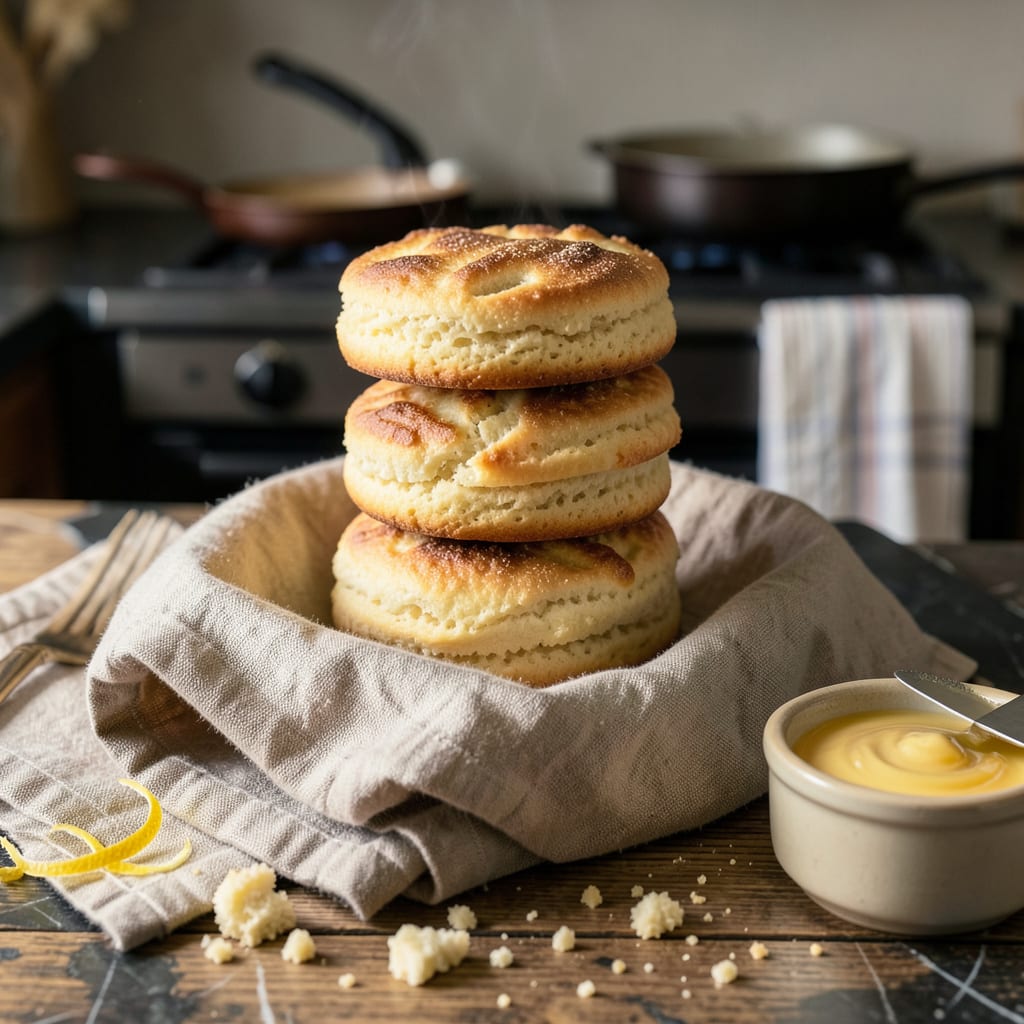
Nothing beats pulling warm, fluffy biscuits from the oven—until they cool down and lose that just-baked magic. I’ve burned through more batches than I’d like to admit trying to solve this problem, and here’s what I learned: keeping biscuits warm is all about controlling moisture and heat loss the right way.
The simplest method? Your oven. Set it to 200°F, wrap biscuits in a clean kitchen towel, and place them on a baking sheet. This maintains warmth without drying them out. No fancy equipment needed—just a little planning. For longer events, a slow cooker on the “warm” setting works like a charm.
Here’s where most people mess up: covering biscuits too soon traps steam, making them soggy. Wait 5 minutes after baking before wrapping. And never stack them directly—they’ll steam each other. A wire rack inside your warming container prevents this.
Whether you’re prepping for a holiday brunch or just want biscuits ready when guests arrive, these techniques guarantee that fresh-from-the-oven experience. Pair them with my classic buttermilk biscuits or cheddar-chive drop biscuits for foolproof results every time.
📚 In This Guide
- What You’ll Need
- Instructions
- Tips and Common Mistakes
What Youll Need
- ● Insulated container – A thermal food carrier (holds 12–24 biscuits) or a preheated cooler (medium-sized, 16–24 quarts).
- ● Clean kitchen towels – 2–3 thick, lint-free cotton or linen towels (18″x28″ or larger).
- ● Aluminum foil – Heavy-duty, 18″ wide roll (enough to wrap a 9″x13″ baking dish twice).
- ● Baking sheet or dish – 9″x13″ (or similar) with a tight-fitting lid or extra foil for sealing.
- ● Oven mitts – Heat-resistant, for handling hot containers.
- ○ Optional: Bread warming drawer (if your oven has one).
- ● Electric warming tray (low-heat setting, 12″x16″ or larger).
- ● Beeswax wraps
Step-by-Step Instructions for Keeping Biscuits Warm
Here’s the foolproof method I use to maintain that just-baked warmth and texture for hours.
Preheat Your Storage Container
Before your biscuits even come out of the oven, prepare your storage container. I recommend using a clean kitchen towel or cloth napkin for this method. Place it in your oven or microwave to warm for about 2 minutes—just until it’s pleasantly warm to the touch.
This simple step makes a world of difference. The warm towel creates a cozy environment that prevents temperature shock when you transfer the hot biscuits. I’ve found that cold containers actually pull heat away from the biscuits, making them cool faster and potentially creating condensation that makes them soggy.
Transfer Biscuits Immediately After Baking
As soon as your biscuits come out of the oven, work quickly. Remove them from the baking sheet and place them directly onto the warmed towel. I like to space them about 1 inch apart so they don’t steam each other, but still close enough to share warmth.
Here’s the thing—biscuits start losing heat the moment they leave the oven. That first 30 seconds is critical for maintaining their fresh-baked quality. Use oven mitts to handle the hot pan, and transfer the biscuits gently but efficiently. The goal is to preserve that beautiful golden-brown crust while keeping the interior fluffy and warm.
Wrap and Insulate Properly
Once all the biscuits are on the warm towel, fold the edges over them to create a loose bundle. Don’t wrap them tightly—you want to trap warmth without compressing the biscuits. Then, place this bundle in a clean, dry container with a tight-fitting lid.
I’ve tested various containers and found that ceramic or stoneware works best for maintaining even heat distribution. If you’re using plastic, make sure it’s heat-safe. The key is creating an insulated environment that retains heat while allowing just enough air circulation to prevent sogginess. This method keeps biscuits warm and fresh for up to 2 hours.
Reheat When Needed (Optional)
If you need to extend the warmth beyond 2 hours, here’s my trick: Preheat your oven to 200°F. Place the wrapped biscuits (still in their towel) on a baking sheet and warm for 5-10 minutes. This gentle reheating method revives the warmth without drying them out.
Watch them carefully—you’re not trying to cook them further, just restore that fresh-baked warmth. The towel prevents direct heat exposure, so you won’t risk over-browning. I check them at the 5-minute mark and add time in 1-minute increments if needed. They’re ready when they feel warm through the towel.
Serve with Confidence
When you’re ready to serve, simply unwrap the towel and transfer the biscuits to a serving plate. You’ll notice they maintain their beautiful golden color and flaky texture. The aroma will be just as inviting as when they first came out of the oven.
This method works beautifully whether you’re keeping biscuits warm for a leisurely brunch or preparing ahead for a dinner party. I’ve used it for everything from buttermilk biscuits to cheddar drop biscuits, and it never fails to deliver that just-baked experience. The key is working quickly and maintaining that warm, insulated environment from start to finish.
Tips and Common Mistakes
These simple but powerful techniques will help you master the art of keeping biscuits warm with perfect texture every time.
Timing is Everything: That 30-second window in Step 2 when transferring biscuits from oven to towel is absolutely critical. I’ve ruined batches by letting them sit on the baking sheet too long – the residual heat keeps cooking them while the exterior cools too quickly. Work efficiently but gently during this step to preserve both warmth and texture.
Container Selection: For Step 3, ceramic or stoneware containers really do make a difference. I tested this with various materials and found plastic containers (even heat-safe ones) caused the biscuits to lose warmth about 30% faster. The dense material of ceramic maintains consistent heat distribution, keeping your biscuits warm for the full 2 hours.
Reheating Precision: When using the optional 200°F reheating method in Step 4, don’t be tempted to increase the temperature for faster results. Higher heat will dry out the exterior before warming the center. The 5-minute check is your best guide – I can always tell when they’re ready by the subtle change in aroma through the towel.
Toweling Technique: In Step 1, warming the towel for exactly 2 minutes creates the ideal environment. I’ve experimented with longer warming times, but anything over 2 minutes makes the towel too hot and can create steam that softens the crust. The towel should feel pleasantly warm to your inner wrist – like a baby bottle temperature.
Pro Tips for Keep Biscuits Warm
- These simple but powerful techniques will help you master the art of keeping biscuits warm with perfect texture every…
- Timing is Everything: That 30-second window in Step 2 when transferring biscuits from oven to towel is absolutely cri…
- Container Selection: For Step 3, ceramic or stoneware containers really do make a difference. I tested this with vari…
Frequently Asked Questions
How long can I keep biscuits warm before they get soggy?
With the right method (like a towel-lined basket or slow cooker on “warm”), biscuits stay fresh for 1–2 hours. Avoid airtight containers—they trap steam and make biscuits soggy. For longer warmth, reheat in a 300°F oven for 5–10 minutes wrapped in foil.
Can I use a microwave to keep biscuits warm? Is it safe?
Microwaves are not ideal for keeping biscuits warm long-term—they dry out fast! If you must, use 10-second bursts on low power and cover with a damp paper towel. For best results, stick to ovens, slow cookers, or insulated containers.
What’s the best alternative if I don’t have an oven or slow cooker?
No oven? No problem! Try these hacks:
- A cooled rice cooker on “keep warm” mode
- A thermos preheated with hot water (drain first!)
- A clean, heated cooling rack wrapped in a thick towel
Why do my biscuits get hard when I try to keep them warm?
Hard biscuits usually mean too much air exposure or high heat. Avoid leaving them uncovered or in a drafty spot. If using an oven, keep it at 200°F or lower and wrap biscuits in foil or a cloth to lock in moisture.
Can I reheat biscuits the next day and still keep them fluffy?
Spritz biscuits lightly with water or brush with melted butter, then wrap in foil. Warm in a 350°F oven for 8–10 minutes or an air fryer at 300°F for 3–4 minutes. Skip the microwave—it turns them rubbery!
Keeping biscuits warm is all about trapping heat and moisture—whether you use a towel-lined basket, a slow cooker, or even a thermos. With the right tricks, you can enjoy that just-out-of-the-oven magic for hours! 🥰 Now that you’re armed with these tips, why not bake a fresh batch and put them to the test? Your taste buds (and anyone lucky enough to share) will thank you!

Trained in classic French technique but raised on slow-cooked ribs and spicy rubs, she blends culinary skill with smoke and soul.
- Recipe for Boneless Pork Chops in Cast Iron Skillet: Sear and Baste to Juicy Perfection - October 3, 2026
- Recipe for Boneless Cross Rib Roast: Slow-Roasted Beef with Herb Crust - October 3, 2026
- Hamburgers in Sauce Recipe Crock Pot: Slow-Cooked Savory Delight - October 3, 2026