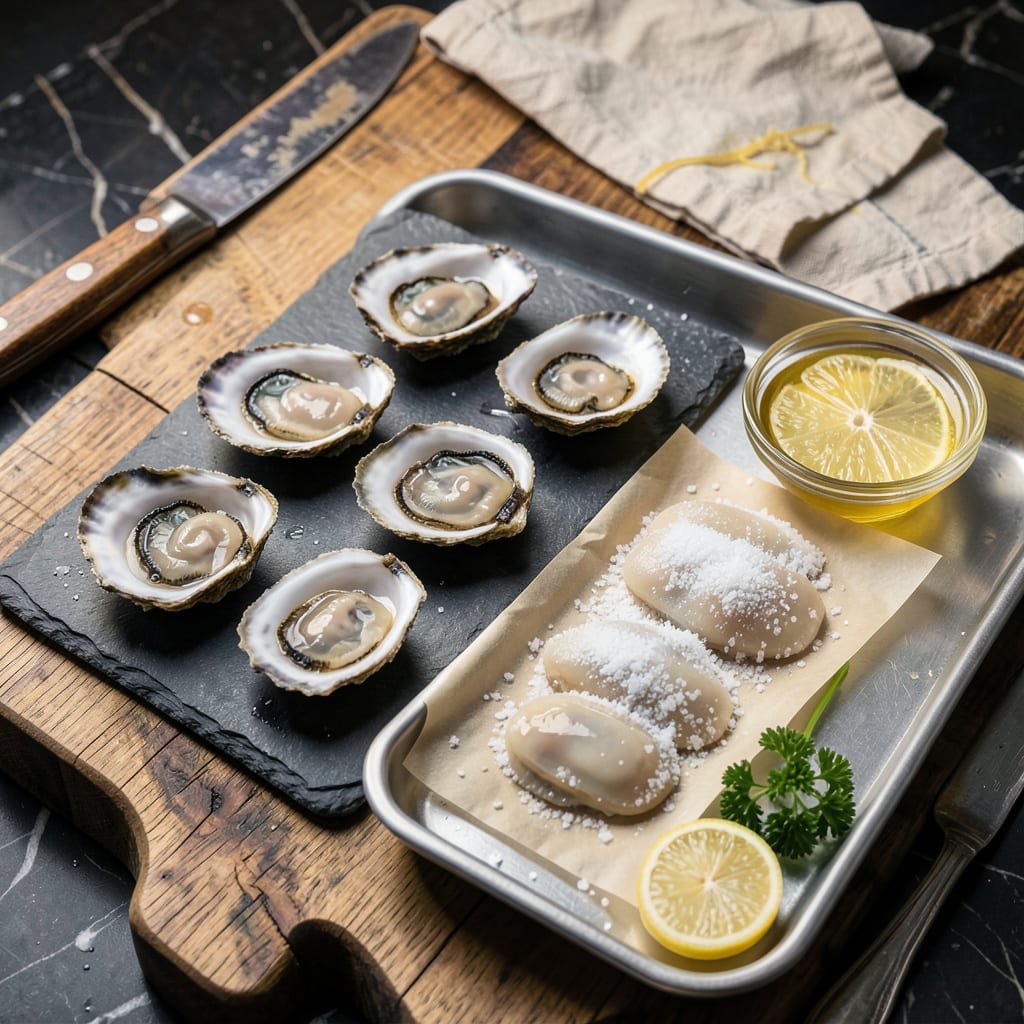
Fresh oysters straight from the shell are a coastal treasure, but what happens when you bring home more than you can eat? Freezing them properly locks in that briny sweetness for months—no waste, no compromise on flavor. I’ve been perfecting this method since my first oyster-shucking disaster left me with a counter full of extras and no plan.
The key is handling them right before the freezer hits. Whether you’re working with whole oysters in their shells or already-shucked meat, proper prep makes all the difference. I learned the hard way that skipping the cleaning step leads to gritty, off-flavored results. A quick rinse and careful packing preserve that just-shucked quality you’re after.
What you’ll end up with is oysters that maintain their natural juiciness and ocean-fresh taste, ready to drop into stews, chowders, or even quick pan-fries. They won’t have the exact texture for raw eating, but for cooked dishes? You’d never know they took a frozen detour. This method follows USDA guidelines to keep everything safe and delicious.
Here’s the thing—most people don’t realize frozen oysters can taste this good. The trick is in the thawing process and knowing which dishes they’ll shine in. Let me walk you through the simple steps that’ll change how you handle oyster hauls forever.
📚 In This Guide
- What You’ll Need
- Instructions
- Tips and Common Mistakes
What Youll Need
- ● Fresh oysters – 1–2 dozen (or as needed), shucked or in-shell (ensure they’re alive if unshucked—closed shells only! 🦪).
- ● Air-tight freezer bags – Quart-sized (1–2 bags, depending on quantity) or vacuum-seal bags (for longer storage).
- ○ Freezer-safe container – Optional (for extra protection against freezer burn).
- ● Paper towels or clean kitchen towel – To pat oysters dry (reduces ice crystals!).
- ● Sharp oyster knife – If shucking at home (🔪 safety first—wear a cut-resistant glove!).
- ● Permanent marker & labels – To date and name your stash (trust us, future-you will thank you).
- ○ Ice or ice packs – Optional (for rapid cooling before freezing).
- ○ Lemon juice or oyster liquor (natural juice) – Optional (1–2 tbsp to preserve briny flavor).
- ○ Freezer thermometer – Optional but handy (ideal temp: 0°F (-18°C) or below).
Instructions
Freezing fresh oysters the right way preserves their delicate flavor and texture. Here’s exactly how to do it.
Select and Inspect Your Oysters
Start with the freshest oysters possible. Look for shells that are tightly closed or that snap shut when tapped—this indicates the oyster is alive and fresh. If any oysters have broken shells or remain open, discard them immediately as they may be dead or spoiled.
I always give my oysters a quick rinse under cold water to remove any sand or debris from the shells. Scrub them gently with a stiff brush if needed, but don’t soak them in water. This step ensures you’re not freezing any unwanted grit along with your oysters.
Shuck the Oysters Properly
Use an oyster knife and a thick kitchen towel for protection. Hold the oyster flat-side up on a stable surface, then insert the knife tip into the hinge. Twist gently but firmly until the shell pops open. Run the knife along the top shell to sever the muscle, then lift off the top shell.
Slide the knife under the oyster to detach it from the bottom shell, being careful not to spill the precious liquor (the briny liquid inside). I like to work over a bowl to catch all the liquor—this liquid is packed with flavor and helps preserve the oysters’ natural taste during freezing.
Prepare for Freezing
Transfer the shucked oysters and their liquor to freezer-safe containers. Leave about ½ inch of headspace at the top to allow for expansion during freezing. For best results, I recommend using small containers (pint-size or smaller) so you can thaw only what you need later.
If you’re freezing a large quantity, consider portioning the oysters into ice cube trays first. Once frozen solid, transfer the oyster cubes to freezer bags. This method lets you use just a few oysters at a time without thawing the entire batch.
Freeze and Store Correctly
Place the containers in the coldest part of your freezer, ideally at 0°F or below. Freeze them uncovered for the first 1-2 hours to allow the surface to harden, then cover tightly with lids or plastic wrap. This initial uncovered freezing prevents ice crystals from forming on the container lids.
Label each container with the date—fresh oysters maintain best quality when used within 3 months of freezing. While they’ll remain safe to eat for longer, the texture and flavor degrade over time. Store them away from foods with strong odors, as oysters can absorb other flavors.
Thaw Properly Before Use
When ready to use, transfer the frozen oysters to the refrigerator and allow them to thaw overnight. Never thaw oysters at room temperature or in warm water, as this can promote bacterial growth and ruin their texture.
Once thawed, use the oysters within 2 days and never refreeze them. The texture will be slightly softer than fresh oysters, making them perfect for cooked preparations like stews, chowders, or fried oysters rather than eating raw.
Tips and Common Mistakes
Freezing oysters properly makes all the difference between rubbery disappointments and briny, sweet results that taste almost fresh. Here’s what I’ve learned from years of perfecting this process.
Selection Secret: In Step 1, don’t just look for closed shells—give each oyster a gentle tap. A live oyster will snap shut immediately if it’s open. I’ve found that oysters with heavier shells tend to have more meat and better flavor. The quick rinse mentioned is crucial; I once skipped it and ended up with gritty oysters that ruined my chowder.
Liquor Preservation: When shucking in Step 2, work over a bowl with a fine-mesh strainer inside. This catches any shell fragments while preserving every drop of that precious liquor. The liquor contains natural sugars and salts that protect the oysters’ texture during freezing. I lost count of how many times I’ve regretted being careless with this step—it’s the difference between flavorful and bland frozen oysters.
Freezing Technique: The 1-2 hours of uncovered freezing in Step 4 isn’t just about preventing ice crystals—it creates a protective crust that locks in moisture. I’ve experimented with skipping this step, and the oysters developed freezer burn within weeks. Also, that ½ inch headspace in Step 3 is non-negotiable; oysters expand more than you’d expect, and I’ve had containers crack from ignoring this.
Storage Wisdom: The 3-month quality window at 0°F is based on texture, not safety. I’ve successfully used oysters at 4 months for cooked dishes like stews where texture is less critical. The key is maintaining that 0°F temperature consistently—fluctuations cause ice crystals that damage the oysters’ delicate structure.
Pro Tips for Freeze Fresh Oysters
- Freezing oysters properly makes all the difference between rubbery disappointments and briny, sweet results that tast…
- Selection Secret: In Step 1, don’t just look for closed shells—give each oyster a gentle tap. A live oyster will snap…
- Liquor Preservation: When shucking in Step 2, work over a bowl with a fine-mesh strainer inside. This catches any she…
Frequently Asked Questions
Got questions about freezing oysters? You’re not alone! Here are the most common concerns—answered in a snap.
Can you freeze oysters in the shell?
Nope! Freezing oysters in the shell can ruin their texture and flavor. Always shuck them first, then drain excess liquid before freezing in airtight containers or bags. Shells can crack, letting freezer burn sneak in.
How long do frozen oysters last?
Properly frozen oysters stay fresh for 3–6 months at 0°F (-18°C) or below. After that, they’re still safe to eat but may lose their signature briny taste. Label bags with the date to track freshness!
Do frozen oysters taste the same as fresh?
Expect a slight texture change—they’ll be softer after thawing. Flavor stays close if frozen quickly and stored right. Use them in cooked dishes (like stews or fritters) for best results. Raw? Not ideal.
What’s the best way to thaw frozen oysters?
Move them to the fridge overnight (8–12 hours) for even thawing. Need them faster? Seal in a bag and submerge in cold water for 1–2 hours. Never microwave—it’ll turn them rubbery! →
Can I freeze oysters that were previously frozen?
Nope! Refreezing oysters (or any seafood) spikes the risk of bacteria and ruins texture. Thaw only what you’ll use, and cook within 24 hours. Safety first!
Freezing fresh oysters is a simple way to preserve their ocean-fresh flavor and enjoy them anytime! 🍽️ By following the right prep steps—shucking, cleaning, and storing them properly—you can lock in that briny goodness for up to 3 months. No more last-minute seafood runs when a craving hits!
Now that you’re equipped with the know-how, why not grab a batch of fresh oysters and give it a try? Once frozen, they’re perfect for grilling, frying, or even raw dishes (if previously frozen safely). Happy freezing—and even happier eating!

Trained in classic French technique but raised on slow-cooked ribs and spicy rubs, she blends culinary skill with smoke and soul.
- Recipe for Boneless Pork Chops in Cast Iron Skillet: Sear and Baste to Juicy Perfection - October 3, 2026
- Recipe for Boneless Cross Rib Roast: Slow-Roasted Beef with Herb Crust - October 3, 2026
- Hamburgers in Sauce Recipe Crock Pot: Slow-Cooked Savory Delight - October 3, 2026