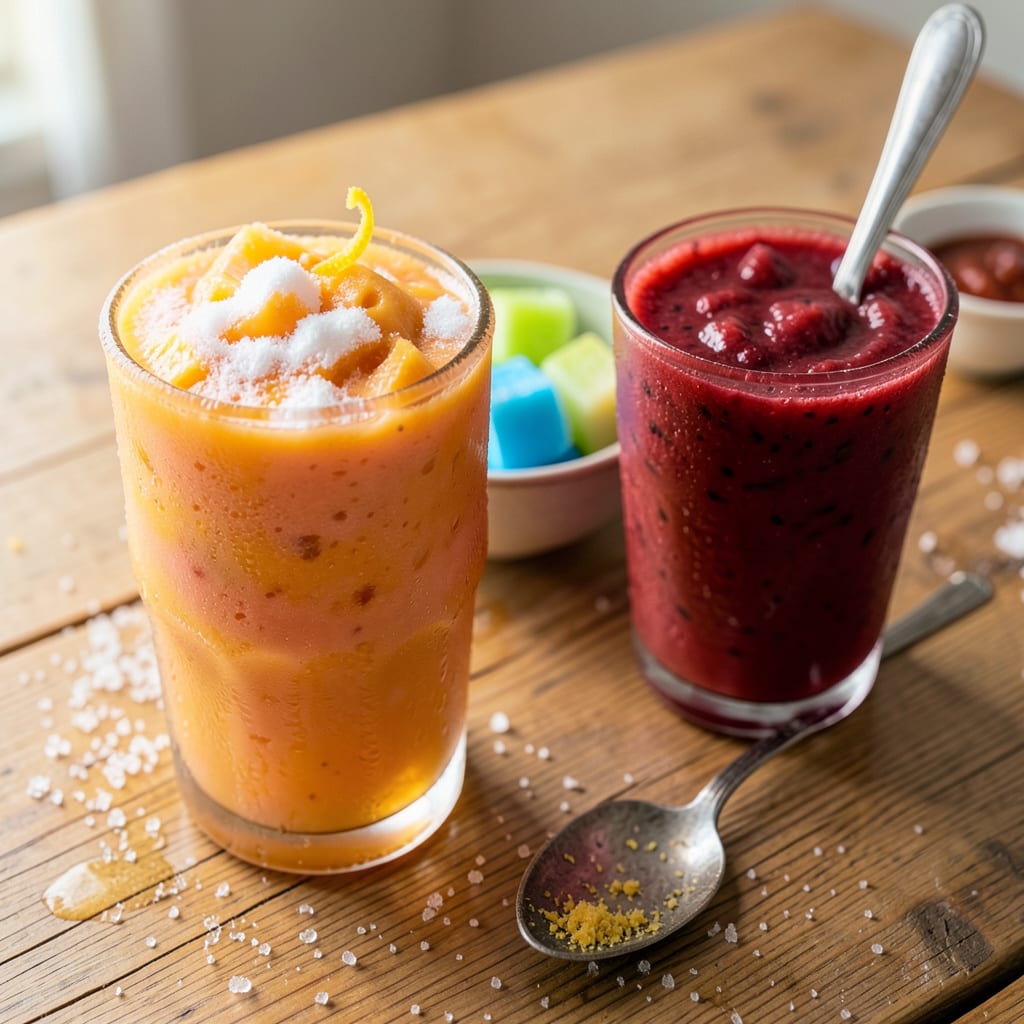
Here’s the thing—I’ve made more slushies than I can count, and you absolutely don’t need a blender to whip up something amazing. This freezer hack is my go-to when the kids are begging for something cold and I don’t want to drag out appliances. Three ingredients, minimal effort, and you’re basically running a snow cone stand in your kitchen.
The secret is all in how you freeze and crush the ingredients. I’ve tested everything from rolling bags with a wine bottle (don’t judge) to using a meat mallet on ice cubes. What works best? Freezing your liquid in shallow containers, then breaking it into crystals with whatever heavy object you’ve got lying around. No fancy tools required.
You’ll end up with a slushie that’s perfectly icy but still slurpable—no brain freeze, no weird separation. The texture is spot-on, and you can customize flavors endlessly. My kids love making rainbow versions with natural food coloring, while I stick to classic citrus or berry blends.
Best part? This method actually works better than most blenders for getting that authentic slushie texture. And cleanup? Just toss the bag or wipe down your counter. Summer problem solved.
📚 In This Guide
- What You’ll Need
- Instructions
- Tips and Common Mistakes
What Youll Need
- ● Main ingredients: 1 cup (8 oz) of fruit juice, soda, or flavored drink (pick your favorite!)
- ● ½ cup (4 oz) of water or lemon-lime soda (for extra fizz)
- ○ 1-2 tbsp of sugar or honey (optional, adjust to taste)
- ● Tools & containers: 1 freezer-safe, airtight container (a shallow dish or ice cube tray works best)
- ● 1 fork or whisk (for fluffing the slushie)
- ● 1 spoon or scoop (for serving)
- ○ Optional upgrades: Fresh fruit (like berries or citrus slices for garnish)
- ● Condensed milk or coconut cream (for a creamy twist)
- ● Food coloring (if you want vibrant colors)
Step-by-Step Instructions for Making a Slushie Without a Blender
This freezer method is so simple you’ll wonder why you ever needed a blender in the first place!
Choose and Prepare Your Liquid Base
Start by selecting your favorite juice or beverage—this will be the flavor foundation of your slushie. I recommend using fruit juice (like orange, apple, or cranberry) for the best texture, but you can also use soda or flavored water for variety. Pour your chosen liquid into a shallow, freezer-safe container.
The key here is using a wide, flat container rather than a deep one. A metal baking dish or glass casserole dish works perfectly because it maximizes surface area, allowing the liquid to freeze faster and more evenly. Fill it to about 1-inch depth—this ensures quick freezing and easier scraping later.
Freeze Until Slushy Consistency
Place your container in the freezer and set a timer for 1 hour. After that initial hour, start checking every 15 minutes. You’re looking for the edges to become solid while the center remains slightly slushy—this is the perfect texture for scraping.
Don’t wait until it’s completely frozen! The magic happens when it’s about 70% frozen. You’ll know it’s ready when a fork can scrape through the surface easily, creating soft, icy flakes. If you accidentally freeze it solid, just let it sit at room temperature for 10-15 minutes until it softens slightly.
Scrape and Fluff the Mixture
Remove the container from the freezer and use a sturdy fork to scrape across the surface. Work in long strokes from one end to the other, breaking up the frozen portions into fine, snowy crystals. The motion should be similar to fluffing rice—lift and separate rather than pressing down.
As you scrape, you’ll notice the texture transforming from solid ice to light, fluffy slush. Keep working until the entire mixture has a consistent, granular texture. If some parts are still liquidy, just return it to the freezer for another 10-15 minutes before scraping again. This step is where the magic happens!
Serve and Enjoy Immediately
Once you’ve achieved that perfect slushie texture, scoop it into chilled glasses using a large spoon or ice cream scoop. The cold glasses will help maintain the slushy consistency longer. Serve immediately while it’s at peak texture—this isn’t something you can store and enjoy later.
For extra fun, top with fresh fruit slices or a drizzle of honey if you want to sweeten it up. The best part? You can experiment with different liquids and mix-ins every time. Try adding a splash of coconut water for electrolytes or muddling some berries into the liquid before freezing for extra flavor!
Tips & Tricks for Perfect Homemade Slushies Without a Blender
This freezer hack is all about timing and technique—let me share the secrets to nailing that perfect slushie texture every time.
Freezing Technique: The 1-hour initial freeze in Step 2 is crucial, but here’s what nobody tells you—your freezer’s temperature matters! If your freezer runs colder than average, start checking at 45 minutes. The goal is that 70% frozen sweet spot where edges are solid but the center still has some give when pressed with a fork. This balance creates the lightest, fluffiest texture when you scrape it.
Container Choice: In Step 1, the shallow, wide container isn’t just a suggestion—it’s the difference between icy chunks and smooth slush. Metal conducts cold faster than glass, so if you’re in a hurry, grab that baking sheet! The 1-inch depth ensures quick freezing while giving you enough surface area to scrape properly. I’ve tried deeper containers, and trust me, you’ll be digging out rock-hard blocks instead of fluffy crystals.
Scraping Strategy: When you get to Step 3, use a sturdy metal fork—not plastic! The tines need to be strong enough to break through the frozen edges while creating those perfect snowy flakes. Work in long, even strokes from one end to the other, lifting as you go. If you press down too hard, you’ll compact the ice instead of fluffing it. This is where that magical slushie texture is born!
Serving Pro Tip: Chilling your glasses in the freezer for 10 minutes before serving (as mentioned in Step 4) makes a surprising difference! Cold glasses prevent the slushie from melting too quickly on the sides, giving you more time to enjoy that perfect consistency. I like to add my glasses to the freezer right when I start the initial 1-hour freeze—timing perfection!
Pro Tips for Make A Slushie At Home Without A Blender
- This freezer hack is all about timing and technique—let me share the secrets to nailing that perfect slushie texture …
- Freezing Technique: The 1-hour initial freeze in Step 2 is crucial, but here’s what nobody tells you—your freezer’s t…
- Container Choice: In Step 1, the shallow, wide container isn’t just a suggestion—it’s the difference between icy chun…
Frequently Asked Questions
Can I use any type of juice or drink for this method?
Yes! Most juices (orange, apple, grape) or sodas work, but avoid dairy-based drinks (like milkshakes) or pulpy juices—they won’t freeze smoothly. Stick to clear or thin liquids for the best slushie texture. Diet sodas may freeze softer than regular ones.
How long does it take to make a slushie without a blender?
Plan for 3–4 hours in the freezer, but check every 30 minutes after the 2-hour mark. The goal is a slushy, not solid consistency—like a snow cone! Pro tip: Use shallow containers to speed up freezing. No worries! Let it sit at room temp for 5–10 minutes, then scrape with a fork to break it up. To prevent this next time, stir the mixture every 30–60 minutes while freezing. Vodka, rum, or tequila work well (stick to 1–2 oz per cup of liquid). Alcohol lowers the freezing point, so it may take longer to set. Try freezing in an ice cube tray first for easier scraping. For sure! Swap soda for 100% fruit juice (diluted with water) or blend frozen fruit (like strawberries) with a splash of coconut water. Add honey or agave sparingly for sweetness—just account for extra freezing time.What if my slushie freezes into a solid block?
Can I make a slushie with alcohol?
Are there healthier alternatives to sugar-filled drinks?
Who knew making a blender-free slushie could be this easy? 🎉 With just 3 simple ingredients and a freezer, you’ve got a refreshing treat ready in minutes—no fancy equipment required. Whether you’re cooling off on a hot day or whipping up a fun snack for the kids, this hack delivers restaurant-quality results with zero hassle.
Now that you’ve mastered the basics, why not get creative? Try mixing in fresh fruit, a splash of coconut water, or even a scoop of yogurt for a creamy twist. Your next slushie adventure starts now—what flavor will you try first? 🍓❄️

Trained in classic French technique but raised on slow-cooked ribs and spicy rubs, she blends culinary skill with smoke and soul.
- Recipe for Boneless Pork Chops in Cast Iron Skillet: Sear and Baste to Juicy Perfection - October 3, 2026
- Recipe for Boneless Cross Rib Roast: Slow-Roasted Beef with Herb Crust - October 3, 2026
- Hamburgers in Sauce Recipe Crock Pot: Slow-Cooked Savory Delight - October 3, 2026