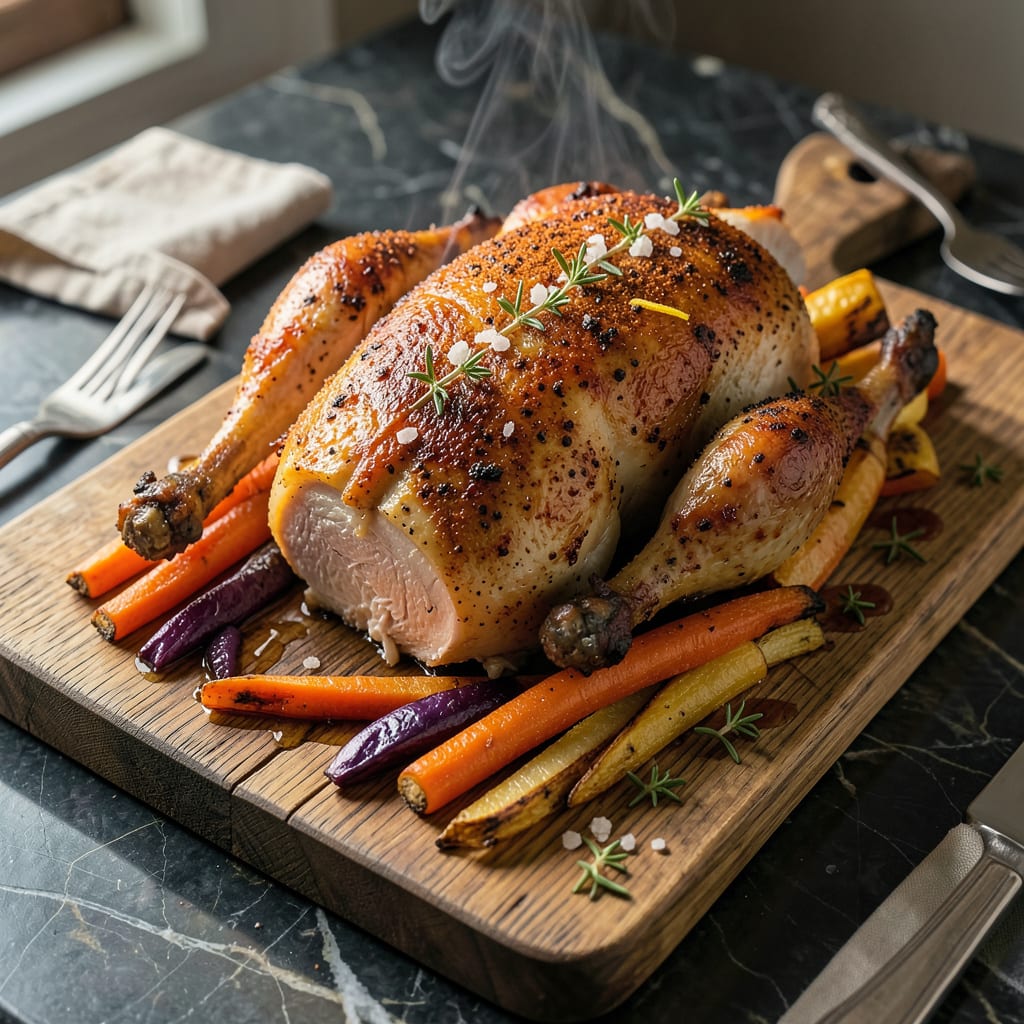
Nothing ruins a perfectly seasoned chicken like watching those beautiful spices slide right off into the pan. I’ve been there—standing over the grill, watching my carefully applied rub disappear into the flames. After years of experimenting (and more than a few frustrating meals), I finally cracked the code for getting seasoning to actually stay put.
The secret starts before the seasoning even touches the chicken. It’s all about surface prep—drying the skin thoroughly, using the right binder, and letting everything rest before cooking. I learned this the hard way during my early pitmaster days when I’d lose half my rub to the smoker. Now I get perfect adhesion every time, whether I’m grilling, baking, or frying.
What you’ll end up with is chicken that’s evenly coated with seasoning that stays exactly where you put it—no bare spots, no wasted spices. The flavors penetrate deeper, the crust forms better, and every bite delivers that perfect seasoned experience. This method works for any cooking technique and any cut of chicken.
Here’s the thing—this isn’t about fancy equipment or special ingredients. It’s about mastering a few simple steps that make all the difference. Once you try this, you’ll never go back to seasoning chicken the old way again.
📚 In This Guide
- What You’ll Need
- Instructions
- Tips and Common Mistakes
What Youll Need
- ● Chicken: 1–2 lbs (450–900g) of boneless, skinless chicken breasts, thighs, or wings—pat dry with paper towels for best results. 🍗
- ● Seasoning blend: 1–2 tbsp per pound of chicken (e.g., salt, pepper, paprika, garlic powder, or your favorite pre-mixed rub).
- ● Oil or binder: 1–2 tbsp of neutral oil (avocado, vegetable, or olive oil) OR 1–2 egg whites (lightly beaten) for extra stickiness.
- ● Mixing bowl: Medium-sized, non-reactive (glass or stainless steel preferred).
- ● Tongs or gloves: For even coating without messy hands. 🧤
- ● Paper towels: 2–3 sheets to pat chicken completely dry—this is key!
- ● Baking sheet + wire rack: For air-drying seasoned chicken (10–15 mins) before cooking. ⏳
- ● Spray bottle: Light mist of water or oil for extra adhesion (if needed).
- ● Meat mallet: To tenderize thicker cuts (like breasts) for better seasoning absorption.
Step-by-Step Instructions for Getting Seasoning to Stick to Chicken
This simple process ensures your chicken stays perfectly seasoned from first bite to last.
Start with Dry Chicken
Pat the chicken completely dry with paper towels before doing anything else. I mean really dry—press down firmly on every surface, including between folds of skin and under wings. Moisture creates a barrier between the meat and your seasoning, preventing proper adhesion.
For whole chickens, pay special attention to the cavity and skin folds where water tends to collect. I like to use a clean kitchen towel for the final pass after paper towels—it absorbs that last bit of moisture. The drier the surface, the better your seasoning will stick and the crispier your skin will become.
Apply a Thin Oil Coating
Lightly coat the chicken with a neutral oil like vegetable or canola oil. Use just enough to create a tacky surface—about 1 teaspoon for chicken pieces or 1 tablespoon for a whole chicken. Rub it evenly over all surfaces, including under any skin.
The oil acts as a glue that helps the seasoning adhere while also promoting better browning. I find using my hands works best for even coverage. Don’t overdo it though—too much oil will make your seasoning slide right off and can lead to greasy results.
Season Immediately Before Cooking
Apply your seasoning blend generously to all surfaces of the chicken, pressing gently to ensure good contact. For best results, season no more than 30 minutes before cooking. This timing prevents the salt in your seasoning from drawing out too much moisture, which would create that wet barrier we’re trying to avoid.
I always season over a plate to catch any excess, then pat the seasoning into the meat with my hands. You’ll see it cling better to the oiled surface than to bare meat. For whole chickens, don’t forget to season inside the cavity and under the skin where possible.
Use the Right Cooking Method
Choose cooking methods that promote adhesion. For oven-roasting, start at 425°F for the first 15-20 minutes to set the seasoning, then reduce to 375°F to finish cooking. This high initial heat helps create a crust that locks in your seasoning.
For grilling or pan-searing, cook over medium-high heat initially to develop that flavorful crust. Avoid moving the chicken too soon—let it sear undisturbed for at least 3-4 minutes before flipping. The Maillard reaction that occurs during this searing process helps bond the seasoning to the meat.
Let It Rest Properly
After cooking, let the chicken rest for 5-10 minutes before cutting or serving. This resting period allows the seasoning to set completely and the juices to redistribute. I tent mine loosely with foil to keep it warm without steaming off that perfect crust we worked so hard to create.
You’ll notice the seasoning stays put when you slice into properly rested chicken. If you cut too soon, you risk losing both juices and that flavorful crust. The rest also gives the seasoning flavors time to meld with the meat for better overall taste in every bite.
Tips and Common Mistakes
After years of perfecting this technique, I’ve learned that small details make all the difference in getting that perfect seasoned crust.
Drying Technique: In Step 1, don’t just pat the chicken dry—really press those paper towels into every crevice. I like to follow up with a clean kitchen towel for that final moisture pass. The drier the surface, the better your seasoning will adhere and the crispier your skin will become. This step is what separates good chicken from great chicken.
Oil Application: When applying oil in Step 2, remember that less is more. That 1 teaspoon for pieces or 1 tablespoon for whole chickens creates just enough tackiness without making the seasoning slide off. Rub it in thoroughly with your hands—you’ll feel when you’ve got the right amount of coverage.
Seasoning Timing: The 30-minute window in Step 3 is crucial. Season too early and the salt draws out moisture, creating that wet barrier we’re trying to avoid. I set a timer to remind myself when to start cooking—this simple step prevents over-salting and ensures maximum adhesion.
Heat Management: For oven-roasting in Step 4, that initial 425°F blast for 15-20 minutes creates the crust that locks in your seasoning. Don’t skip this high-heat phase—it’s what develops that flavorful bond between seasoning and meat that keeps everything in place.
Pro Tips for Get Seasoning To Stick To Chicken
- After years of perfecting this technique, I’ve learned that small details make all the difference in getting that per…
- Drying Technique: In Step 1, don’t just pat the chicken dry—really press those paper towels into every crevice. I lik…
- Oil Application: When applying oil in Step 2, remember that less is more. That 1 teaspoon for pieces or 1 tablespoon …
Frequently Asked Questions
Why does my seasoning keep falling off the chicken when cooking?
If your seasoning isn’t sticking, it’s likely because the chicken is too wet or lacks a binding agent. Pat the chicken thoroughly dry with paper towels before seasoning, and use a light coat of oil, mustard, or egg wash to help the spices adhere. Cooking at too high a heat too soon can also cause spices to burn and flake off.
Should I season chicken before or after cooking for maximum flavor?
For best results, season at least 30 minutes before cooking (or up to 24 hours for deeper flavor). This gives salt time to penetrate the meat. If you’re short on time, apply seasoning just before cooking—but use a binder like oil or mayo to help it stick during the heat.
Can I use something other than oil to make seasoning stick?
Try these sticky alternatives:
- Mustard or mayo: Acts as a flavorful “glue” (great for grilling or baking).
- Egg wash: Ideal for fried or breaded chicken.
- Honey or yogurt: Adds sweetness/tang while helping spices cling.
How do I fix seasoning that won’t stick to frozen chicken?
Frozen chicken releases moisture as it thaws, making spices slide off. Always thaw completely and pat dry before seasoning. For a quick fix, coat lightly thawed chicken in cornstarch or flour first—it absorbs moisture and gives spices a grippy surface.
Does the type of seasoning affect how well it sticks?
Yes! Fine powders (like paprika or garlic powder) adhere better than coarse blends (like peppercorns or flaky salt). For chunky seasonings, press them gently into the chicken or use a binder. Wet rubs (mixed with oil/vinegar) also cling better than dry rubs alone.
Now you’ve got the secret to perfectly seasoned chicken every time—no more bland bites or wasted spices! 🎉 Whether you’re grilling, baking, or pan-searing, the right prep (dry skin, oil, and patience) makes all the difference. Pro tip: Start with a simple blend, then experiment with bold flavors once you’ve mastered the technique.
Ready to put it to the test? Pick your favorite recipe, grab that chicken, and get seasoning like a pro! For extra inspiration, check out our guide to 10 must-try spice rubs next. Happy cooking! 🍗✨

Trained in classic French technique but raised on slow-cooked ribs and spicy rubs, she blends culinary skill with smoke and soul.
- Recipe for Boneless Pork Chops in Cast Iron Skillet: Sear and Baste to Juicy Perfection - October 3, 2026
- Recipe for Boneless Cross Rib Roast: Slow-Roasted Beef with Herb Crust - October 3, 2026
- Hamburgers in Sauce Recipe Crock Pot: Slow-Cooked Savory Delight - October 3, 2026