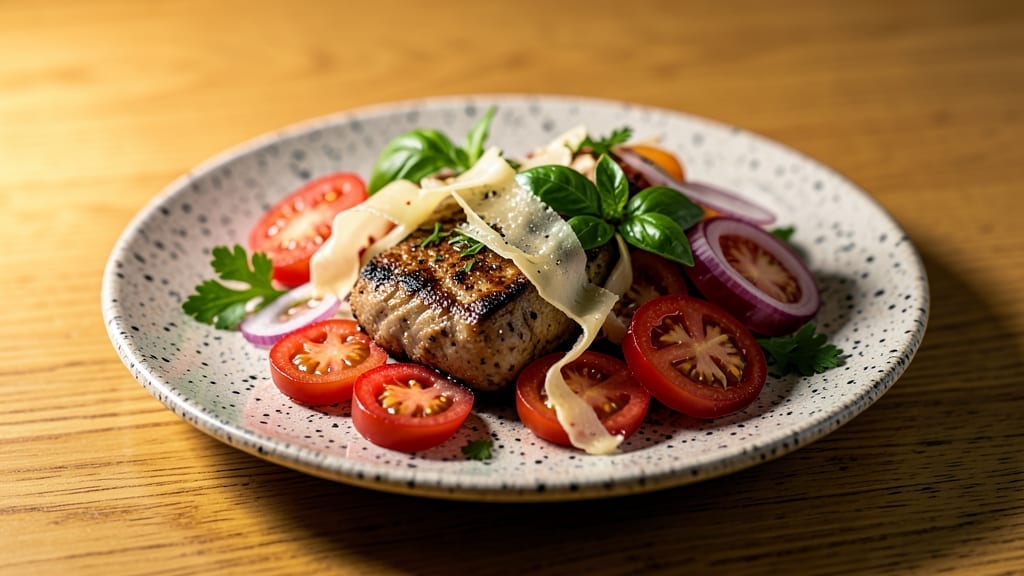
Grilling without a grill isn’t just possible—it’s the secret weapon I’ve used to throw backyard cookouts on my tiny Portland balcony. 🔥 The cast-iron skillet method delivers those coveted grill marks and smoky char without needing a single propane tank, and I’ve perfected it through years of testing everything from steaks to portobello mushrooms.
Here’s the game-changer: a simple technique that transforms your stovetop into a grill. You’ll need just a heavy skillet, high heat, and a little patience to create those perfect crosshatch marks.
The key is working in batches so your food doesn’t steam instead of sear—something I learned the hard way during my first attempt with chicken thighs that came out more sad than smoky.
What you’ll get is restaurant-quality charred edges and tender centers, whether you’re grilling burgers, shrimp, or even halloumi cheese. The smoky flavor comes from controlling the heat and using a little oil to help create those beautiful grill lines.
It’s the kind of method that makes summer cooking accessible no matter where you live or what equipment you have.
This technique works for both meat lovers and plant-based eaters—think crispy tofu, juicy mushrooms, or perfectly seared halloumi. Let’s get started with a method that’ll have you grilling anywhere, anytime. The only thing you’ll need more than cast iron is imagination.
📚 In This Guide
- What you need
- Instructions
- Tips and common mistakes
- Wrapping up and next steps
What you need
- ● Cast-iron skillet (10–12 inches) – The star of the show! Preheat it over medium-high heat for 5–10 minutes to mimic grill searing.
- ● Long-handled tongs or spatula – Keep your hands safe while flipping and arranging food.
- ● Heavy-duty aluminum foil – For quick makeshift grates (see tips below!) or wrapping veggies/meats for steaming.
- ● Wooden chopsticks or skewers – For grilling smaller items like veggies, shrimp, or kebabs.
- ● High-smoke-point oil (avocado, grapeseed, or vegetable oil) – 1–2 tbsp per use to prevent sticking and add flavor.
- ○ Wooden grill planks or cedar chips (optional but highly recommended) – Soak in water for 30+ minutes to add authentic smoky flavor.
- ● Charcoal chimney starter + briquettes (or lump charcoal) – If you want real grill smoke, use a small amount in your skillet (safely!) for 5–10 minutes.
- ● Instant-read thermometer – Ensure your food reaches safe internal temps (e.g., 145°F for chicken, 160°F for ground meats).
- ● Grill brush or paper towels – Clean your skillet post-grill for easy cleanup.
- ● Smoker box or aluminum foil pouch – For indirect grilling (e.g., smoking ribs or fish).
- ● Heat-resistant gloves – Protect your hands when handling hot skillets or charcoal.
Step-by-Step instructions for indoor grilling with cast iron
Turn your stovetop into a smoky grill station with just one pan.
🔥 Step 1: Preheat Your Cast-Iron Pan on High Heat
Place your heavy cast-iron skillet over medium-high heat for 5-7 minutes until it’s screaming hot. I like to test it by sprinkling a few drops of water—if they sizzle and evaporate instantly, you’re ready. This high heat creates that signature grill sear while preventing steam from making your food soggy.
Here’s the thing—cast iron retains heat like nothing else. If you’re using a gas stove, turn the burner to maximum heat and let it get good and hot before adding food. For electric stoves, medium-high works best since they don’t get as hot. The pan should be so hot it’s nearly smoking when you’re ready to cook.
🍳 Step 2: Add Oil and Create a Char Grid
Once the pan is blazing, add 1 tablespoon of high-smoke-point oil (like avocado or canola) and swirl it around to coat the entire surface. Let it heat for 30 seconds until it shimmers but doesn’t smoke excessively. This oil layer prevents sticking and helps create those grill marks.
Here’s how to make your char grid: use tongs to hold a pair of chopsticks or a metal spatula horizontally across the pan. Press down firmly to create a grid pattern, then remove. The oil will pool in these lines, creating perfect sear marks when you cook. For extra smokiness, you can even lightly char a piece of aluminum foil and place it under the food for 1-2 minutes before removing it.
👨🍳 Step 3: Cook Food in Batches with Direct Contact
Place your food directly on the hot pan grids-side down. For 4 servings, I recommend cooking 2 pieces at a time to avoid crowding. Press down gently on the food during the first 30 seconds—this prevents it from curling and ensures even contact with the pan. You’ll know it’s working when you see those beautiful grill marks forming within 2-3 minutes.
Don’t move the food around constantly—let it develop a crust. For chicken or fish, cook for 3-4 minutes per side until internal temperature reaches 165°F for chicken or 145°F for fish. For vegetables like portobello mushrooms, cook for 4-5 minutes per side until they’re tender with grill marks. The key is patience—rushing leads to uneven cooking.
⏰ Step 4: Finish with Optional Smoky Flavor Boost
For that extra smoky flavor, place a small piece of aluminum foil on the pan for the last 30 seconds of cooking. The foil will create a mini steam chamber that infuses smokiness into your food. Remove it just before serving to maintain crispiness. This works especially well for vegetables and thinner cuts of meat.
Let your food rest for 2-3 minutes off the heat before serving. This resting period allows juices to redistribute, ensuring each bite stays juicy. During this time, you can wipe out your cast-iron pan with a paper towel and a little oil to keep it ready for next time. The pan will stay hot enough to crisp up any accumulated juices on the bottom.
🍽️ Step 5: Serve Immediately with Grill-Inspired Sides
Transfer your perfectly charred food to serving plates and serve immediately. The contrast of smoky grill marks against juicy meat or tender vegetables makes this method worth the effort. For extra authenticity, serve with classic grill sides like corn on the cob (grilled in the same pan) or a simple arugula salad with lemon vinaigrette.
Pro tip: The residual heat in your cast-iron pan makes it perfect for quickly warming up any sides. Just add a little oil and toss in your vegetables for 2-3 minutes to get that same smoky flavor throughout your whole meal. This method proves you don’t need a grill to create restaurant-quality charred flavors right in your kitchen.
Tips & tricks for perfect indoor grilling with cast iron
Mastering this cast-iron technique transforms your kitchen into a grill station—here’s how to avoid the most common pitfalls.
Heat Control: In Step 1, that 5-7 minute preheat is non-negotiable for proper searing. I’ve learned the hard way that rushing this step leads to uneven cooking. For gas stoves, turn the burner to maximum heat—electric stoves need that medium-high setting to compensate for their slower heat response. Pro tip: If your pan isn’t smoking slightly, it’s not hot enough. The water test is foolproof—those droplets should evaporate instantly.
Grid Technique: The char grid in Step 2 is your secret weapon for authentic grill marks. Use chopsticks or a metal spatula to create those lines—press firmly enough to leave visible grooves. For extra smokiness, char a piece of aluminum foil for 1-2 minutes first, then place it under your food. This creates a mini smoke chamber effect that mimics outdoor grilling. Don’t skip this step if you want that restaurant-quality char!
Cooking Time Precision: Those 2-3 minutes for grill marks in Step 3 might seem short, but they’re crucial. Set a timer and resist the urge to peek—opening the pan too soon lets heat escape. For chicken, aim for 165°F internal temp (use an instant-read thermometer), while fish should hit 145°F. Vegetables like portobellos need that full 4-5 minutes per side to develop proper char without burning.
Resting Matters: The 2-3 minute rest in Step 4 might feel like forever, but it’s what separates good from great. During this time, juices redistribute throughout the meat instead of pooling on your plate. Use this time wisely—wipe out your pan with a paper towel and add a light coat of oil to keep it ready for next time. The residual heat will even crisp up any juices that accumulate on the bottom.
Pro Tips for Grill Without A Grill
- Mastering this cast-iron technique transforms your kitchen into a grill station—here’s how to avoid the most common pitfalls.
- Heat Control: In Step 1, that 5-7 minute preheat is non-negotiable for proper searing.
- Grid Technique: The char grid in Step 2 is your secret weapon for authentic grill marks.
Frequently asked questions
Got questions about grilling without a grill? You’re not alone—let’s clear up the most common concerns so you can get that smoky flavor without the equipment!
Can I really get grill marks on my food without a grill?
A cast-iron skillet or griddle works like a charm. Heat it up until it’s smoking hot (about 450°F/230°C), then place your food on it. The high heat and direct contact create those classic grill lines—just like a traditional grill!
How do I know when my pan is hot enough?
Use the water droplet test! Drop a tiny bit of water onto the pan—if it sizzles and evaporates instantly (within 2 seconds), it’s ready. For extra smokiness, add a splash of oil or place a wooden chopstick or apple slice on the pan to create smoke. Pro tip: A well-seasoned cast-iron skillet will get hotter faster!
What if my food sticks to the pan?
Sticking is usually a sign of low heat or unprepared surfaces. Always:
- Use high heat (or medium-high for delicate foods like fish).
- Generously coat the pan and food with oil (avocado, olive, or bacon fat work great!).
- Let the pan heat up for 5–10 minutes before adding food.
- Use a non-stick spray if needed (but avoid it for searing).
How long does it take to grill without a grill?
Timing depends on the method, but here’s a quick breakdown:
Method
Heat Time
Cooking Time
Cast-Iron Skillet
5–10 minutes to heat
3–8 minutes per side (varies by food)
Grill Pan/Press
8–10 minutes to heat
4–10 minutes total
Oven-Baked “Grill” (Broiling)
Preheat oven to 500°F (260°C)
5–15 minutes (watch closely!)
What’s the best alternative if I don’t have a cast-iron pan?
No cast iron? No problem! Try these easy swaps:
- Grill Pan or Griddle: Works like a mini grill—just heat and cook like usual.
- Oven Broiler: Place food on a wire rack over a baking sheet, broil for 3–5 minutes, and flip. Add a splash of oil or a wood chip (like apple or hickory) for smoke.
- Stovetop Grill Press: A flat, heavy pan that mimics grill marks—great for burgers and sandwiches!
- Aluminum Foil “Grill” Trick: Crumple foil into a “grill” shape, place on a baking sheet, and cook food on top for indirect heat.
Wrapping up and next steps
You don’t need a fancy grill to create smoky, charred perfection—just a cast-iron pan and a little creativity! Whether you’re camping, apartment-bound, or simply craving that grill flavor, these techniques prove you can still nail juicy burgers, crispy veggies, and even smoky ribs without the grill. 🍖✨
Now that you’re armed with tips and tricks, fire up that pan and start experimenting! Try one of these methods this weekend—your taste buds (and guests) will thank you. Which technique will you try first? Let us know in the comments!

Trained in classic French technique but raised on slow-cooked ribs and spicy rubs, she blends culinary skill with smoke and soul.
- Smoked Brisket Recipe: Low and Slow to Fall-Apart Tenderness - November 2, 2026
- Smoked Turkey Breast Recipe: Juicy Pink Center With Crispy Skin Every Time - November 2, 2026
- Leftover Smoked Pulled Pork Chili Recipe: Rustic Flavor Revival in One Pot - November 2, 2026