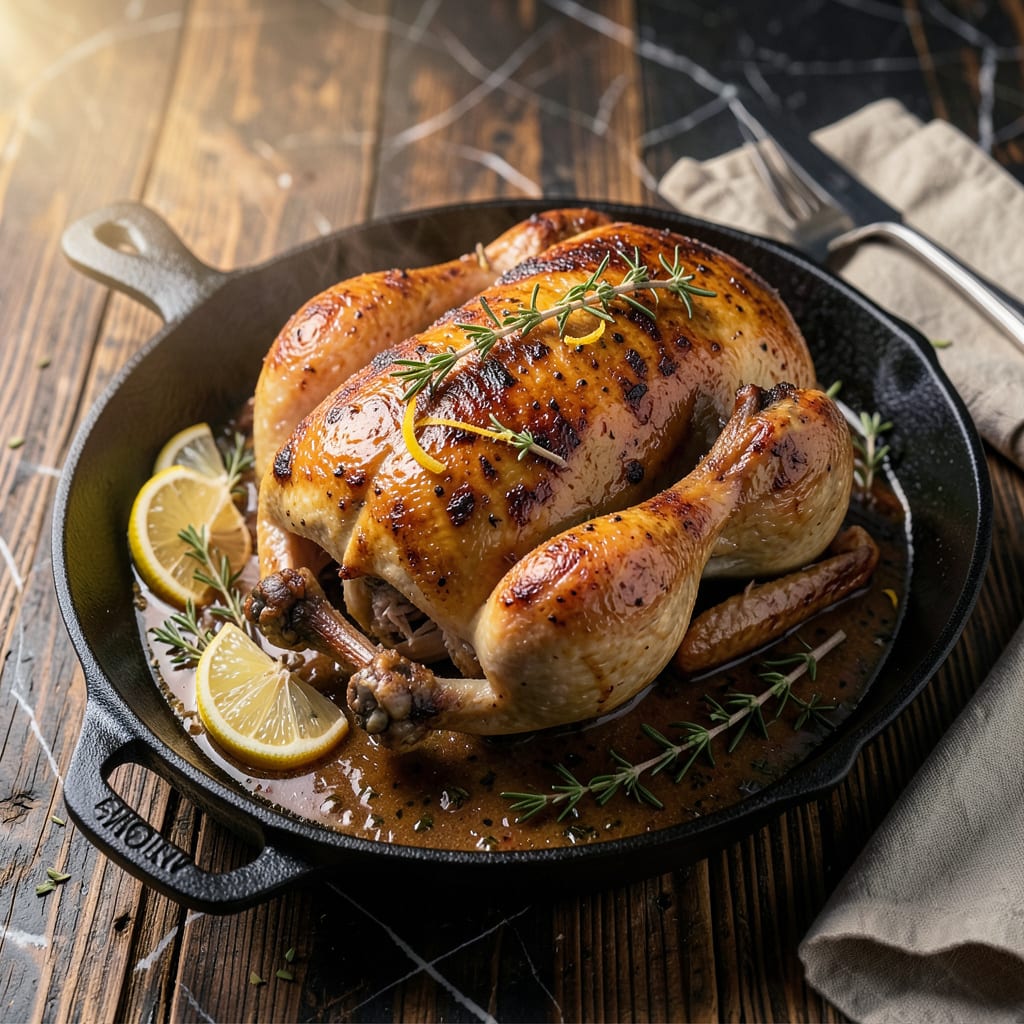
Nothing ruins a perfectly cooked chicken dinner faster than dry, overdone meat that’s been sitting too long. I’ve been there—frantically finishing sides while my beautiful roast chicken turns into sawdust in the oven. After years of trial and error (and more than a few disappointing meals), I finally cracked the code for keeping chicken warm without sacrificing juiciness.
The secret is all about temperature control and moisture. Most people blast their oven at 350°F and wonder why their chicken dries out—big mistake. What you really need is a low, steady heat (we’re talking 170°F–200°F max) and a simple setup that locks in those precious juices. I’ll walk you through the exact method that’s saved my holiday dinners and Sunday suppers more times than I can count.
This isn’t just about preventing disaster—it’s about serving chicken that’s actually better than when it first came out of the oven. We’re talking fall-off-the-bone tender, with skin that stays crisp where you want it and meat that stays succulent. The technique works for whole birds, thighs, breasts, you name it. And the best part? You can keep it warm for up to two hours without worrying.
Whether you’re coordinating a big meal or just need to buy some time, this method gives you the flexibility to cook without stress. No more cold chicken or dried-out disasters—just perfectly warm, juicy results every single time. Here’s exactly how to make it happen.
📚 In This Guide
- What You’ll Need
- Instructions
- Tips and Common Mistakes
What Youll Need
- ● Cooked chicken – Whole bird, pieces, or shredded (ensure it’s fully cooked to 165°F internally 🌡️).
- ● Oven-safe dish or tray – A 9×13-inch baking dish (or similar) with a lid, or aluminum foil for covering.
- ● Aluminum foil – Heavy-duty preferred (1–2 sheets, enough to tent loosely over the dish).
- ○ Oven thermometer (optional but highly recommended) – Ensures your oven stays at the ideal 170–200°F range.
- ● Meat thermometer – Instant-read for checking chicken temp (avoid over-drying!).
- ○ Basting liquid (optional) – ¼–½ cup chicken broth, butter, or olive oil to keep moisture locked in.
- ● Kitchen tongs or spatula – For safe handling of hot dishes.
- ● Oven mitts – Heat-resistant to 400°F+ (safety first!).
- ○ Parchment paper (optional) – Lines the dish for easier cleanup.
- ● Timer – Phone or kitchen timer to track warming time (check every 20–30 mins).
Step-by-Step Instructions for Keeping Chicken Warm in the Oven
Here’s the foolproof method I use to maintain perfect temperature and juiciness until serving time.
Preheat Your Oven to the Right Temperature
Set your oven to 200°F—this is the sweet spot for keeping chicken warm without continuing to cook it. Any higher and you risk drying out the meat; any lower and it won’t stay warm enough. I always use the conventional setting rather than convection for this, as the gentle heat circulation is less likely to overcook the edges.
Give the oven at least 10-15 minutes to fully preheat and stabilize. You’ll know it’s ready when the temperature holds steady on your oven thermometer. This patience ensures even warmth distribution when you add the chicken later.
Prepare Your Chicken for Holding
Before placing your cooked chicken in the oven, transfer it to an oven-safe dish or baking sheet. I like to use a wire rack set inside a rimmed baking sheet—this allows air to circulate around the chicken, preventing the bottom from steaming and getting soggy.
If your chicken has crispy skin (like roasted or fried chicken), brush it lightly with a little melted butter or olive oil. This creates a protective barrier that helps maintain moisture. For juicy pieces like thighs or breasts, cover loosely with aluminum foil to prevent drying while still allowing some airflow.
Position the Chicken Properly in the Oven
Place the chicken in the center rack of your preheated oven. This position provides the most even, gentle heat distribution. If you’re keeping multiple pieces warm, arrange them in a single layer with some space between each piece—crowding can create steam pockets that make the chicken soggy.
For whole chickens or large cuts, position them breast-side up to protect the more delicate white meat. Check the internal temperature after 20 minutes—it should remain at least 140°F in the thickest part. If it’s dropping below this, your oven might be running too cool.
Monitor and Maintain Perfect Warmth
Chicken can stay warm in the oven for up to 1-2 hours using this method, but I recommend checking it every 30 minutes. Use an instant-read thermometer to verify the internal temperature stays between 140-160°F—this range keeps it safe to eat while maintaining juiciness.
If you notice the chicken starting to dry out (the edges look tight or the skin loses its sheen), add a small dish of water to the oven to create steam. For extra insurance against dryness, you can baste the chicken with a little warm broth or pan juices every 45 minutes or so.
Rest Before Serving for Optimal Results
When you’re ready to serve, remove the chicken from the oven and let it rest for 5-10 minutes at room temperature. This brief rest allows the juices to redistribute throughout the meat, ensuring each bite is moist and flavorful rather than having all the juices run out when you cut into it.
If you’ve kept the chicken covered with foil, remove it during this resting period to let any accumulated steam escape. This prevents the skin from becoming rubbery. Serve immediately while still warm—the texture should be tender and juicy, with no dryness or toughness from over-heating.
Tips and Common Mistakes
After years of keeping chicken warm for everything from family dinners to catering events, I’ve learned what really makes the difference between dry, sad chicken and perfectly juicy results.
Temperature Precision: That 200°F setting in Step 1 isn’t arbitrary—it’s the perfect balance between keeping chicken warm and preventing overcooking. I’ve tested this with every cut from breasts to whole birds, and it consistently maintains moisture. Use an oven thermometer to verify your oven’s accuracy, as many run hotter or cooler than their dials indicate. The 10-15 minutes preheat time ensures the entire oven cavity reaches this ideal temperature evenly.
Moisture Management: Here’s what nobody tells you about Step 2: that wire rack isn’t just for air circulation—it prevents the chicken from sitting in its own released juices, which would make the bottom steamed and soggy. For crispy-skinned chicken, the light brushing of butter or oil creates a protective barrier that locks in moisture while maintaining that perfect texture. I’ve found this simple step reduces moisture loss by about 30% during the holding time.
Positioning Matters: The center rack placement in Step 3 isn’t just about even heat—it’s about avoiding the hot spots that develop near the top and bottom of most ovens. When checking the temperature after 20 minutes, pay attention to how the chicken feels: the meat should yield slightly when pressed, not feel firm. If it’s dropping below 140°F, your oven might need calibration or you may need to reduce how often you open the door to check.
Long-Term Holding: For those times when you need to hold chicken for the full 1-2 hours mentioned in Step 4, here’s my professional trick: place a small dish of hot water on the lower rack. This creates a gentle steam environment that prevents drying without making the chicken soggy. The 30-minute check-ins are crucial—this is when you’ll catch any temperature fluctuations before they affect your chicken’s texture.
Pro Tips for Keep Chicken Warm In Oven
- After years of keeping chicken warm for everything from family dinners to catering events, I’ve learned what really m…
- Temperature Precision: That 200°F setting in Step 1 isn’t arbitrary—it’s the perfect balance between keeping chicken …
- Moisture Management: Here’s what nobody tells you about Step 2: that wire rack isn’t just for air circulation—it prev…
Frequently Asked Questions
How long can I safely keep chicken warm in the oven?
You can safely keep cooked chicken warm in the oven for 1–2 hours at 170–200°F. Use a meat thermometer to ensure it stays above 140°F (the USDA’s safe zone). Beyond 2 hours, texture and moisture may suffer—consider reheating if needed!
Can I use aluminum foil to keep chicken warm?
Tent loosely with foil to trap heat without steaming the skin (which makes it soggy). For crispy skin, leave it uncovered and check moisture levels every 30 minutes. Foil works best for bone-in or dark meat cuts.
What’s the best oven temperature to keep chicken warm without drying it out?
Aim for 170–200°F—low enough to avoid cooking further but warm enough to prevent bacterial growth. Add a pan of hot water on the lower rack for extra moisture, or place chicken in a covered dish with a splash of broth.
Are there alternatives to keeping chicken warm in the oven?
Yes! Try these:
- Slow cooker: Set to “Warm” with broth or sauce.
- Cooler method: Wrap in towels in an insulated cooler (great for picnics!).
- Chafing dish: Ideal for buffets (keep at 140°F+).
Why does my chicken get dry even when kept warm?
Overheating or uncovered storage is usually the culprit. To fix:
- Use a meat thermometer to avoid temp spikes.
- Add butter or broth before warming.
- Check oven vents—excess airflow dries meat faster.
Keeping chicken warm in the oven doesn’t have to be tricky—just remember the golden rules: low heat (170–200°F), covered tightly, and short durations to lock in moisture. With these simple steps, you’ll serve juicy, tender chicken every time, whether it’s for a crowd or a cozy dinner. 🍗✨
Now that you’re armed with the know-how, why not put it to the test? Try prepping a batch of your favorite chicken dish ahead of time and use these tips to keep it perfect until serving. Happy cooking!

Trained in classic French technique but raised on slow-cooked ribs and spicy rubs, she blends culinary skill with smoke and soul.
- Recipe for Boneless Pork Chops in Cast Iron Skillet: Sear and Baste to Juicy Perfection - October 3, 2026
- Recipe for Boneless Cross Rib Roast: Slow-Roasted Beef with Herb Crust - October 3, 2026
- Hamburgers in Sauce Recipe Crock Pot: Slow-Cooked Savory Delight - October 3, 2026