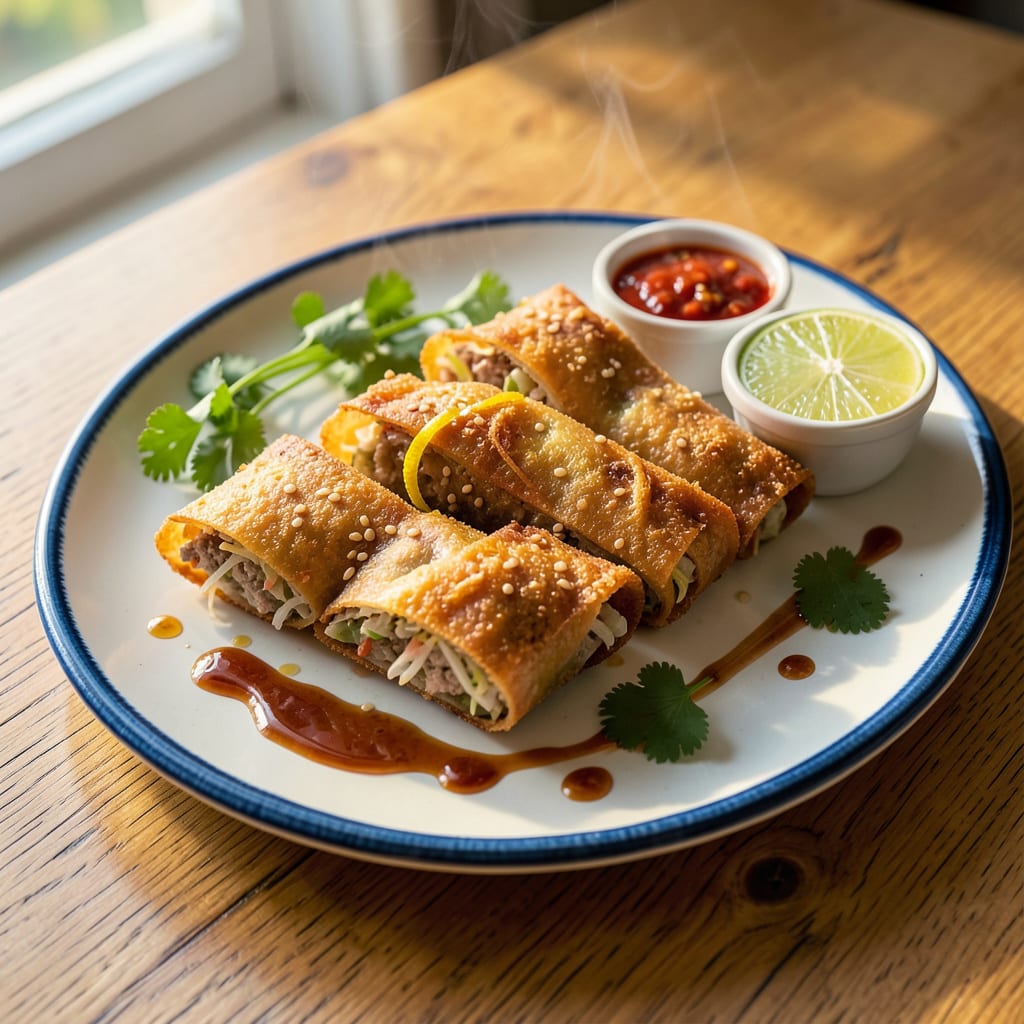
Nothing ruins spring rolls faster than that dreaded soggy bottom. I’ve lost count of how many batches I’ve watched go from perfectly crispy to disappointingly limp in what feels like minutes. The culinary crime usually happens during cooling or storage, when trapped steam turns those beautiful golden wrappers into a sad, chewy mess. But here’s the good news: keeping them crispy for hours isn’t magic—it’s all about controlling moisture at every single step.
I cracked the code after burning through three test batches in one afternoon (my kitchen smelled amazing, at least). The game-changer? Treating spring rolls like delicate pastries that need constant airflow. From the moment they hit the oil until you’re ready to serve them, every decision either preserves that crispy texture or destroys it. And no, simply putting them on paper towels doesn’t cut it—you need a proper draining strategy.
What most recipes don’t tell you is that the battle starts before you even begin frying. The filling moisture, oil temperature, and even how you arrange them post-fry all play crucial roles. I’ve seen spring rolls go from restaurant-quality to sad desk lunch in under an hour—all because of small mistakes that add up. The right technique means you can make them ahead without sacrificing that satisfying crunch.
Here’s where it gets interesting—this isn’t just about frying properly. The real secret lies in what happens after they come out of the oil. I’ll show you exactly how to set up a crispiness preservation system that works whether you’re serving immediately or packing them for later. No special equipment needed, just smart strategy.
📚 In This Guide
- What You’ll Need
- Instructions
- Tips and Common Mistakes
What Youll Need
- ● Spring rolls: 12–15 freshly made or store-bought (uncooked or pre-fried, depending on method). Opt for thin, crispy wrappers (rice paper or wheat-based).
- ● High-smoke-point oil: 3–4 cups (e.g., peanut, vegetable, or avocado oil) for deep-frying. Pro tip: Avoid olive oil—it burns easily! 🌡️
- ● Frying tools: Deep fryer or heavy-bottomed pot (3–4 quarts capacity).
- ● Slotted spoon or spider strainer (for safe removal).
- ● Kitchen thermometer (to monitor oil temp—350–375°F is ideal).
- ● Cooling & storage: Wire rack + baking sheet (for draining excess oil).
- ○ Parchment paper (optional, for extra crispiness).
- ● Airtight container or paper bags (for storage).
- ○ Optional crisp-boosters: Cornstarch (1–2 tbsp for dusting before frying).
- ● Rice flour (for extra crunch in homemade wrappers).
- ● Dehumidifier or silica gel packets (if storing long-term).
Instructions
Here’s the method I’ve perfected to keep your spring rolls crispy for hours—no soggy disappointments here.
Start with Perfectly Fried Spring Rolls
The secret to long-lasting crispiness begins with how you fry them. Heat your oil to 350°F—this is the sweet spot where spring rolls cook through without absorbing excess oil. I use a deep-fry thermometer to monitor the temperature precisely, as guessing often leads to greasy or undercooked results.
Fry the spring rolls in small batches for 3-4 minutes until they turn a deep golden brown. Don’t overcrowd the pan, or the oil temperature will drop, resulting in soggy spring rolls. When they’re done, the exterior should be uniformly crispy, and you’ll hear a faint crackling sound when you remove them from the oil.
Drain and Cool Properly
As soon as the spring rolls come out of the oil, transfer them to a wire rack set over a baking sheet. This setup allows air to circulate around the entire spring roll, preventing steam from collecting underneath and making them soggy. I avoid paper towels here—they trap moisture against the spring rolls, which is exactly what we’re trying to avoid.
Let them cool for at least 10 minutes before serving or storing. You’ll notice the crispiness actually improves as they cool, as long as they’re not sitting in any residual oil or steam. If you’re frying multiple batches, keep the finished ones in a single layer on the rack—stacking them will create condensation.
Use the Oven to Maintain Crispiness
Here’s the game-changer: if you’re not serving the spring rolls immediately, place them on a wire rack in a 200°F oven. This low temperature keeps them warm without continuing to cook them, and the dry heat helps maintain that perfect crunch. I’ve found this method keeps spring rolls crispy for up to 2 hours—plenty of time for parties or meal prep.
If you’re transporting them, let them cool completely first, then place them in a single layer in a cardboard box lined with parchment paper. The box absorbs any residual moisture while still allowing some airflow. Avoid plastic containers or foil wrapping, as these will trap steam and ruin the crispiness within minutes.
Re-Crisp if Needed
If your spring rolls have lost some crispiness (maybe they sat out too long or were refrigerated), don’t worry—they can be revived. Preheat your oven to 375°F and place the spring rolls on a wire rack for 5-7 minutes. This quick blast of heat will restore their crunch without overcooking the filling.
For air fryer users, 350°F for 3-4 minutes works beautifully. Watch them closely—they’ll crisp up faster than you expect. The key is to heat them just until they’re hot and the exterior is crisp again; any longer and you risk drying out the filling. Serve immediately for that just-fried texture.
Tips and Common Mistakes
After perfecting this method through countless batches, I’ve learned that small details make all the difference in keeping spring rolls crispy for hours.
Temperature Precision: The 350°F frying temperature in Step 1 isn’t arbitrary—it’s the perfect balance where spring rolls cook through without absorbing excess oil. I’ve found that even a 10-degree difference can mean the difference between crispy perfection and greasy disappointment. Use a deep-fry thermometer and adjust your heat source as needed to maintain this exact temperature throughout frying.
Draining Technique: In Step 2, that wire rack isn’t just for show—it’s your secret weapon against sogginess. The 10 minutes of cooling time allows the exterior to set completely while air circulates underneath. I learned the hard way that paper towels actually work against you here, trapping steam that makes spring rolls soft. For extra insurance, I sometimes place a small fan nearby to increase airflow during cooling.
Oven Strategy: The 200°F oven mentioned in Step 3 might seem too low to make a difference, but this gentle heat is perfect for maintaining crispiness without continuing to cook the filling. I’ve kept spring rolls in the oven for the full 2 hours during parties, and they were still perfectly crisp when served. Just be sure to use a wire rack—direct contact with a baking sheet can create a steamy environment on the bottom.
Re-Crisping Wisdom: When reviving spring rolls in Step 4, those 5-7 minutes at 375°F are crucial. Any less and they won’t crisp properly; any more and you risk drying out the filling. I always set a timer and check at the 5-minute mark. For air fryer users, the 3-4 minutes at 350°F will work beautifully, but stay nearby—they can go from perfect to overdone surprisingly fast.
Pro Tips for Keep Spring Rolls Crispy
- After perfecting this method through countless batches, I’ve learned that small details make all the difference in ke…
- Temperature Precision: The 350°F frying temperature in Step 1 isn’t arbitrary—it’s the perfect balance where spring r…
- Draining Technique: In Step 2, that wire rack isn’t just for show—it’s your secret weapon against sogginess. The 10 m…
Frequently Asked Questions
Got questions about keeping your spring rolls perfectly crispy? You’re not alone! Here are the most common concerns—answered fast so you can get back to enjoying that crunch.
How long do spring rolls stay crispy after frying?
Freshly fried spring rolls stay crispy for 1–2 hours at room temperature if drained well and kept uncovered. For longer crispiness (up to 4–6 hours), place them on a wire rack in a 200°F oven—this prevents sogginess by allowing airflow.
Can I reheat spring rolls without losing crispiness?
Yes! Skip the microwave (it makes them rubbery). Instead, reheat in an air fryer (350°F for 3–4 mins) or oven (375°F for 5–7 mins). For extra crunch, spritz lightly with oil before reheating.
Why do my spring rolls get soggy after frying?
Sogginess usually comes from trapped steam (covering them too soon) or excess oil (not draining properly). Always drain on a wire rack (not paper towels) and avoid stacking while hot.
What’s the best oil for extra-crispy spring rolls?
Use oils with a high smoke point like peanut, avocado, or vegetable oil (375–400°F). They create a crisper crust and won’t absorb into the wrapper. Avoid olive oil—it burns at high temps!
Can I make spring rolls crispy without deep-frying?
Absolutely! Try air frying (375°F for 8–10 mins, flip halfway) or pan-frying with minimal oil (crisp all sides). For baked rolls, brush with oil and bake at 400°F for 15–20 mins on a wire rack.
Now you’ve got the secret to perfectly crispy spring rolls—every single time! 🎉 From frying at the right temp to storing them like a pro, these tricks ensure your rolls stay crunchy, not soggy, for hours. Whether you’re prepping for a party or just craving a snack, crispy success is just a few steps away.
Ready to put it to the test? Grab your ingredients and start rolling—your future (happy, crunch-loving) self will thank you! 😉

Trained in classic French technique but raised on slow-cooked ribs and spicy rubs, she blends culinary skill with smoke and soul.
- Recipe for Pan Fried: Golden Crust with Savory Depth - October 3, 2026
- Recipe For Fried Chicken In A Pressure Cooker: Crispy Golden Bites in Half the Time - October 3, 2026
- Recipe For Leftover Fried Fish: Crunchy Leftovers Transformed - October 3, 2026