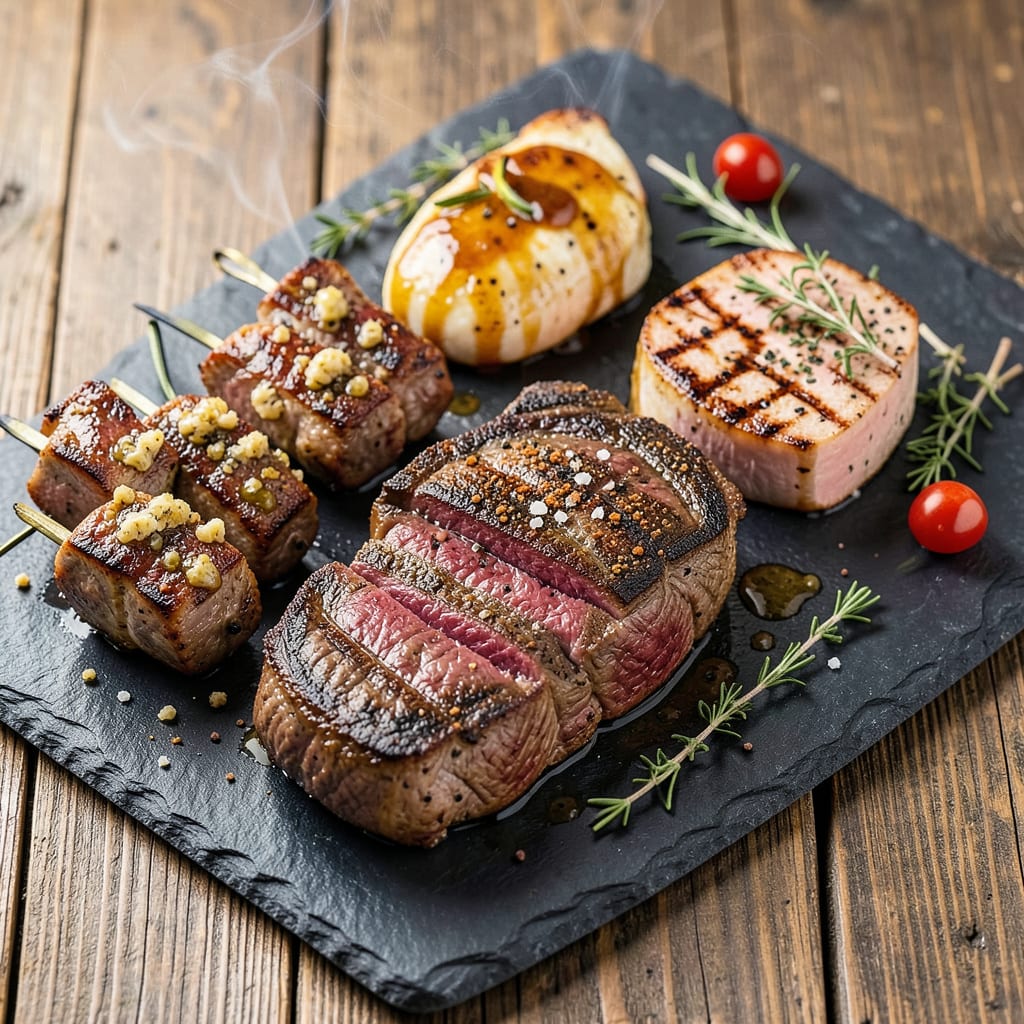
I still remember the first time I smelled hickory smoke curling around a fresh rub on my dad’s ribs—it was like unlocking a secret level of flavor. Seasoning meat isn’t just about throwing spices at it; it’s about understanding how salt, acid, and heat work together to transform tough cuts into something extraordinary. Whether you’re working with a juicy steak, tender chicken, or slow-cooked pork, the right technique makes all the difference between “meh” and “more, please!”
Here’s the thing—most home cooks overcomplicate it. You don’t need a pantry full of exotic spices or hours of marinating to get restaurant-quality results. The real magic happens when you master three simple things: when to salt (hint: earlier than you think), how to balance flavors (sweet, smoky, spicy), and why patting your meat dry before cooking creates that perfect crust every time. I’ve burned through my fair share of experiments to land on these foolproof methods.
What you’ll walk away with isn’t just a seasoned piece of meat—it’s the confidence to make every cookout or weeknight dinner taste like it came from a pitmaster’s kitchen. We’re talking crispy-skinned chicken that falls off the bone, steaks with a peppery crust and rosy center, and pork ribs so tender they barely need a knife. The best part? These techniques work whether you’re grilling, roasting, or pan-searing.
No fancy equipment required, just a little know-how and the willingness to get your hands dirty. Let me show you how to turn even the simplest cut of meat into something people will remember—just like that first whiff of smoke that hooked me years ago.
📚 In This Guide
- What You’ll Need
- Instructions
- Tips and Common Mistakes
What Youll Need
- ● Meat of choice – 1–4 lbs (steak, chicken, pork, fish, etc.)
- ● Coarse salt – 1–2 tsp per lb (kosher or sea salt preferred)
- ● Freshly ground black pepper – ½–1 tsp per lb
- ○ Garlic powder – ½ tsp per lb (optional but recommended)
- ○ Onion powder – ½ tsp per lb (optional)
- ○ Paprika – ½ tsp per lb (smoked or sweet, optional)
- ● Herbs – 1–2 sprigs fresh (rosemary, thyme, oregano) or ½ tsp dried
- ● Oil – 1–2 tbsp (olive, avocado, or neutral oil for searing)
- ● Mixing bowl – Medium-sized (for dry rubs or marinades)
- ● Measuring spoons – For precise seasoning
- ● Tongs or gloves – To handle raw meat safely
- ○ Plastic wrap or resealable bag – For marinating (optional)
- ● Meat thermometer – For perfect doneness (highly recommended!)
- ○ Citrus or vinegar – 1–2 tbsp (for marinade acidity, optional)
Instructions for Seasoning Meat Like a Pro
Here’s the method I’ve perfected over years—simple steps that guarantee perfectly seasoned meat every time.
Choose Your Meat and Understand Its Needs
Start by selecting your cut of meat and considering its characteristics. Lean cuts like chicken breast or pork tenderloin benefit from oil-based marinades or wet rubs to prevent drying out. Fattier cuts like ribeye or pork shoulder can handle dry rubs and more aggressive seasoning because the fat will carry the flavors.
I always pat the meat completely dry with paper towels before seasoning—this creates a better surface for the seasonings to adhere to and promotes better browning when cooking. For whole cuts like roasts or whole chickens, I pay special attention to crevices and cavities where moisture tends to collect.
Apply the Right Seasoning Technique for Your Cut
For quick-cooking cuts (steaks, chops, chicken breasts), I use a simple but generous application of salt and pepper right before cooking. The salt will draw out moisture initially, but with proper technique, this creates a beautiful crust. For these cuts, I recommend kosher salt—its coarse texture gives better coverage and control.
For larger roasts or tougher cuts that benefit from longer cooking times, I apply seasonings at least 1 hour before cooking, or even overnight for maximum flavor penetration. This gives the salt time to break down muscle proteins, resulting in more tender meat. I often use a blend of salt, pepper, and complementary spices like garlic powder, smoked paprika, or dried herbs depending on the dish.
Master the Salt Timing for Optimal Results
The timing of when you apply salt dramatically affects your final result. For steaks and chops, I salt immediately before cooking to maintain moisture in the meat. However, for larger roasts or whole birds, I salt 24 hours in advance—this technique, called dry-brining, seasons the meat throughout while keeping it juicy.
Here’s the science: Salt initially draws out moisture through osmosis, but given enough time (about 45 minutes for steaks, 12-24 hours for roasts), the meat reabsorbs the liquid along with the dissolved salt, creating meat that’s both well-seasoned and moist. I’ve found this makes the biggest difference in home cooking—it’s what separates good meat from extraordinary.
Layer Flavors Strategically
Build flavor in stages rather than relying on a single application. I start with a base layer of salt, then add aromatic spices, and finally finish with fresh herbs or citrus zest right before serving. This approach creates depth of flavor that you can’t achieve with a single seasoning step.
For example, with a steak, I might start with salt, add garlic and onion powder before cooking, then finish with fresh rosemary and a pat of compound butter. Each layer serves a purpose: the salt seasons throughout, the powders create a flavorful crust, and the fresh elements add brightness at the end. I also consider the cooking method—high-heat searing benefits from robust spices that can stand up to the heat, while delicate poaching might only need salt and a few herbs.
Rest and Re-season Before Serving
After cooking, always let your meat rest for at least 5-10 minutes (longer for large roasts). This allows the juices to redistribute throughout the meat. I use this time to prepare any final seasonings or garnishes.
Just before serving, I often give the meat one final light seasoning—perhaps a sprinkle of flaky sea salt, a crack of fresh pepper, or a drizzle of high-quality olive oil. This last touch enhances the flavors you’ve built and adds a professional finish. I’ve found that this final seasoning step makes people think you’ve spent hours in the kitchen, when really it’s just about thoughtful timing and technique.
Tips and Common Mistakes for Perfectly Seasoned Meat
After years of experimenting with different techniques, I’ve discovered these key insights that make all the difference in seasoning meat properly.
The Drying Technique: In Step 1, when you pat the meat completely dry before seasoning, use paper towels and press firmly. This isn’t just about removing surface moisture—it’s about creating a textured surface that will grab and hold onto your seasonings. I’ve found that properly dried meat develops a significantly better crust when cooked, especially for high-heat methods like searing or grilling.
Salt Timing Science: The 45 minutes mentioned in Step 3 for steaks isn’t arbitrary—it’s the sweet spot where the salt has drawn out moisture but the meat has had time to reabsorb it with the salt. For roasts, that 12-24 hour window in Step 3 allows the salt to penetrate deep into the meat while the surface develops that perfect seasoned crust. I learned this the hard way after ruining several expensive cuts by not respecting these time windows.
Layering Flavors: When building flavors in Step 4, think about the cooking method. High-heat techniques like grilling or pan-searing benefit from robust, dry spices that can withstand the heat, while gentler methods like braising can handle more delicate herbs. I always add my most heat-sensitive seasonings (like fresh herbs) at the very end to preserve their brightness and aroma.
Resting and Re-seasoning: That 5-10 minute rest in Step 5 isn’t just about juices—it’s your opportunity to assess the final seasoning. After resting, I always taste a small piece (if possible) before that final seasoning. This lets me adjust the last sprinkle of salt or pepper to perfectly balance the flavors right before serving.
Pro Tips for Season Meat
- After years of experimenting with different techniques, I’ve discovered these key insights that make all the differen…
- The Drying Technique: In Step 1, when you pat the meat completely dry before seasoning, use paper towels and press fi…
- Salt Timing Science: The 45 minutes mentioned in Step 3 for steaks isn’t arbitrary—it’s the sweet spot where the salt…
Frequently Asked Questions
How long should I season meat before cooking?
For best results, season at least 40 minutes before cooking (or overnight for large cuts like brisket). Salt needs time to penetrate—this ensures juicier, more flavorful meat. For quick cooks (like burgers), season just before grilling to avoid drawing out too much moisture.
Can I use dried herbs instead of fresh?
Yes! Use 1/3 the amount of dried herbs (e.g., 1 tsp dried = 1 tbsp fresh). Dried herbs are more concentrated, so crush them between your fingers to release oils. Pro tip: Add dried herbs early (with salt) to rehydrate; add fresh herbs at the end for bright flavor.
Why does my seasoned meat taste bland?
Common culprits:
- Not enough salt (start with ¾ tsp per pound).
- Seasoning too late (salt needs time!).
- Overcrowding the pan (steams instead of sears).
What’s the best way to season meat without salt?
Boost flavor with acid (lemon, vinegar), umami (soy sauce, mushrooms), or spices (smoked paprika, cumin). Try a dry rub with garlic powder, onion powder, and black pepper. For heat, add cayenne or chili flakes. Note: Salt substitutes (like potassium chloride) can taste bitter—test first!
Should I oil the meat before seasoning?
Lightly coat meat after seasoning (not before) to help spices stick and promote browning. Use high-smoke-point oils (avocado, grapeseed) for searing. Avoid drowning the seasoning—just a thin layer! For grilling, oil the grates instead to prevent sticking.
Mastering how to season meat is your ticket to restaurant-quality flavor at home—no fancy tools required! 🌟 Whether you’re keeping it simple with salt and pepper or experimenting with bold rubs, the key is balance, patience, and confidence. Trust your taste buds, and don’t be afraid to adjust as you go.
Ready to put your skills to the test? Pick a cut of meat (even chicken thighs or a steak work great!) and try a new seasoning combo tonight. Happy cooking—your next delicious meal is just a sprinkle away! 🍽️

Trained in classic French technique but raised on slow-cooked ribs and spicy rubs, she blends culinary skill with smoke and soul.
- Recipe for Boneless Pork Chops in Cast Iron Skillet: Sear and Baste to Juicy Perfection - October 3, 2026
- Recipe for Boneless Cross Rib Roast: Slow-Roasted Beef with Herb Crust - October 3, 2026
- Hamburgers in Sauce Recipe Crock Pot: Slow-Cooked Savory Delight - October 3, 2026