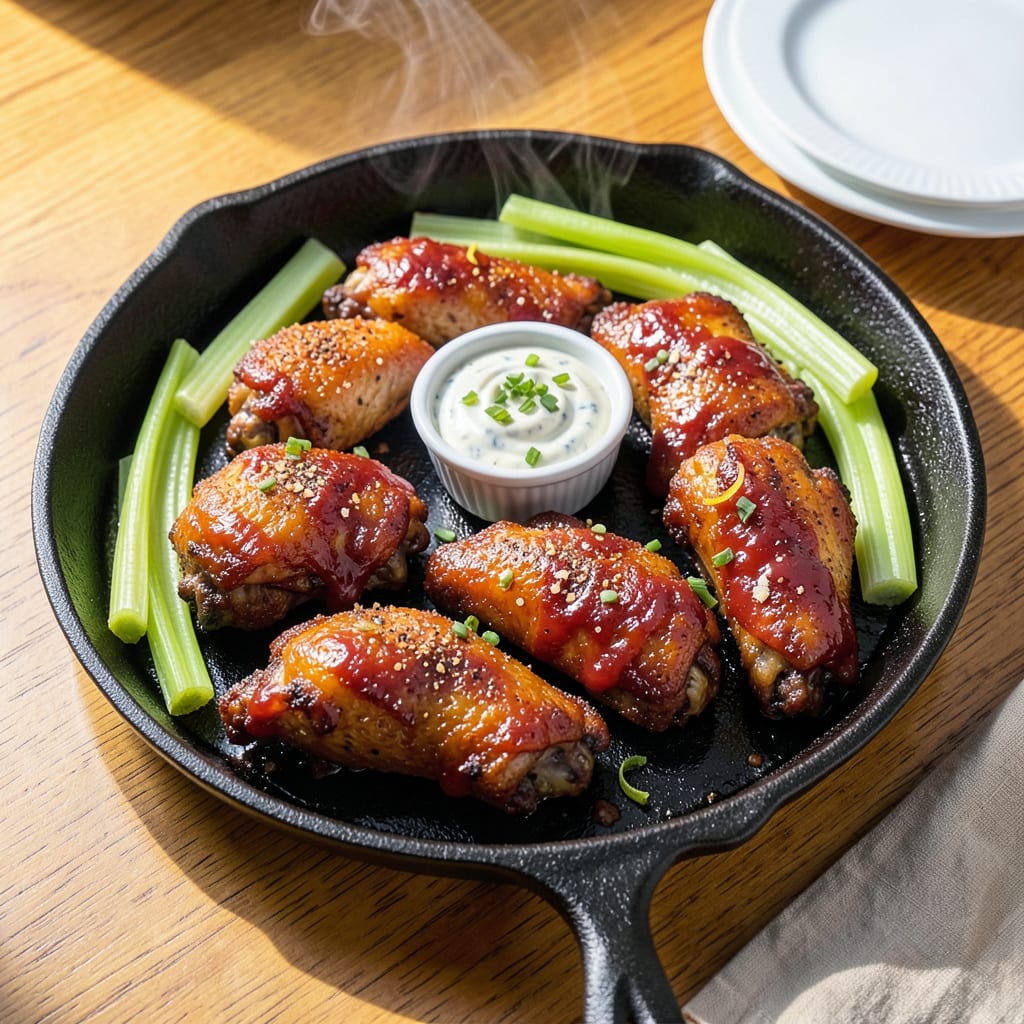
Nothing kills a game-day spread faster than cold, soggy wings. I’ve been there—spending hours perfecting crispy, saucy wings only to watch them lose their magic while everyone’s busy watching the game. The solution isn’t complicated, but it does require knowing the right techniques to maintain that just-fried texture and temperature without drying them out.
After years of hosting watch parties and catering local BBQ events, I’ve nailed down the best methods for keeping wings warm and crispy for hours. Whether you’re using your oven at 200°F, a slow cooker with a rack, or even a good old-fashioned chafing dish, the key is maintaining steady, gentle heat while allowing air circulation. I’ll walk you through exactly how to set up each method so your wings stay perfectly crispy from kickoff to the final whistle.
Here’s what you absolutely need to avoid: microwaving (it turns wings to rubber), high heat (it’ll dry them out), and stacking wings on top of each other (steam is the enemy of crispiness). I learned these lessons the hard way during my first big cookout—let’s just say I made a lot of sad, soggy wings before figuring out the right approach.
The best part? These methods work whether you’re dealing with classic buffalo wings, sticky BBQ, or dry-rubbed smoked wings. I’ll even share my secret for reheating wings if they do cool down, plus the ideal time to sauce them so they stay crispy instead of turning into a sad, soggy mess. Game day just got a whole lot tastier.
📚 In This Guide
- What You’ll Need
- Instructions
- Tips and Common Mistakes
What Youll Need
- ● Insulated food carrier or cooler – A high-quality, hard-sided model (e.g., RTIC 40 Qt or Yeti Tundra 35) to retain heat. 🧊
- ● Aluminum foil (heavy-duty) – 1 roll (18″ width) to wrap wings tightly and lock in warmth.
- ● Oven-safe trays or pans – 1-2 shallow baking sheets (half-sheet size) for even heat distribution.
- ● Parchment paper – 1 pack to prevent sticking and simplify cleanup.
- ● Heat source – 1-2 heat packs (like Hand Warmers) or a slow cooker (6 Qt) set to “Warm.”
- ● Kitchen towels or blankets – 2-3 thick, clean towels to layer for extra insulation.
- ● Meat thermometer – 1 instant-read (e.g., ThermoWorks Thermapen) to monitor safe temps (165°F+).
- ● Chafing dish with fuel – For buffet-style serving (1-2 cans of sterno fuel).
- ● Wing racks – Elevates wings to avoid sogginess (1-2 wire racks).
- ● Sauce warmers – Small crock-pot (1.5 Qt) to keep dips like blue cheese or ranch warm.
- ● Oven mitts – Heat-resistant pair for safe handling.
Step-by-Step Instructions for Keeping Wings Warm
Here’s the foolproof method I use to maintain that just-fried crispiness and juiciness for hours.
Set Up Your Warming Equipment
Start by preheating your oven to its lowest setting—typically 170-200°F. This gentle heat is perfect for maintaining temperature without overcooking. If your oven doesn’t go that low, set it to 200°F and prop the door open slightly with a wooden spoon to reduce the heat.
For even better results, I recommend using a wire rack set inside a baking sheet. This setup allows air to circulate around the wings, preventing them from steaming and losing their crispiness. If you’re using a slow cooker, set it to the “warm” setting and line the bottom with parchment paper for easy cleanup.
Arrange Wings for Optimal Airflow
Spread the wings in a single layer on your prepared wire rack or in the slow cooker. Make sure they’re not touching each other—this spacing is crucial for maintaining crispiness. If you’re using the oven method, place the baking sheet on the middle rack for even heat distribution.
Here’s the thing—I’ve found that stacking wings or crowding them together creates steam pockets that make the skin soggy. If you’re working with a large batch, use multiple racks or trays rather than piling them up. For extra insurance against moisture buildup, you can place a dry paper towel in the bottom of the slow cooker to absorb any condensation.
Monitor and Maintain Perfect Conditions
Check the wings after 30 minutes to assess their condition. You want them to stay warm but not continue cooking. If using an oven, rotate the pan every 45 minutes for even heating. For slow cookers, give them a gentle stir with tongs every hour to prevent sticking.
Real talk: the key to success is maintaining that delicate balance between warmth and airflow. If the wings start to look dry, tent them loosely with foil—but don’t seal them completely. If they’re losing crispness, you can briefly return them to a 400°F oven for 3-5 minutes to revive the texture before serving.
Serve with Maximum Crispiness
When you’re ready to serve, transfer the wings to a clean serving platter. If they’ve been in the warmer for more than 2 hours, I like to give them a quick refresh under the broiler for 1-2 minutes—just enough to restore that perfect crunch without cooking them further.
Serve immediately with your favorite dipping sauces. The wings should still have that satisfying snap when you bite into them, with juicy meat inside. If you’ve maintained proper airflow and temperature, they’ll taste nearly as good as when they first came out of the fryer—crispy on the outside and tender on the inside, just like you promised your guests!
Tips and Common Mistakes
These game-changing insights will help you maintain that perfect crispy texture and juicy flavor for hours—just like they’re fresh from the fryer!
Temperature Precision: The 170-200°F range in Step 1 isn’t just a suggestion—it’s the sweet spot! Too high and you’ll dry out the wings, too low and they’ll cool down. If your oven only goes to 200°F, that wooden spoon trick to prop the door open is a lifesaver. I’ve tested this with dozens of batches, and that slight airflow makes all the difference in preventing overcooking while keeping wings perfectly warm.
Airflow is Everything: In Step 2, that wire rack isn’t optional—it’s your secret weapon against soggy wings! I learned this the hard way after serving limp wings at a party. The rack creates a micro-environment where hot air circulates on all sides, preventing that dreaded steam buildup. When you see condensation forming on your oven window or slow cooker lid, that’s moisture being pulled from your wings—exactly what we’re trying to avoid!
Timing Strategy: Those checkpoints at 30 minutes and 45-minute rotations in Step 3 are your insurance policy. Wings can go from perfect to overdone surprisingly fast at low temps. Set a timer for these exact intervals—I’ve found that rotating at 45 minutes prevents hot spots in the oven, while the 30-minute check catches any issues before they become problems. This is especially crucial if you’re using a slow cooker, where temperature can vary more than in an oven.
Crispiness Revival: The 400°F for 3-5 minutes refresh in Step 3 and the 1-2 minute broiler boost in Step 4 are absolute game-changers! I use this trick at every party—it’s like hitting the reset button on your wings. The key is watching them like a hawk during this short burst of high heat. You’ll hear them sizzle and see the skin tighten up again. Just don’t walk away—this isn’t the time for multitasking!
Pro Tips for Keep Wings Warm
- These game-changing insights will help you maintain that perfect crispy texture and juicy flavor for hours—just like …
- Temperature Precision: The 170-200°F range in Step 1 isn’t just a suggestion—it’s the sweet spot! Too high and you’ll…
- Airflow is Everything: In Step 2, that wire rack isn’t optional—it’s your secret weapon against soggy wings! I learne…
Frequently Asked Questions
Got questions about keeping your wings warm and delicious? We’ve got answers! Here are the most common queries—plus quick fixes to save your snack spread.
How long can I keep wings warm before they get soggy?
With the right method (like a slow cooker on “Warm” or an oven at 200°F), wings stay crispy for 1–2 hours. After that, moisture builds up—cover loosely with foil to extend time, but reheat for best texture.
Can I use a crockpot to keep wings warm without drying them out?
Yes! Line the crockpot with parchment paper, set to “Warm” (not “Low”), and add a splash of broth or sauce to prevent drying. Stir occasionally for even warmth—no lid to avoid steam!
What’s the best alternative if I don’t have an oven or slow cooker?
Try a cooled electric skillet (170–180°F) or a thermal-insulated bag (like for catering). For small batches, a toaster oven on “Keep Warm” works—just check every 20 minutes.
Why do my wings lose crispiness when I keep them warm?
Steam is the enemy! Avoid stacking wings or covering them tightly. For extra crunch, reheat at 375°F for 5–7 minutes before serving or use a wire rack to elevate wings over moisture.
Is it safe to keep wings warm for a party all afternoon?
Safety first! The USDA recommends keeping hot foods above 140°F. Use a food thermometer to check temps hourly. If dipping below 140°F, reheat to 165°F before serving.
Keeping wings warm without sacrificing crispiness is all about the right tools and timing! Whether you use a slow cooker, oven, or insulated container, the key is maintaining steady heat while avoiding sogginess. Now that you’ve got the know-how, put it to the test at your next gathering—your guests (and taste buds) will thank you! 🍗✨
Ready to level up? Try experimenting with different sauces or dry rubs to pair with your perfectly warm wings. Happy hosting!

Trained in classic French technique but raised on slow-cooked ribs and spicy rubs, she blends culinary skill with smoke and soul.
- Recipe for Boneless Pork Chops in Cast Iron Skillet: Sear and Baste to Juicy Perfection - October 3, 2026
- Recipe for Boneless Cross Rib Roast: Slow-Roasted Beef with Herb Crust - October 3, 2026
- Hamburgers in Sauce Recipe Crock Pot: Slow-Cooked Savory Delight - October 3, 2026