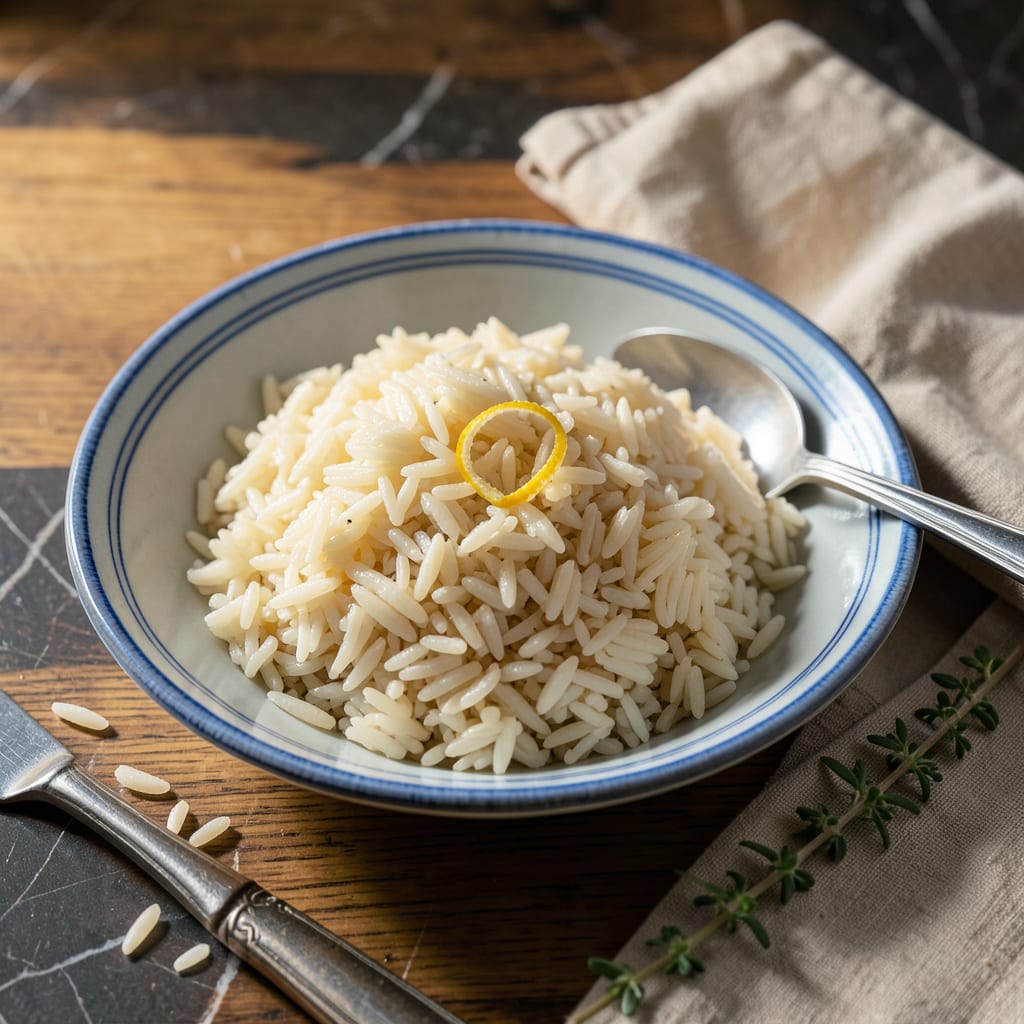
Perfectly cooked dry rice shouldn’t be a mystery—it’s the foundation of countless meals, and I’m here to demystify it once and for all. After years of testing ratios and techniques, I’ve landed on a foolproof method that delivers fluffy, separate grains every time. No more sticky clumps or undercooked centers, just rice that’s ready to pair with anything from stir-fries to grilled meats.
The secret starts with the right ratio: 1 cup rice to 1.5 cups water for most long-grain varieties. But here’s the thing—rinsing matters. I skip it for basmati (keeps the starch for slight stickiness) but always rinse jasmine to remove excess starch. The difference is night and day. A quick toast in the pot before adding water adds nuttiness that takes plain rice to restaurant quality.
What you’ll end up with is rice that’s tender but never mushy, with each grain distinct yet perfectly cooked through. The trick is letting it steam off-heat for 10 minutes after cooking—this final step ensures even doneness without drying out. I’ve converted countless rice skeptics with this method, and it works for every variety I’ve tried.
Whether you’re making a simple side or prepping for meal prep, this technique guarantees consistent results. No special equipment needed—just a pot, water, and about 20 minutes of mostly hands-off time. Let’s get that rice cooking!
📚 In This Guide
- What You’ll Need
- Instructions
- Tips and Common Mistakes
What Youll Need
- ● Rice: 1 cup long-grain white rice (like Basmati or Jasmine) – the secret to fluffy results!
- ● Water: 1½–2 cups cold water (adjust based on rice type; check package instructions).
- ○ Salt: ½ tsp (optional, but enhances flavor).
- ○ Butter or oil: 1 tsp (optional, prevents sticking).
- ● Medium pot with a tight-fitting lid (2–3 quart size).
- ● Fine-mesh strainer (for rinsing rice, if needed).
- ● Fork or rice paddle (to fluff without mashing).
- ● Timer (⏰ precision matters!).
- ● Rice cooker (for hands-off cooking).
- ● Cheesecloth or paper towel (to absorb excess moisture if rice is too damp).
Instructions
Perfect dry rice is all about technique—follow these steps for foolproof results every time.
Rinse the Rice Thoroughly
Place your rice in a fine-mesh strainer and rinse under cold running water. I use my fingers to gently agitate the grains, ensuring the water runs clear. This removes excess starch that would otherwise make your rice gummy and clump together.
Continue rinsing for at least 30 seconds—you’ll notice the water changing from cloudy to nearly transparent. I’ve found this step makes the biggest difference between sticky rice and perfectly separate grains. Once rinsed, shake the strainer vigorously to remove excess water before cooking.
Use the Perfect Water Ratio
For every 1 cup of rice, you’ll need 1¼ cups of water. This ratio works consistently for long-grain white rice, giving you fluffy results without being dry. Add the rinsed rice and measured water to a heavy-bottomed pot with a tight-fitting lid.
I always use a pot that’s slightly larger than needed—this prevents boiling over and gives the rice room to expand. Give it a quick stir to distribute the grains evenly, then smooth the surface with a spatula. This ensures even cooking and prevents any grains from sticking to the bottom.
Cook with Precision Timing
Bring the water to a full rolling boil over high heat. As soon as you see bubbles breaking the surface consistently, immediately reduce the heat to low, cover the pot, and set your timer for 15 minutes. Don’t peek during this time—the steam trapped inside is crucial for even cooking.
You’ll know it’s working when you hear a gentle simmering sound and see just a whisper of steam escaping from under the lid. Resist the urge to stir or check the rice—disturbing it now will release precious steam and lead to uneven cooking. Trust the process and let the rice work its magic undisturbed.
Rest and Fluff for Perfect Texture
After 15 minutes, turn off the heat but leave the pot covered. Let the rice rest for an additional 10 minutes—this is when the grains firm up and any remaining moisture redistributes evenly. I call this the “steam bath” phase, and it’s non-negotiable for perfect texture.
When the resting time is up, remove the lid and use a fork to gently fluff the rice from the bottom up. You’ll see each grain separate beautifully as you lift and turn the rice. The fork’s tines create little channels that allow any residual steam to escape, preventing sogginess. Serve immediately while hot and at its fluffiest.
Troubleshoot Common Issues
If your rice turns out slightly undercooked, sprinkle 1-2 tablespoons of water over the surface, cover, and let it steam for another 5 minutes off the heat. For rice that’s too moist, return it to the pot uncovered and cook over low heat for 2-3 minutes, stirring occasionally.
Remember that altitude and humidity can affect cooking times—you might need to adjust the water ratio slightly based on your environment. I’ve found that in particularly dry climates, an extra 1-2 tablespoons of water per cup of rice prevents the grains from drying out during cooking. The key is observing how your rice behaves and making small adjustments next time.
Tips and Common Mistakes
Mastering perfectly separate rice grains comes down to understanding the science behind each step. Here’s what I’ve learned from making this countless times.
The Rinsing Revelation: Those 30 seconds of rinsing in Step 1 aren’t just for show—they remove surface starch that would otherwise create glue-like bonds between grains. I’ve tested this side-by-side: unrinsed rice consistently produces a gummy texture, while properly rinsed rice yields distinct, fluffy grains. Shake the strainer vigorously afterward to eliminate excess water that could throw off your 1¼ cups water to 1 cup rice ratio.
Heat Control Mastery: The transition from high heat to low heat in Step 3 is where most people go wrong. You want a full rolling boil before covering—this ensures all grains absorb water simultaneously. Once covered, that 15 minutes of undisturbed cooking at low heat creates the perfect steam environment. I can always tell when someone’s peeked mid-cook by the uneven texture of their rice.
Resting Phase Wisdom: The 10-minute rest in Step 4 isn’t optional—it’s when the magic happens. This is when the grains firm up and any remaining moisture redistributes from the center to the edges of each grain. Skipping this step leaves you with rice that’s cooked on the outside but slightly underdone in the center. I set a timer for this phase just like I do for the cooking time.
Equipment Insight: Your pot makes more difference than you’d think. A heavy-bottomed pot with a tight-fitting lid maintains consistent heat distribution during those critical 15 minutes of cooking. I’ve ruined batches using thin pots that created hot spots. The lid should fit snugly enough that you only see the faintest whisper of steam escaping during cooking.
Pro Tips for Make Dry Rice
- Mastering perfectly separate rice grains comes down to understanding the science behind each step. Here’s what I’ve l…
- The Rinsing Revelation: Those 30 seconds of rinsing in Step 1 aren’t just for show—they remove surface starch that wo…
- Heat Control Mastery: The transition from high heat to low heat in Step 3 is where most people go wrong. You want a f…
Frequently Asked Questions
Got questions about making perfect dry rice? You’re not alone! Here are the most common concerns—and quick fixes—to help you nail that fluffy, separate texture every time.
Why does my rice turn out sticky instead of dry and fluffy?
Sticky rice usually means too much water or over-stirring. Use a 1:1.5 rice-to-water ratio (1 cup rice to 1.5 cups water), rinse the rice well before cooking, and avoid peeking or stirring while it steams. Let it rest 5–10 minutes off heat after cooking.
Can I make dry rice in a rice cooker, or do I need a pot?
Absolutely! Rice cookers work great—just use 10–15% less water than usual (e.g., 1:1.25 ratio) and select the “white rice” setting. For extra dryness, let it sit covered for 10 minutes post-cook to evaporate excess moisture.
How do I fix undercooked or crunchy dry rice?
If your rice is still hard, add 2–3 tablespoons of hot water, cover tightly, and cook on low heat for 5–8 minutes. Avoid adding too much liquid at once—this can make it mushy. A splash of broth adds flavor while fixing the texture!
What’s the fastest way to dry out rice if it’s too wet?
Spread the cooked rice on a baking sheet in a thin layer and bake at 300°F (150°C) for 5–10 minutes, stirring once. Alternatively, return it to the pot (uncovered) on low heat for 2–3 minutes, stirring constantly to prevent burning.
Are there low-carb alternatives to dry white rice?
Yes! Try cauliflower rice (sauté 5–7 minutes until dry), shirataki rice (rinse well and pan-fry), or quinoa (cook with a 1:2 ratio, then fluff). For texture, toast riced veggies in a dry pan before “cooking.”
Mastering dry, fluffy rice is all about the right ratio, technique, and a little patience—no more sticky clumps! 🎉 Whether you’re prepping a simple side or the base for stir-fry, these steps ensure perfect results every time. Ready to put your new skills to the test? Grab that rice pot and try a batch tonight—your taste buds (and dinner guests) will thank you! For extra flavor, experiment with broth or toasted spices next. Happy cooking! 🍚✨

Trained in classic French technique but raised on slow-cooked ribs and spicy rubs, she blends culinary skill with smoke and soul.
- Recipe for Boneless Pork Chops in Cast Iron Skillet: Sear and Baste to Juicy Perfection - October 3, 2026
- Recipe for Boneless Cross Rib Roast: Slow-Roasted Beef with Herb Crust - October 3, 2026
- Hamburgers in Sauce Recipe Crock Pot: Slow-Cooked Savory Delight - October 3, 2026