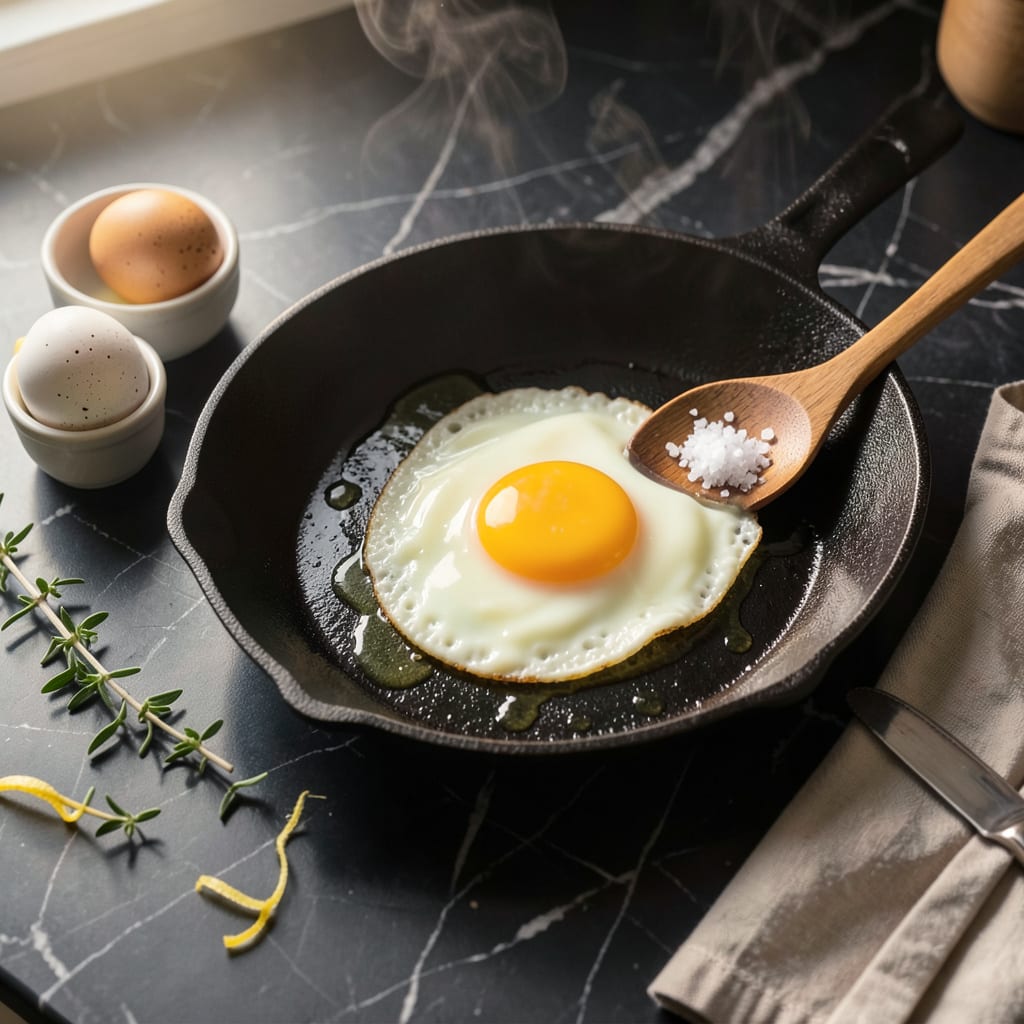
Perfectly cooked eggs shouldn’t require a spatula and prayer to release from the pan. After years of testing pans, heat levels, and fats in professional kitchens, I’ve developed a foolproof method that guarantees clean release every time—no special equipment required. The technique relies on three critical factors: proper pan preparation, precise heat control, and understanding when your eggs are truly ready to move.
Most sticking issues start before the egg even hits the pan. I use medium heat and allow my pan to preheat for 2 full minutes before adding fat—this creates an even cooking surface that won’t shock the egg proteins. The fat choice matters too: butter adds flavor but burns faster, while refined oils like avocado or light olive oil provide a more stable nonstick barrier at higher temperatures.
The moment of truth comes when it’s time to flip or remove the eggs. I look for two visual cues: edges that appear set but still slightly translucent, and a surface that glistens rather than appears matte. This indicates the proteins have coagulated just enough to hold together but haven’t overcooked and bonded to the pan. Timing this perfectly prevents both sticking and overcooking.
This method works equally well for scrambled eggs, sunny-side up, or omelets. The same principles apply whether you’re using stainless steel, cast iron, or traditional nonstick—though each requires slight adjustments in heat and fat quantity. Master this technique, and you’ll never serve torn eggs or scrub burnt protein from your pans again.
📚 In This Guide
- What You’ll Need
- Instructions
- Tips and Common Mistakes
What Youll Need
- ● Eggs – 1–4 large eggs (fresh, room temperature preferred 🥚)
- ● Cooking fat – 1–2 tsp of one of these: Butter (unsalted, for rich flavor)
- ● Olive oil (extra virgin, smoke point ~375°F)
- ● Avocado oil (high smoke point, ~520°F)
- ● Nonstick cooking spray (for convenience)
- ● Pan – 1 8–10-inch nonstick skillet (or well-seasoned cast iron/stainless steel)
- ● Heat source – Stovetop (gas, electric, or induction)
- ● Utensils: Spatula (silicone or thin-edged metal for nonstick pans)
- ○ Tongs (optional, for flipping omelets)
- ○ Extras (optional but helpful): Salt & pepper (to taste)
- ● Paper towels (to wipe excess oil)
- ● Lid (for steaming stubborn stuck bits)
Instructions
Here’s the simple method I use every morning—no sticking, no stress, perfect eggs every time.
Choose the Right Pan and Heat It Properly
Start with a heavy-bottomed pan—either stainless steel or well-seasoned cast iron works best. Nonstick pans are fine too, but they won’t teach you the proper technique. Place your pan over medium-low heat and let it warm up gradually for 2-3 minutes. You’ll know it’s ready when you can hold your hand about 3 inches above the pan and feel steady warmth.
Don’t rush this step. A pan that’s too hot will cause eggs to seize up and stick immediately, while a pan that’s too cool will make them spread too thin. The right temperature is crucial—you’re looking for that sweet spot where butter or oil shimmers but doesn’t smoke when added.
Add Fat and Let It Get Hot (But Not Too Hot)
Add about 1 tablespoon of butter or 1 teaspoon of oil to the pan and let it melt completely. For butter, wait until the foaming subsides and you see tiny brown specks forming—this means the milk solids are cooking and the fat is at the perfect temperature. With oil, you want to see it shimmer slightly but not smoke.
Swirl the fat around to coat the entire bottom of the pan. I like to tilt the pan at different angles to ensure complete coverage. This creates a protective barrier between the egg and the pan surface. If you’re using butter, the browned milk solids will add flavor and help prevent sticking.
Crack the Eggs Gently and Cook with Patience
Crack your eggs into a small bowl first (this prevents shell fragments and lets you check for freshness), then gently slide them into the pan. For sunny-side up or over-easy eggs, I recommend cooking 2 eggs at a time to avoid crowding. You should hear a gentle sizzle when the eggs hit the pan—if it’s loud and aggressive, your heat is too high.
Let the eggs cook undisturbed for 1-2 minutes until the whites are mostly set but still slightly translucent around the edges. The key here is patience—don’t poke or prod at them. You’ll see the edges start to crisp slightly and turn golden when they’re ready for the next step.
Release and Flip (If Needed) with Confidence
Here’s the moment that matters: when the whites are set but the yolk is still jiggly, it’s time to check if they’re ready to flip. Gently wiggle the pan—if the eggs slide easily, they’re ready. If they resist, give them another 30 seconds. For over-easy or over-hard eggs, use a thin spatula to flip them quickly and confidently.
If you’re making scrambled eggs, start stirring gently with a silicone spatula when the edges begin to set. Keep the heat at medium-low and stir constantly until they reach your desired doneness. The eggs should form soft curds and still look slightly moist when you take them off the heat—they’ll continue cooking from residual heat.
Remove and Clean While Warm
Transfer your eggs to a plate while they’re still slightly underdone—they’ll finish cooking from the residual heat. This prevents overcooking and keeps them tender. If any bits stick, don’t scrape at them. Instead, let the pan cool slightly, then fill it with warm water. The stuck bits will release easily after soaking for a few minutes.
For next time, if you notice sticking, adjust your heat slightly lower or use a bit more fat. Remember that different pans and stovetops behave differently, so it might take a try or two to find your perfect heat level. With practice, you’ll develop an instinct for when the pan is just right.
Tips and Common Mistakes
Here’s what I’ve learned from making eggs daily—small details that make a huge difference in preventing sticking.
Heat Control: The 2-3 minutes of preheating in Step 1 isn’t arbitrary—it’s when the pan reaches that perfect steady warmth. I test by holding my hand 3 inches above the pan; you should feel gentle heat radiating, not intense waves. If your eggs stick, chances are your pan wasn’t properly heated or was too hot. Stainless steel pans especially need this gradual heating to create a natural nonstick surface through proper heat distribution.
The Technique That Changed Everything: In Step 2, don’t just melt the butter—wait for those tiny brown specks to form. This is the butter’s milk solids caramelizing, which creates a flavorful barrier between egg and pan. With oil, you want that subtle shimmer, not smoke. I swirl the pan to coat every millimeter of the surface; any dry spots will cause sticking. The 1 tablespoon of butter or 1 teaspoon of oil might seem precise, but this exact amount creates just enough lubrication without making your eggs greasy.
Patience Pays Off: During the 1-2 minutes of cooking in Step 3, resist the urge to nudge the eggs. Let them set undisturbed until the edges turn that pale golden color. If they resist when you wiggle the pan, give them the full 30 seconds more mentioned in Step 4. This timing ensures the proteins set properly before you attempt to flip. I’ve ruined many eggs by being impatient at this stage—trust the process.
Cleanup Strategy: The warm water soak method in Step 5 works because stuck egg proteins release when rehydrated. Don’t use cold water—it causes the proteins to contract and cling tighter. I fill my pan with warm water immediately after transferring eggs to the plate, then let it sit while I eat. By the time I’m finished, any residue wipes away effortlessly.
Pro Tips for Make Egg Not Stick To Pan
- Here’s what I’ve learned from making eggs daily—small details that make a huge difference in preventing sticking.
- Heat Control: The 2-3 minutes of preheating in Step 1 isn’t arbitrary—it’s when the pan reaches that perfect steady w…
- The Technique That Changed Everything: In Step 2, don’t just melt the butter—wait for those tiny brown specks to form…
Frequently Asked Questions
Why do my eggs still stick even with oil or butter?
If your eggs stick despite using fat, your pan may not be hot enough or you’re using the wrong type. Heat the pan on medium-low for 2-3 minutes before adding oil/butter (it should shimmer, not smoke). Also, avoid cold eggs straight from the fridge—they shock the pan! Let them sit at room temp for 5-10 minutes first.
Can I use cooking spray instead of oil or butter?
Yes! Cooking spray works well for nonstick pans, but avoid it on cast iron or carbon steel—it can leave a gummy residue. For best results, spray just before adding eggs (don’t overheat the empty pan). Opt for a high-smoke-point spray like avocado or canola oil for extra insurance.
How long should I preheat the pan for nonstick eggs?
Preheat for 2–3 minutes on medium-low (or until a drop of water sizzles and evaporates instantly). Too hot? Your eggs will cook unevenly or burn. Too cold? They’ll stick like glue. A well-heated pan + the right fat = effortless flipping!
What’s the best pan for eggs that won’t stick?
For foolproof results, use a nonstick skillet (ceramic or PTFE-coated) or a well-seasoned cast-iron pan. Stainless steel works too, but requires more fat and precise heat control. Avoid scratched or warped pans—they create sticky hotspots!
Do I need to add salt before or after cooking to prevent sticking?
Add salt after cooking! Salt draws moisture out of eggs, which can make them stick if added too early. For extra insurance, whisk eggs with a splash of water or milk (1 tsp per egg) to create steam, lifting the eggs as they cook.
Say goodbye to scrambled eggs that turn into a sticky mess! The secret is simple: start with the right pan, heat it properly, and use enough fat (or a nonstick surface). A little patience and the right technique go a long way—now you’re ready to flip like a pro every time. 🍳
Ready to put your new skills to the test? Grab your pan and try cooking a perfect egg today—your breakfast (and cleanup!) will thank you.

Trained in classic French technique but raised on slow-cooked ribs and spicy rubs, she blends culinary skill with smoke and soul.
- Recipe for Boneless Pork Chops in Cast Iron Skillet: Sear and Baste to Juicy Perfection - October 3, 2026
- Recipe for Boneless Cross Rib Roast: Slow-Roasted Beef with Herb Crust - October 3, 2026
- Hamburgers in Sauce Recipe Crock Pot: Slow-Cooked Savory Delight - October 3, 2026