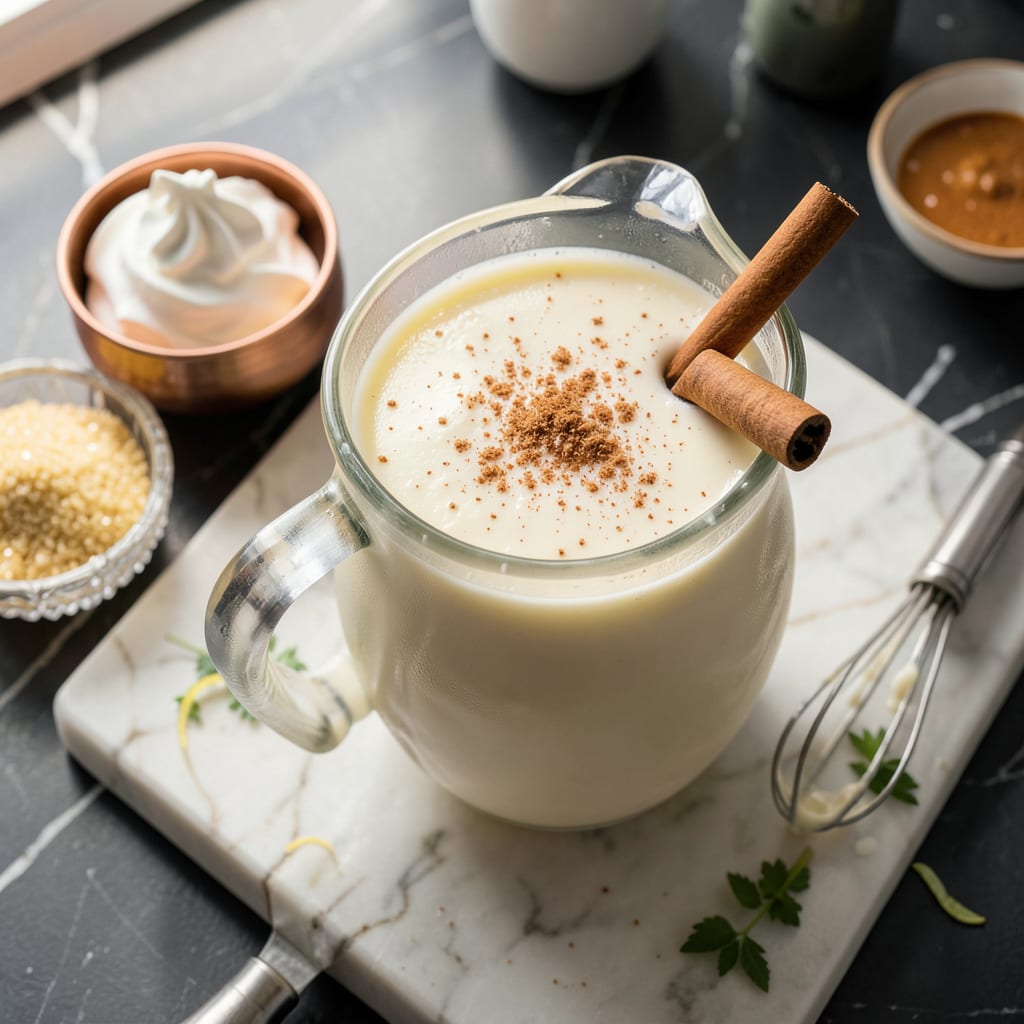
I’ll be real with you—thin eggnog is a missed opportunity. That creamy, spiced holiday drink deserves body and richness that clings to your glass. After years of testing (and a few curdled disasters), I’ve cracked the code for thickening eggnog without wrecking the flavor or texture. The secret isn’t just one trick, but knowing which method works for your base recipe.
Here’s the thing—most thickening techniques revolve around eggs, dairy, or starches, but timing is everything. Add egg yolks too fast and you’ll scramble them. Use too much cornstarch and you’ll mute those warm spices. I’ve found the sweet spot: gentle heat, careful tempering, and just enough thickener to create that velvety consistency we all crave in holiday eggnog.
What you’ll end up with is eggnog that coats your spoon, rich enough to stand up to nutmeg or bourbon without separating. No more watery sips—just that luxurious mouthfeel that makes eggnog feel like a special occasion in every glass. The best part? These methods work whether you’re starting from scratch or rescuing store-bought.
Fair warning: thick eggnog needs proper chilling to set up right. But that’s just more time for the flavors to meld into something extraordinary. Let’s fix that thin nog once and for all.
📚 In This Guide
- What You’ll Need
- Instructions
- Tips and Common Mistakes
What Youll Need
- ● Eggnog base (pre-made or homemade): 4 cups (32 oz) of chilled eggnog—store-bought or your favorite recipe.
- ● Heavy whipping cream: ½ cup (4 oz), cold (35% fat or higher for best results).
- ○ Egg yolks (optional thickener): 2 large, pasteurized if using raw eggs for safety.
- ● Cornstarch or arrowroot powder: 1–2 tbsp (for a quick, foolproof thickener).
- ● Granulated sugar or powdered sugar: 2–3 tbsp (adjust to taste if sweetening further).
- ● Vanilla extract: 1 tsp (pure extract for best flavor).
- ○ Ground nutmeg or cinnamon (optional): ¼ tsp for garnish or extra warmth.
- ● Saucepan: Medium-sized, non-stick for even heating.
- ● Whisk or electric mixer: For smooth, lump-free blending.
- ● Measuring cups/spoons: Precise quantities matter for texture!
- ○ Fine-mesh strainer (optional): To remove any cooked egg bits if using yolks.
- ○ Thermometer (optional but helpful): To monitor temperature (aim for 160°F if using eggs).
- ● Chilling container: Glass pitcher or bowl for cooling.
Instructions
Let’s transform your eggnog into a luxuriously thick, creamy masterpiece with these simple techniques.
Start with Properly Chilled Ingredients
Begin by ensuring all your ingredients are thoroughly chilled. I always place my mixing bowl and beaters in the refrigerator for 15 minutes before starting. Cold ingredients whip more efficiently and create better volume, which is crucial for achieving that perfect thick consistency.
This step might seem small, but it makes a world of difference. When your cream and eggs are properly chilled, they’ll incorporate more air during whipping, giving your eggnog that rich, velvety texture we’re after. Don’t skip this—it’s the foundation for success.
Whip the Cream to Stiff Peaks
In your chilled bowl, pour in the heavy cream and begin whipping on medium-high speed. After about 2 minutes, you’ll notice the cream starting to thicken. This is when you should add 1-2 tablespoons of powdered sugar to stabilize the structure.
Continue whipping until you achieve stiff peaks—this means when you lift the beaters, the cream holds its shape with a firm point. Be careful not to overwhip, or you’ll end up with butter. The properly whipped cream will give your eggnog that beautiful, thick mouthfeel that makes it so satisfying.
Temper and Thicken the Egg Mixture
In a separate bowl, whisk together your egg yolks and sugar until the mixture becomes pale and slightly thickened. This usually takes about 3-4 minutes of vigorous whisking. You’re looking for the mixture to form ribbons when the whisk is lifted.
Here’s the thing—this step creates the base thickness for your eggnog. The sugar dissolves completely and the eggs emulsify, creating a smooth, custard-like foundation. For extra richness, I like to add 1 teaspoon of vanilla extract at this stage, which also enhances the perceived thickness through its deep flavor.
Combine and Chill for Optimal Texture
Gently fold the whipped cream into your egg mixture using a silicone spatula. I always fold in three additions, being careful not to deflate the cream. The key here is patience—take your time to maintain as much air as possible in the mixture.
Once fully combined, transfer your eggnog to a pitcher or serving container and refrigerate for at least 4 hours, but preferably overnight. This chilling time allows the mixture to fully thicken and the flavors to meld together. You’ll be amazed at how much thicker it becomes after proper chilling.
Adjust Consistency Before Serving
When you’re ready to serve, give your eggnog a good stir. If it’s not quite as thick as you’d like, here’s what I do: whisk in 1-2 tablespoons of instant vanilla pudding mix (just the powder). This trick adds incredible creaminess without altering the flavor profile.
Let it sit for 5 minutes after adding the pudding mix—you’ll see it transform before your eyes. The pudding mix acts as a stabilizer, giving you that perfect, spoon-coating thickness that makes eggnog so indulgent. Serve immediately in chilled glasses for the ultimate creamy experience.
Tips and Common Mistakes
Mastering that perfect thick, creamy eggnog texture is all about understanding the little details that make a big difference.
Chilling is Key: Don’t rush the 15-minute chilling time for your bowl and beaters in Step 1. I learned this the hard way after ending up with soupy eggnog twice. Cold equipment helps the heavy cream whip up faster and hold more air, which directly translates to that luxurious thickness we’re after. The difference between properly chilled and room temperature equipment is like night and day in your final texture.
Whipping Technique: When you’re whipping the cream in Step 2, watch the clock carefully during those 2 minutes. This is when the cream starts to thicken but isn’t quite there yet. Adding the powdered sugar at exactly this moment stabilizes the structure, preventing that disappointing deflation that can happen if you wait too long. I always set a timer to catch this perfect window.
Ribbon Test Matters: In Step 3, don’t underestimate the importance of whisking your egg yolk and sugar mixture for the full 3-4 minutes. You’re looking for that pale, ribbon-like consistency that forms when you lift the whisk. This isn’t just about color change—it’s about creating the custard-like base that will support all that whipped cream you’ll be folding in later. The ribbons should hold their shape for at least 2 seconds before dissolving back into the mixture.
Patience During Chilling: The 4-hour refrigeration time in Step 4 isn’t just about cooling—it’s when the magic happens. The mixture actually continues to thicken as it chills, with the proteins setting and the flavors deepening. I’ve found that overnight chilling gives the absolute best results, with the texture becoming almost pudding-like. If you’re short on time, 4 hours is the minimum, but don’t be tempted to serve it before then or you’ll miss out on that perfect consistency.
Pro Tips for Make Eggnog Thicker
- Mastering that perfect thick, creamy eggnog texture is all about understanding the little details that make a big dif…
- Chilling is Key: Don’t rush the 15-minute chilling time for your bowl and beaters in Step 1. I learned this the hard …
- Whipping Technique: When you’re whipping the cream in Step 2, watch the clock carefully during those 2 minutes. This …
Frequently Asked Questions
Can I use cornstarch to thicken eggnog without cooking it?
No, cornstarch must be cooked to activate its thickening power—otherwise, you’ll get a chalky texture. For no-cook options, try whipped cream, extra egg yolks (pasteurized), or a splash of heavy cream instead. Always whisk vigorously to avoid clumps!
How long does it take for eggnog to thicken in the fridge?
Patience is key! After adding thickeners (like whipped cream or pudding mix), refrigerate for at least 4 hours (overnight is ideal). Cold temps help ingredients meld and emulsify for that perfect creamy consistency.
What’s the best dairy-free alternative to thicken eggnog?
Coconut cream (chilled and whipped) or full-fat coconut milk work wonders! For nut-based nogs, blend in cashew cream (soaked cashews + water) or a tablespoon of arrowroot powder (cooked). Avoid almond milk—it’s too thin!
Why did my eggnog turn into scrambled eggs when I tried to thicken it?
Oops! This happens when eggs cook too fast or at high heat. Temper the eggs by slowly whisking in ½ cup of hot liquid before combining with the rest. Keep heat low and stir constantly—no boiling!
Can I fix runny eggnog after it’s already mixed?
Yes! Whisk in 1 tbsp of instant vanilla pudding mix (per 4 cups) or a slurry of 1 tbsp cornstarch + 2 tbsp cold milk, then warm gently. For a quick fix, fold in whipped cream just before serving.
Now you’ve got the secrets to thick, velvety eggnog that’s rich without the risk of curdling! 🎄 Whether you used heavy cream, egg yolks, or a clever thickener like cornstarch, the key is patience and the right technique. Don’t be afraid to experiment—adjust textures to your taste and toast to a cozier holiday season.
Ready to put your new skills to the test? Whip up a batch and share it with friends (or keep it all to yourself—we won’t judge!). For extra flair, try topping with whipped cream or a sprinkle of nutmeg. Cheers to creamy perfection! 🥂

Trained in classic French technique but raised on slow-cooked ribs and spicy rubs, she blends culinary skill with smoke and soul.
- Recipe for Boneless Pork Chops in Cast Iron Skillet: Sear and Baste to Juicy Perfection - October 3, 2026
- Recipe for Boneless Cross Rib Roast: Slow-Roasted Beef with Herb Crust - October 3, 2026
- Hamburgers in Sauce Recipe Crock Pot: Slow-Cooked Savory Delight - October 3, 2026