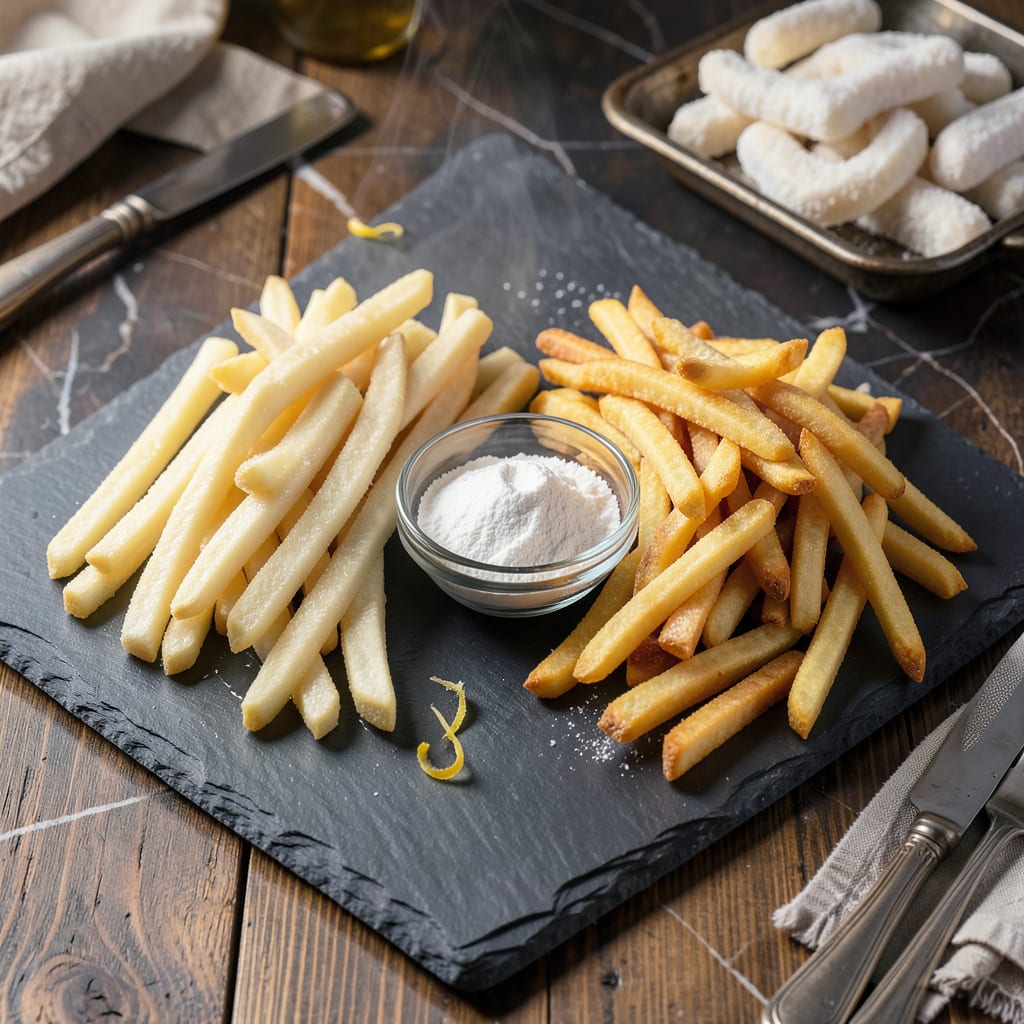
I’ll be real with you: homemade frozen fries blow store-bought out of the water every time. After years of perfecting my technique, I’ve cracked the code for crispy, golden fries that actually stay that way after freezing. The secret starts with choosing the right potatoes—russets are my go-to for their high starch content and fluffy interior.
This isn’t just about cutting and freezing. We’re talking a precise process of blanching at 325°F to cook the interior, then a quick high-heat fry at 375°F to set the exterior. That double-cook method is what gives you that restaurant-quality texture. I learned this trick during my French training, and it changed my fry game forever.
Here’s where it gets interesting—cooling them properly before freezing prevents ice crystals from forming. Spread them single-layer on a tray first, then transfer to bags. When you’re ready to eat, no thawing needed: just toss them straight into the oven or air fryer. They’ll come out crispy and hot, just like fresh.
Between you and me, I always make a double batch. These fries reheat so well that I keep them on hand for quick meals, last-minute guests, or those nights when only crispy potatoes will do. The best part? You control the seasoning—salt, pepper, garlic powder, or even a smoky paprika kick.
📚 In This Guide
- What You’ll Need
- Instructions
- Tips and Common Mistakes
What Youll Need
- ● Potatoes: 5 lbs (2.3 kg) of russet or Yukon Gold potatoes—high starch = extra crispiness! 🥔
- ● Oil for frying: 2–3 cups of vegetable, peanut, or canola oil (neutral flavor, high smoke point).
- ● Salt: 1–2 tbsp of kosher or sea salt (plus extra for seasoning post-fry).
- ○ Optional seasonings: 1 tsp each of garlic powder, paprika, or onion powder for flavor boosts.
- ● Tools: Sharp chef’s knife or mandoline slicer (for even ¼–½” sticks).
- ● Large mixing bowls (for soaking and drying).
- ● Deep fryer, Dutch oven, or heavy pot (3–4 qt capacity).
- ● Slotted spoon or spider strainer (for safe frying).
- ● Paper towels or a clean kitchen towel (to blot dry).
- ● Baking sheets + parchment paper (for freezing).
- ● Air-tight freezer bags or vacuum sealer (to prevent freezer burn).
- ● Prerequisites: 30–60 mins of soaking time (removes excess starch).
- ● 1–2 hours of freezer space (for flash-freezing before storage).
Instructions
Making crispy homemade fries to freeze is easier than you think—here’s my foolproof method.
Select and Prepare the Potatoes
Start with the right potatoes—russets are my top choice for fries because of their high starch content. This starch is what gives you that fluffy interior and crispy exterior after frying. Scrub them thoroughly under cold running water to remove any dirt, then peel them if you prefer skinless fries (I like to leave the skin on for extra texture and nutrients).
Cut the potatoes into even ½-inch sticks. Uniform size is crucial here—it ensures all your fries cook at the same rate. I use a sharp chef’s knife and cut carefully, trying to keep all pieces as similar as possible. As you cut, place the finished fries in a large bowl of cold water to prevent browning and remove excess starch.
Soak and Dry the Potatoes
Let the cut fries soak in cold water for at least 30 minutes (I often go for 1 hour when I have time). This soaking process removes excess starch from the surface, which helps prevent the fries from sticking together during freezing and promotes better crispiness later. You’ll notice the water gets cloudy—that’s the starch releasing.
After soaking, drain the fries in a colander and rinse them under cold water. Now comes the most important step: drying them thoroughly. Spread the fries on clean kitchen towels and pat them completely dry. I like to let them air-dry for an additional 10-15 minutes to ensure they’re bone dry. Any remaining moisture will create ice crystals during freezing and lead to soggy fries.
Par-Cook the Fries
Heat 2-3 inches of vegetable oil in a heavy pot or Dutch oven to 325°F. The lower temperature is key here—we’re not frying them fully, just cooking them enough to soften the interior. Working in batches to avoid overcrowding, carefully add the dried fries to the hot oil. They should sizzle gently but not brown.
Cook the fries for 4-5 minutes until they’re just beginning to turn translucent and soften but haven’t taken on any color. You’ll know they’re ready when they float to the surface and look slightly limp. Remove them with a slotted spoon or spider and transfer to a wire rack set over a baking sheet. Let them cool completely—this usually takes about 20 minutes.
Flash Freeze and Package
Arrange the cooled fries in a single layer on parchment-lined baking sheets, making sure they don’t touch each other. Place the sheets in the freezer and freeze until the fries are completely solid—this takes about 1-2 hours. This flash freezing prevents the fries from sticking together in clumps.
Once frozen solid, transfer the fries to heavy-duty freezer bags or airtight containers. I like to portion them into meal-sized servings before freezing. Squeeze out as much air as possible before sealing to prevent freezer burn. Label the bags with the date—they’ll keep for up to 3 months in the freezer, though I doubt they’ll last that long once you taste how good they are!
Fry from Frozen for Perfect Results
When you’re ready to enjoy your fries, there’s no need to thaw them. Heat oil to 375°F and fry the frozen fries in batches until they’re golden brown and crispy, about 3-5 minutes. The exact time depends on how many fries you’re cooking at once—don’t overcrowd the pot or the temperature will drop too much.
Drain the cooked fries on a wire rack or paper towels, then season immediately with salt while they’re still hot. The salt will stick better to the hot fries. Serve right away for maximum crispiness. I love mine with a sprinkle of garlic powder and a side of homemade ketchup, but they’re delicious just as they are—crispy on the outside, fluffy on the inside, and perfectly seasoned.
Tips and Common Mistakes
Let me share what I’ve learned through trial and error to help you get perfectly crispy frozen fries every time.
Potato Selection Matters: Russets are ideal because their high starch content creates that signature fluffy interior. I’ve tried other varieties, but none give the same texture. When cutting your ½-inch sticks, take your time—uniform size means even cooking. If some pieces are thicker, they’ll still be raw when the thinner ones are perfect.
The Soaking Secret: Don’t rush the 30-minute soak (or up to 1 hour if you have time). This step removes surface starch that would otherwise make your fries gummy when frozen. You’ll see the water turn cloudy—that’s the starch releasing. When drying, be thorough: spread them out and pat completely dry, then let them air-dry for that full 10-15 minutes. Any moisture left will turn to ice crystals and ruin your crispiness.
Par-Cooking Precision: At 325°F, you’re not frying—you’re gently cooking the interior. Watch for that moment when the fries float and look slightly translucent after 4-5 minutes. They should be soft but not colored. If they start browning, your oil is too hot. Let them cool completely on the rack for the full 20 minutes before freezing; residual heat continues cooking them slightly.
Freezing Strategy: The 1-2 hour flash freeze is non-negotiable. Skipping this step means your fries will freeze together in clumps. Arrange them in a single layer with space between each fry. When packaging, remove as much air as possible—this prevents freezer burn and keeps them fresh for the full 3 months.
Pro Tips for Make French Fries To Freeze
- Let me share what I’ve learned through trial and error to help you get perfectly crispy frozen fries every time.
- Potato Selection Matters: Russets are ideal because their high starch content creates that signature fluffy interior….
- The Soaking Secret: Don’t rush the 30-minute soak (or up to 1 hour if you have time). This step removes surface starc…
Frequently Asked Questions
Can I freeze french fries without blanching them first?
Blanching is highly recommended—it stops enzyme activity that causes sogginess and locks in texture. Skip it, and your fries may turn mushy or discolored when cooked later. If you’re in a rush, par-cook them in oil (300°F for 2-3 mins) instead for better results.
How long can I store homemade frozen french fries?
When stored in airtight bags or containers at 0°F (-18°C) or below, they’ll stay fresh for 6–8 months. For best quality, label bags with the date and use within 3 months—flavor and crispiness peak early!
Why do my frozen fries turn out soggy after baking?
Sogginess usually means excess moisture or improper freezing. Pat fries completely dry before freezing, and spread them in a single layer on the tray (no clumping!). For extra crisp, bake at 425°F (220°C) straight from frozen—no thawing!
Can I use a different oil for frying before freezing?
Vegetable, peanut, or canola oil (high smoke point) work best for that classic crunch. Avoid butter or olive oil—they burn easily and can make fries taste off after freezing. For a lighter option, try air-frying at 380°F (193°C) for 10–12 mins pre-freeze.
Do I need to thaw frozen french fries before cooking?
Nope—cook from frozen! Thawing adds moisture, leading to limp fries. For oven baking, toss frozen fries with a light coat of oil and bake at 425°F (220°C) for 20–25 mins, flipping halfway. Air fryer? 375°F (190°C) for 12–15 mins—no prep needed!
Now you’ve got the secret to perfectly freezable french fries—crispy on the outside, fluffy on the inside, and ready whenever cravings strike! 🎉 With just a little prep and the right freezing technique, you can skip the fast-food line and enjoy restaurant-quality fries at home in minutes. Stock your freezer today, then try baking or air-frying a batch to taste the magic for yourself. Pro tip: Label your bags with dates to keep track of freshness, and don’t forget to experiment with seasonings for fun twists!

Trained in classic French technique but raised on slow-cooked ribs and spicy rubs, she blends culinary skill with smoke and soul.
- Recipe for Boneless Pork Chops in Cast Iron Skillet: Sear and Baste to Juicy Perfection - October 3, 2026
- Recipe for Boneless Cross Rib Roast: Slow-Roasted Beef with Herb Crust - October 3, 2026
- Hamburgers in Sauce Recipe Crock Pot: Slow-Cooked Savory Delight - October 3, 2026