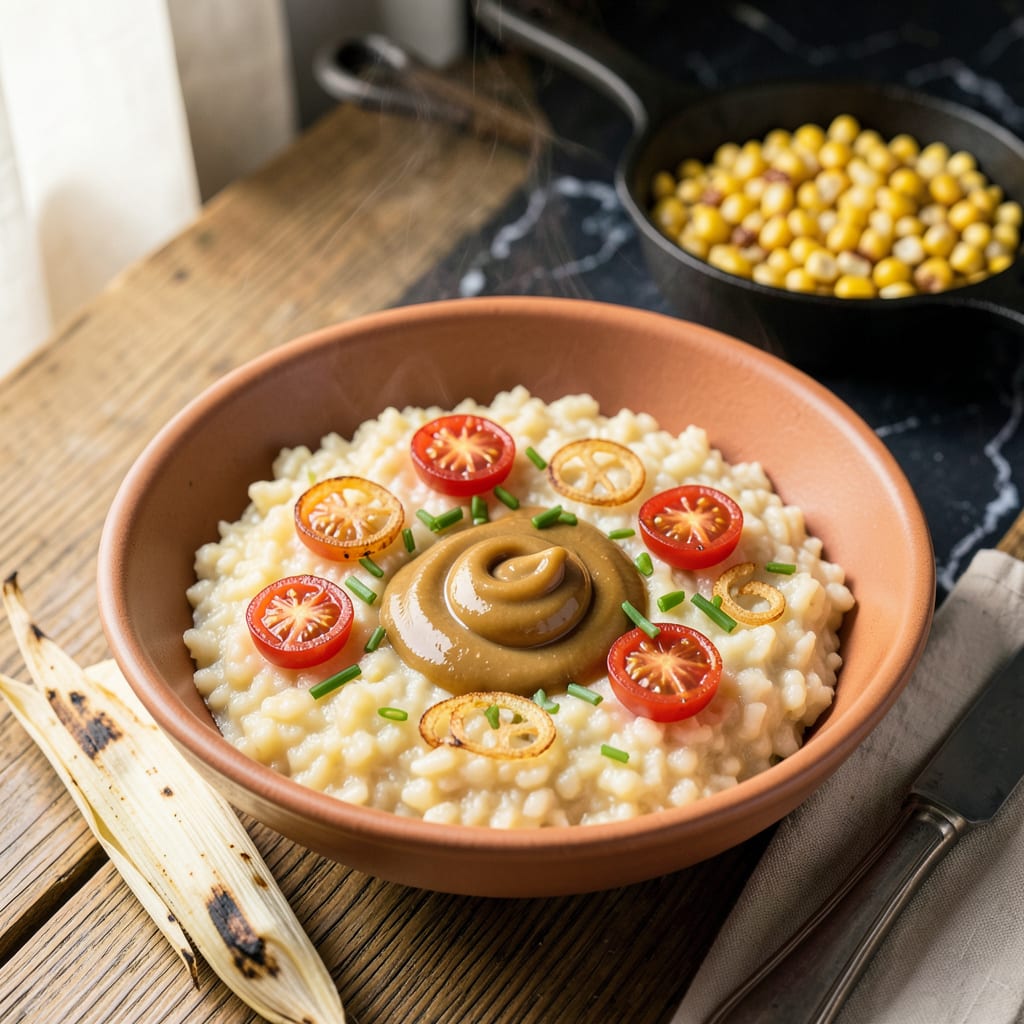
There’s nothing quite like the first spoonful of homemade grits—creamy, comforting, and packed with that deep corn flavor you just can’t get from store-bought. I remember my grandmother’s cast-iron pot simmering on the stove for hours, the smell filling the whole kitchen. That’s the kind of magic we’re making today, but I’ll show you how to get it done in just 3 simple steps.
Starting with whole corn means you control everything—the texture, the freshness, even how fine or coarse your grits turn out. No fancy equipment needed either. A good blender or food processor works just fine for grinding, though I’ll admit there’s something special about using an old hand mill when I’ve got the time. The key is getting that corn just dry enough before grinding—too moist and you’ll end up with paste instead of perfect grits.
What you’re after is that ideal balance: grits that are smooth but still have character, creamy but with just enough bite to remind you they came from real corn. I’ve found the perfect corn-to-water ratio that gives you that classic Southern texture without any lumps or grittiness. And don’t worry about standing over the stove all morning—most of the cooking time is hands-off simmering.
Once you’ve got the base down, these grits become your blank canvas. I like mine with sharp cheddar and a pat of butter, but they’re just as good sweetened with maple syrup or topped with spicy shrimp. The best part? You’ll never go back to the instant stuff after tasting what real grits should be.
📚 In This Guide
- What You’ll Need
- Instructions
- Tips and Common Mistakes
What Youll Need
- ● Dried field corn (hominy corn) – 4 cups (or 2 lbs) (look for dent corn or flint corn varieties)
- ● Water – 8 cups (for soaking) + extra for cooking
- ● Pickling lime (calcium hydroxide) – ¼ cup (food-grade, for nixtamalization)
- ● Salt – 1 tbsp (for flavor, adjust to taste)
- ● Large stockpot or Dutch oven (6-quart or larger, non-reactive like stainless steel or enamel)
- ● Fine-mesh strainer or colander (for rinsing corn)
- ○ Blender, food processor, or grain mill (for grinding—optional if buying pre-ground cornmeal)
- ● Wooden spoon (for stirring to prevent sticking)
- ○ Cheesecloth or clean kitchen towel (for draining, optional but helpful)
- ● Butter or heavy cream – 2 tbsp (for richer, creamier grits)
- ● pH strips (to test lime water alkalinity, if precise)
- ● Instant-read thermometer (to monitor water temp during soaking)
- ● Air-tight containers (for storing dried grits long-term)
Instructions
Making grits from scratch is easier than you think—let me show you how to transform simple corn into creamy Southern comfort!
Prepare Your Corn for Grinding
Start with dried field corn (also called dent corn) for authentic grits texture. You’ll need about 4 cups of dried corn kernels to make 4 servings of grits. I like to spread the kernels on a baking sheet and pick through them to remove any debris or discolored pieces.
For the best texture, soak the corn kernels in warm water for 1 hour before grinding. This softens them slightly and helps create a smoother grind. Drain well and pat dry with a clean towel before moving to the next step. The corn should feel slightly plump but not mushy when you’re ready to grind.
Grind the Corn to Perfect Grits Texture
Here’s where the magic happens! Use a grain mill, food processor, or even a high-powered blender to grind your corn. I recommend pulsing in 1-second bursts until you achieve a coarse meal consistency—think somewhere between cornmeal and fine sand. You want texture, not powder!
Check your progress frequently by rubbing a pinch between your fingers. Perfect grits texture should feel slightly gritty (hence the name!) but not sharp or grainy. If using a blender, work in small batches to prevent overheating. The finished grits should look like coarse yellow sand with some variation in particle size.
Cook the Grits to Creamy Perfection
Now for the creamy transformation! Bring 4 cups of water to a rolling boil in a heavy saucepan. Add 1 teaspoon salt and slowly whisk in your freshly ground corn grits. The mixture will thicken almost immediately—this is normal!
Reduce heat to low and cook uncovered for 25-30 minutes, stirring frequently with a wooden spoon. You’ll notice the grits gradually soften and the mixture become creamier. Add more water ¼ cup at a time if needed to maintain your desired consistency. The grits are done when they’re tender but still have a slight bite, and the mixture coats the back of your spoon beautifully.
For extra richness, stir in 2 tablespoons butter and ¼ cup milk during the last 5 minutes of cooking. This creates that luxurious, velvety texture that makes Southern grits so comforting. Taste and adjust seasoning—you might want to add a pinch more salt or a crack of black pepper to finish.
Serve immediately while hot and creamy! The grits will continue to thicken as they cool, so if you need to hold them, place a piece of parchment paper directly on the surface to prevent a skin from forming. For the ultimate comfort experience, top with sharp cheddar cheese, crispy bacon, or a drizzle of hot honey.
Tips and Common Mistakes
Let me share the little secrets that turn good grits into extraordinary Southern comfort.
Texture Secret: In Step 2, when grinding your corn, don’t rush the process! Those 1-second bursts are everything—pulsing too long creates powder instead of that perfect gritty texture we want. I like to stop every 3-4 pulses to check the consistency between my fingers. You’re aiming for something that feels like coarse beach sand, not flour. This texture is what gives homemade grits their signature mouthfeel that store-bought versions just can’t match.
The Soaking Advantage: That 1 hour soak in Step 1 isn’t just optional—it’s your insurance policy against grainy grits! The water plumps up the corn kernels just enough so they grind more evenly. I’ve tested skipping this step, and the difference is night and day. Soaked corn produces grits that cook up noticeably creamier, while dry corn tends to create uneven particles that never quite soften properly.
Cooking Consistency: During the 25-30 minutes of cooking in Step 3, here’s what nobody tells you—stirring isn’t just about preventing sticking! Each time you stir, you’re actually helping release the corn’s natural starches, which is what creates that luxurious creaminess. I use a flat wooden spoon and scrape the bottom of the pan with each stir. This constant motion helps develop the perfect velvety texture that makes Southern grits so special.
Richness Boost: When you add the 2 tablespoons butter and ¼ cup milk during those final 5 minutes, don’t just dump them in! First, push the grits to one side of the pan to create a little well. Melt the butter in this empty space, then stir in the milk to warm it slightly before mixing everything together. This technique helps emulsify the fats more evenly throughout the grits, creating that ultra-smooth finish we’re after.
Pro Tips for Make Grits From Corn
- Let me share the little secrets that turn good grits into extraordinary Southern comfort.
- Texture Secret: In Step 2, when grinding your corn, don’t rush the process! Those 1-second bursts are everything—puls…
- The Soaking Advantage: That 1 hour soak in Step 1 isn’t just optional—it’s your insurance policy against grainy grits…
Frequently Asked Questions
Can I use any type of corn to make grits?
For the best results, use dent corn (field corn) or flint corn—they’re starchier and less sweet than the corn you eat off the cob. Avoid sweet corn (like the kind for boiling), as it lacks the right texture. If you’re in a pinch, dried hominy (nixtamalized corn) works too but will taste slightly different.
How long does it take to make grits from scratch?
From drying the corn to cooking, expect 2–3 days (mostly hands-off). Drying takes 1–2 days, grinding is quick (5–10 minutes), and cooking the grits takes 45–60 minutes for creamy perfection. Pro tip: Soak dried corn overnight to speed up cooking!
What’s the difference between grits and polenta?
Both are corn-based, but grits use alkali-treated corn (hominy) for a smoother, milder flavor, while polenta is made from untreated cornmeal (coarser, nuttier). Grits are a Southern staple; polenta leans Italian. Swapping them works in a pinch, but textures vary!
Why are my homemade grits gritty or lumpy?
Grittiness usually means the corn wasn’t ground fine enough or cooked long enough. Use a fine grind setting on your mill (or pulse a blender carefully). For lumps, whisk vigorously while adding liquid or strain the mixture before cooking. Low and slow is the key to silkiness!
Can I make grits without a grain mill?
Yes! A high-powered blender or food processor works for small batches—pulse dried corn in short bursts until sandy. Warning: Overheating can turn it into corn flour. For larger quantities, borrow a mill or buy pre-ground cornmeal (just toast it first for depth).
Making grits from scratch is simpler than you think—and the creamy, homemade taste is well worth the effort! 🌽✨ With just three key steps—drying, grinding, and cooking—you can turn fresh corn into a bowl of Southern comfort. Whether you prefer them cheesy, buttery, or plain, your grits will shine with that farm-fresh flavor store-bought versions can’t match.
Ready to take it further? Try experimenting with heirloom corn varieties or adding mix-ins like roasted garlic or smoked gouda. Your next breakfast masterpiece is just a kernel away!

Trained in classic French technique but raised on slow-cooked ribs and spicy rubs, she blends culinary skill with smoke and soul.
- Recipe for Boneless Pork Chops in Cast Iron Skillet: Sear and Baste to Juicy Perfection - October 3, 2026
- Recipe for Boneless Cross Rib Roast: Slow-Roasted Beef with Herb Crust - October 3, 2026
- Hamburgers in Sauce Recipe Crock Pot: Slow-Cooked Savory Delight - October 3, 2026