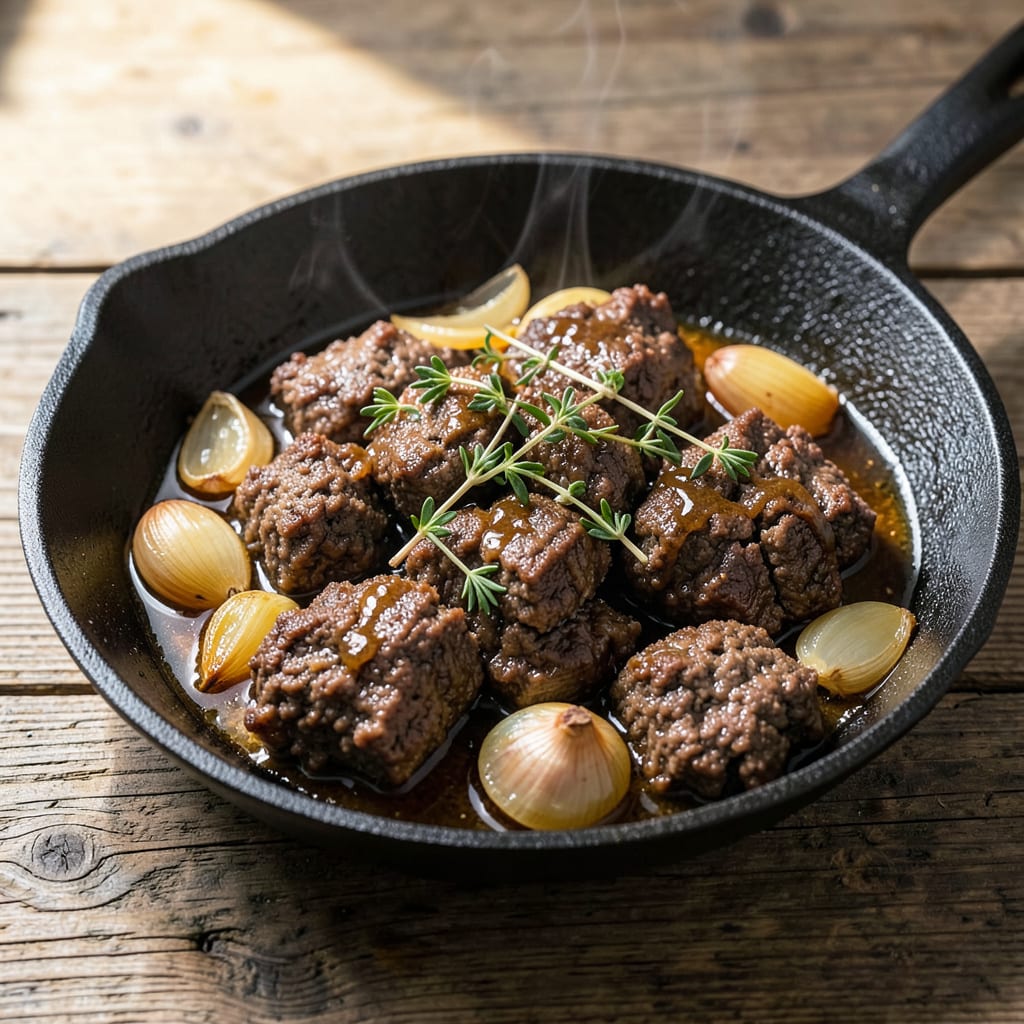
Let me tell you about the game-changer that transformed my ground beef dishes forever. There’s nothing worse than biting into a taco or meatball only to get a mouthful of grease. I spent years experimenting before landing on a foolproof method that gives you perfectly browned, flavorful beef without that oily mess.
Here’s the thing—most people just drain the grease, but that’s only half the battle. My technique starts before the beef even hits the pan. I’ll show you how to choose the right fat percentage, when to blot (and when not to), and the secret to getting that restaurant-quality texture at home. No fancy equipment needed, just smart timing and a few simple tricks.
What you’ll end up with is ground beef that’s actually enjoyable to eat—rich, meaty flavor without that slick grease coating your mouth. I use this method for everything from tacos to meatloaf, and it’s made weeknight cooking way more satisfying. The best part? It takes less than 5 extra minutes of active work for dramatically better results.
Fair warning: Once you try this, you’ll never go back to soggy, greasy beef. The difference is that noticeable. Let’s get that pan hot and start cooking the right way.
📚 In This Guide
- What You’ll Need
- Instructions
- Tips and Common Mistakes
What Youll Need
- ● Ground beef: 1 lb (80/20 lean-to-fat ratio works best for flavor, but 90/10 is less greasy).
- ● Non-stick skillet or cast-iron pan: 10-12 inches in diameter (avoid overcrowding!).
- ● Paper towels: 4-6 sheets (for blotting grease).
- ● Slotted spoon or spatula: Heat-resistant, for draining fat.
- ○ Cooking oil (optional): 1 tsp (neutral oils like avocado or vegetable work best).
- ○ Fine-mesh strainer or colander (optional): For rinsing beef (if using the boiling method).
- ○ Bowl of cold water (optional): For soaking beef before cooking (reduces grease by 20-30%).
- ○ Meat thermometer (optional but helpful): To ensure safe internal temp (160°F for ground beef).
- ○ Lean seasoning (optional): Salt, pepper, garlic powder—skip oil-based marinades!
Instructions
Here’s the simple method I use to get perfectly browned, non-greasy ground beef every time.
Choose the Right Ground Beef
Start with 80/20 ground beef (80% lean, 20% fat) for the best balance of flavor and texture. While leaner options like 90/10 might seem healthier, they actually dry out more easily and don’t develop the same rich flavor. The fat content is important—it renders out during cooking, which is exactly what we want to control.
If you’re working with pre-packaged beef, open the package and break it up slightly with your hands before cooking. This helps it brown more evenly. For best results, let the meat sit at room temperature for 10-15 minutes before cooking—cold meat takes longer to brown and can steam instead of sear.
Use the Right Pan and Heat Level
Select a wide, heavy skillet (cast iron works beautifully) and heat it over medium heat for 2-3 minutes before adding the beef. You want the pan hot enough to create a good sear, but not so hot that the fat burns. A properly heated pan ensures the meat browns rather than steams in its own juices.
Don’t add any oil to the pan—the fat in the beef will render out and provide all the lubrication you need. When the pan is properly heated, you’ll see a faint shimmer when you hold your hand above it. This is the perfect time to add your ground beef, breaking it up as you add it to the pan.
Brown the Beef Properly
Add the beef to the hot pan and let it sit undisturbed for 1-2 minutes until you see the edges start to brown. This initial sear creates the Maillard reaction, which develops deep, rich flavors. Then, using a wooden spoon or spatula, break the meat into smaller pieces—about ½-inch chunks work well.
Cook the beef, stirring occasionally, for 5-7 minutes until it’s fully browned and no longer pink. Here’s the key: don’t stir constantly. Let the meat develop a crust on the bottom before stirring—this is what gives you that perfect browned texture instead of gray, steamed meat. You’ll know it’s ready when the beef is uniformly brown and the liquid in the pan has mostly evaporated.
Drain and Blot Excess Fat
Once the beef is fully cooked, carefully tilt the pan and use a spoon to remove most of the rendered fat. For even less grease, transfer the cooked beef to a plate lined with paper towels and spread it out in an even layer. Gently press another paper towel on top to absorb any remaining fat.
If you’re using the beef in a recipe that calls for some fat (like tacos or chili), leave about 1 tablespoon in the pan for flavor. For dishes where you want minimal grease (like meat sauces or stuffed peppers), blot thoroughly. This simple blotting technique removes up to 50% more fat than draining alone.
Rinse for Ultra-Lean Results (Optional)
For the absolute least greasy result, place the cooked beef in a fine-mesh strainer and rinse briefly with hot water. Immediately press between paper towels to remove moisture. This technique is perfect when you need very lean meat for dishes like stuffed vegetables or meatloaf.
Be aware that rinsing removes some flavor along with the fat, so I only recommend this for recipes where the beef isn’t the star. If you choose this method, consider boosting seasoning slightly afterward to compensate. The meat should look clean and separate easily when you’re done—no pools of grease remaining.
Tips and Common Mistakes
These small but important details will help you achieve perfectly browned, non-greasy ground beef every time.
Heat Control: The 10-15 minutes of resting time before cooking isn’t just about convenience—it’s crucial for even browning. Cold meat straight from the fridge will lower your pan temperature dramatically, causing the beef to steam rather than sear. I learned this the hard way after ending up with gray, soggy meat instead of beautifully browned crumbles. Trust me, those few minutes make all the difference in developing that rich, caramelized flavor.
The Technique That Changed Everything: When you add the beef to the hot pan in Step 3, resist the urge to stir immediately. That initial 1-2 minutes of undisturbed cooking creates the foundation for perfect texture. You’ll see the edges start to brown—this is the Maillard reaction beginning, which develops those deep, savory flavors we want. Only after this crust forms should you break up the meat into those ½-inch chunks mentioned in the instructions.
Fat Management: The paper towel blotting technique in Step 4 removes up to 50% more fat than simple draining, but here’s what nobody tells you—press gently rather than squeezing hard. Too much pressure can make the meat dense and compacted. Spread the cooked beef in a single layer on paper towels, then place another towel on top and press with just enough weight to absorb the fat without crushing the meat.
Optional Upgrade: If you’re using the rinsed beef method in Step 5 for ultra-lean results, consider this: after pressing between paper towels, spread the meat on a clean towel and let it air-dry for 5 minutes. This extra step removes even more moisture, giving you that perfect crumbly texture for dishes like stuffed peppers where you want the meat to hold its shape.
Pro Tips for Make Ground Beef Less Greasy
- These small but important details will help you achieve perfectly browned, non-greasy ground beef every time.
- Heat Control: The 10-15 minutes of resting time before cooking isn’t just about convenience—it’s crucial for even bro…
- The Technique That Changed Everything: When you add the beef to the hot pan in Step 3, resist the urge to stir immedi…
Frequently Asked Questions
Does rinsing ground beef with water make it less greasy?
Rinsing raw ground beef isn’t recommended—it can spread bacteria and wash away flavor. Instead, blot cooked beef with paper towels or use a colander to drain fat after browning. Rinsing cooked beef (post-draining) is safe but may dry it out. Stick to patting or draining for best results!
Can I use lean ground beef (90/10) and skip draining?
Lean beef (90% lean/10% fat) still releases some grease, but much less than 80/20. For crispier results, drain briefly—even lean cuts benefit from a quick blot with paper towels. Pro tip: Mix 80/20 with 93/7 for flavor without excess grease!
Why does my ground beef turn gray instead of brown when I drain the fat?
Gray beef usually means it’s steaming, not searing. Crowding the pan or draining too early traps moisture. Cook in small batches on medium-high heat (375°F+) for a deep brown crust. Let it sizzle—don’t stir too soon!
What’s the best fat-separating tool for ground beef?
For small batches, a slotted spoon or fine-mesh strainer works. For large quantities, try a fat-separator pitcher (pours grease-free broth back into the pan!). Avoid plastic tools with high heat—silicone or stainless steel are safest.
Can I save and reuse the drained beef fat?
Strain the fat through a cheesecloth into a jar and refrigerate (up to 1 month) or freeze (3 months). Use it for flavorful cooking: sautéing veggies, making gravy, or even homemade tortillas. Never reuse fat from spoiled meat!
With these simple tricks—blotting, draining, or rinsing—you can say goodbye to greasy ground beef for good! 🎯 Whether you’re whipping up tacos, burgers, or a hearty pasta sauce, leaner meat means richer flavor and healthier meals. Ready to put it to the test? Grab a pound of ground beef and try one of these methods tonight—your taste buds (and your stove) will thank you!

Trained in classic French technique but raised on slow-cooked ribs and spicy rubs, she blends culinary skill with smoke and soul.
- Recipe for Boneless Pork Chops in Cast Iron Skillet: Sear and Baste to Juicy Perfection - October 3, 2026
- Recipe for Boneless Cross Rib Roast: Slow-Roasted Beef with Herb Crust - October 3, 2026
- Hamburgers in Sauce Recipe Crock Pot: Slow-Cooked Savory Delight - October 3, 2026