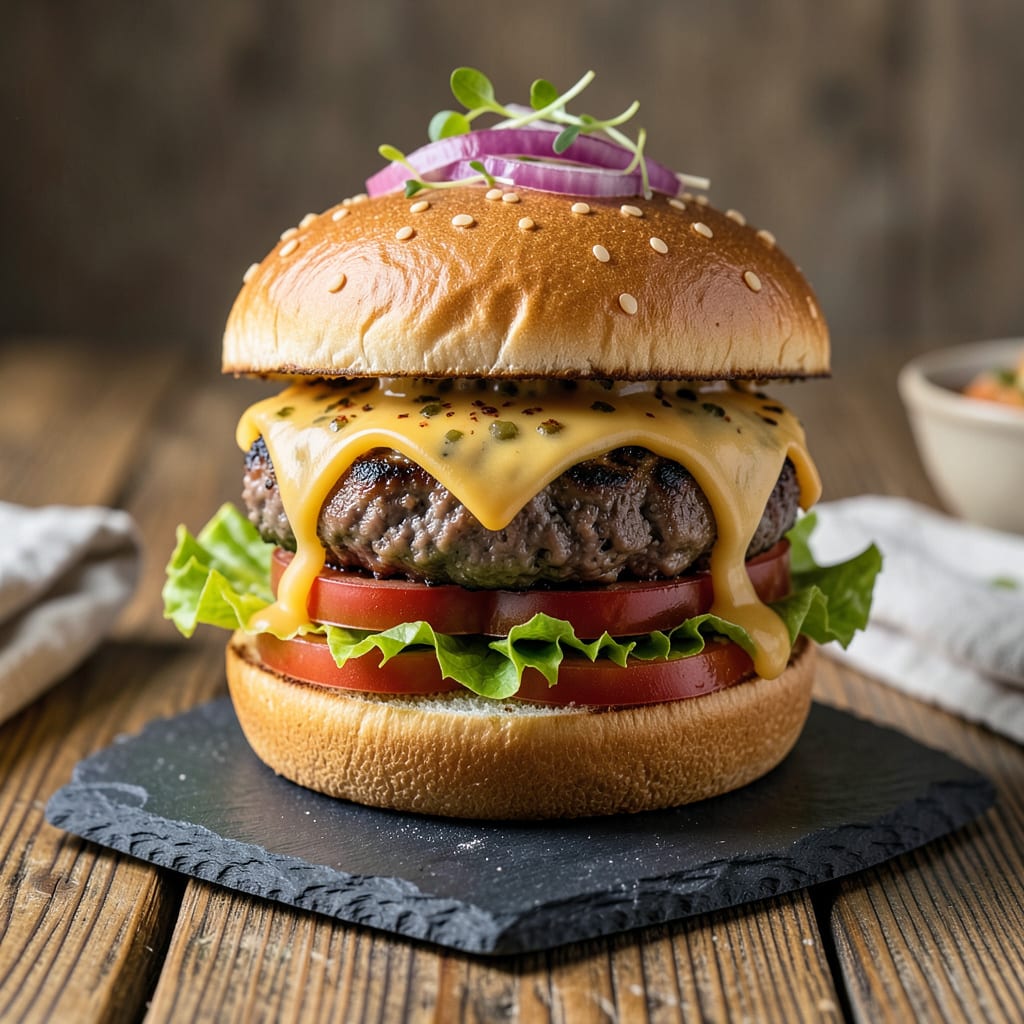
Perfect hamburger patties don’t require eggs to hold together—just the right technique and balance of ingredients. After years of testing binders in my backyard burger experiments, I’ve developed a foolproof method that delivers juicy, cohesive patties every time without compromising texture or flavor.
The secret lies in proper moisture management and strategic ingredient substitutions. A combination of finely ground breadcrumbs and a small amount of water creates the ideal binding environment, while careful handling prevents dense, dry patties. I’ve found that chilling the mixture for 30 minutes before forming patties makes all the difference in maintaining structure during cooking.
This technique produces burgers with a perfect crust outside and tender, flavorful interior—no egg required. The patties hold their shape on the grill or in a pan, developing that coveted caramelized exterior while staying remarkably moist inside. It’s the same professional approach I use for competition burgers, adapted for home cooks.
Whether you’re avoiding eggs for dietary reasons or simply ran out, this method ensures your burgers won’t fall apart. The result is a classic, restaurant-quality hamburger that stands up to all your favorite toppings and cooking methods.
📚 In This Guide
- What You’ll Need
- Instructions
- Tips and Common Mistakes
What Youll Need
- ● Ground meat: 1 lb (80% lean, 20% fat for juiciness—beef, turkey, or plant-based)
- ● Binder alternatives: ¼ cup breadcrumbs, crushed crackers, or 1 tbsp cornstarch (for texture)
- ● Seasonings: 1 tsp salt, ½ tsp black pepper, 1 tsp garlic powder, ½ tsp onion powder (adjust to taste!)
- ● Liquid: 2 tbsp water, milk, or beef broth (keeps patties moist)
- ○ Optional mix-ins: 1 tbsp Worcestershire sauce, 1 tsp smoked paprika, or finely chopped onions
- ● Mixing bowl (medium-sized)
- ● Fork or hands (for gentle mixing—no overworking!)
- ● Measuring spoons/cups
- ● Parchment paper or plastic wrap (for shaping)
- ● Skillet or grill (preheated to medium-high)
- ○ Optional: Burger press or ring mold (for uniform patties)
Instructions
Here’s the foolproof method for creating perfectly juicy patties that hold together beautifully—no eggs required.
Select the Right Meat and Prep Properly
Begin with 80/20 ground beef—this fat ratio is crucial for juiciness and binding. The fat acts as a natural binder when it renders during cooking. Place the meat in a mixing bowl and return it to the refrigerator for 15 minutes before handling. Cold meat is easier to work with and prevents premature fat rendering.
While the meat chills, prepare your workspace. You’ll need a clean surface for shaping, a kitchen scale for precision, and a plate lined with parchment paper for holding the formed patties. I always keep a small bowl of ice water nearby to dip my hands in—this prevents the fat from sticking to your fingers as you work.
Incorporate Binders and Seasonings Strategically
Remove the beef from the refrigerator and add 2 tablespoons cold water and 1 tablespoon breadcrumbs per pound of meat. The water hydrates the meat proteins while the breadcrumbs absorb moisture and create structure. Use your hands to gently combine—don’t overmix or you’ll develop too much myosin, making patties tough.
Season generously with kosher salt and freshly ground black pepper. I recommend 1 teaspoon salt per pound of meat. The salt should be visible on the meat surface before mixing. Distribute the seasoning evenly, then mix just until combined—you should still see some marbling. Let the mixture rest for 5 minutes to allow the salt to penetrate.
Form Patties with Proper Technique
Divide the meat into 4 equal portions (about 4 ounces each for standard burgers). Gently shape each portion into a ball, then press into a ¾-inch thick patty. Use your thumb to create a shallow dimple in the center—this prevents bulging during cooking as the proteins contract.
The key is gentle handling. Press the meat just enough to form a cohesive patty that holds together when lifted, but don’t compact it tightly. Overworking the meat creates dense, dry burgers. The edges should be smooth but not perfectly rounded—some texture helps with browning. Place formed patties on the parchment-lined plate and refrigerate for 30 minutes to firm up.
Cook with Controlled Heat for Optimal Texture
Heat a cast iron skillet or grill to medium-high heat (about 375°F). The surface should be hot enough that a drop of water sizzles and evaporates immediately. Add the patties and cook undisturbed for 3-4 minutes until a deep brown crust forms on the bottom.
You’ll know it’s time to flip when you see juices pooling on the uncooked surface and the edges develop a golden-brown color. Flip only once using a thin spatula, sliding it completely under the patty to avoid breaking it. Cook the second side for 3 minutes, then add cheese if desired and cover for 1 minute to melt.
Rest and Serve for Maximum Juiciness
Transfer the cooked patties to a warm plate and let them rest for 5 minutes before serving. This allows the juices to redistribute throughout the meat rather than spilling out when you cut into them. You’ll notice the patties firm up slightly during this time—that’s the proteins setting.
Serve on toasted buns with your favorite toppings. The patties should hold together perfectly when bitten, with a juicy interior and crispy exterior. If any patty seems underbound, simply press it gently with your spatula during the first minute of cooking to help it set. The water and breadcrumb combination creates enough structure to handle all your favorite burger toppings without falling apart.
Tips and Common Mistakes
After years of perfecting egg-free burger patties, I’ve learned these nuances make all the difference between a good burger and a showstopper.
Temperature Control: The 15-minute chilling time in Step 1 isn’t just about firmness—it’s about fat distribution. When you handle cold 80/20 ground beef, the fat stays suspended rather than smearing, which creates those perfect juicy pockets during cooking. I always set a timer for this step; even 5 extra minutes makes a noticeable difference in texture.
Binding Secret: In Step 2, the 2 tablespoons cold water and 1 tablespoon breadcrumbs per pound ratio is critical. The water activates meat proteins while breadcrumbs absorb just enough moisture to create structure without making patties dense. I’ve tested this with various breadcrumb types, and plain, fine breadcrumbs work best—they disappear into the mixture while doing their binding job perfectly.
Cooking Visual Cues: During Step 4, watch for those juices pooling on the uncooked surface after 3-4 minutes—they should appear like tiny beads of moisture, not a full puddle. This is your signal that the proteins are contracting properly. The golden-brown edges should develop a crisp texture you can actually hear when you slide the spatula underneath for flipping. At 375°F, this happens precisely when the patty is ready to turn.
Resting Wisdom: Those 5 minutes of resting time in Step 5 aren’t optional. I learned this the hard way when my first few burgers bled all over the plate. The patties will actually rise about 10°F internally during this rest, finishing the cooking process while keeping all those juices locked inside where they belong.
Pro Tips for Make Hamburger Patties Without Egg
- After years of perfecting egg-free burger patties, I’ve learned these nuances make all the difference between a good …
- Temperature Control: The 15-minute chilling time in Step 1 isn’t just about firmness—it’s about fat distribution. Whe…
- Binding Secret: In Step 2, the 2 tablespoons cold water and 1 tablespoon breadcrumbs per pound ratio is critical. The…
Frequently Asked Questions
Can I use something else instead of egg to bind my hamburger patties?
Try mashed potatoes, breadcrumbs soaked in milk, grated onion, or oatmeal—all work great. For extra stickiness, mix in 1 tbsp of tomato paste or flaxseed meal + water (1:3 ratio). These keep patties moist and hold them together just like eggs!
Why do my egg-free burger patties fall apart on the grill?
Usually, it’s due to too much handling or not enough binder. Chill the patties for 30 minutes before cooking, and avoid flipping too soon. Press gently—don’t squash them! If they’re still crumbly, add 1-2 tbsp of water or broth to the mix.
How long should I cook egg-free hamburger patties?
Cook for 4-5 minutes per side over medium-high heat (375°F/190°C) for a juicy, medium-done burger. Use a meat thermometer—160°F (71°C) is the safe internal temp. Thicker patties? Add 1-2 minutes per side.
Do egg-free patties taste different than regular ones?
Not if you season well! Eggs are mostly a binder, not a flavor booster. Amp up taste with Worcestershire sauce, garlic powder, or smoked paprika. The texture stays juicy if you don’t overmix the meat.
Can I make egg-free patties ahead of time?
Yes! Prep patties up to 24 hours ahead—store them in the fridge on a plate, covered with parchment paper. For longer storage, freeze uncooked patties (separated by wax paper) for up to 3 months. Thaw in the fridge before cooking.
Who knew skipping the egg could lead to juicier, flavor-packed burgers? 🍔 With the right binders—like breadcrumbs, mashed potatoes, or even flaxseed—you’ve got all the tools to craft patties that hold together perfectly without compromising texture. Whether you’re avoiding eggs for dietary reasons or just ran out, this method proves you don’t need them to nail a delicious homemade burger.
Ready to fire up the grill? Grab your ground beef (or plant-based mix) and pick your favorite binder—then get cooking! Your next step? Try experimenting with seasonings or toppings to make it uniquely yours. Happy patty-making! 👨🍳

Trained in classic French technique but raised on slow-cooked ribs and spicy rubs, she blends culinary skill with smoke and soul.
- Recipe for Boneless Pork Chops in Cast Iron Skillet: Sear and Baste to Juicy Perfection - October 3, 2026
- Recipe for Boneless Cross Rib Roast: Slow-Roasted Beef with Herb Crust - October 3, 2026
- Hamburgers in Sauce Recipe Crock Pot: Slow-Cooked Savory Delight - October 3, 2026