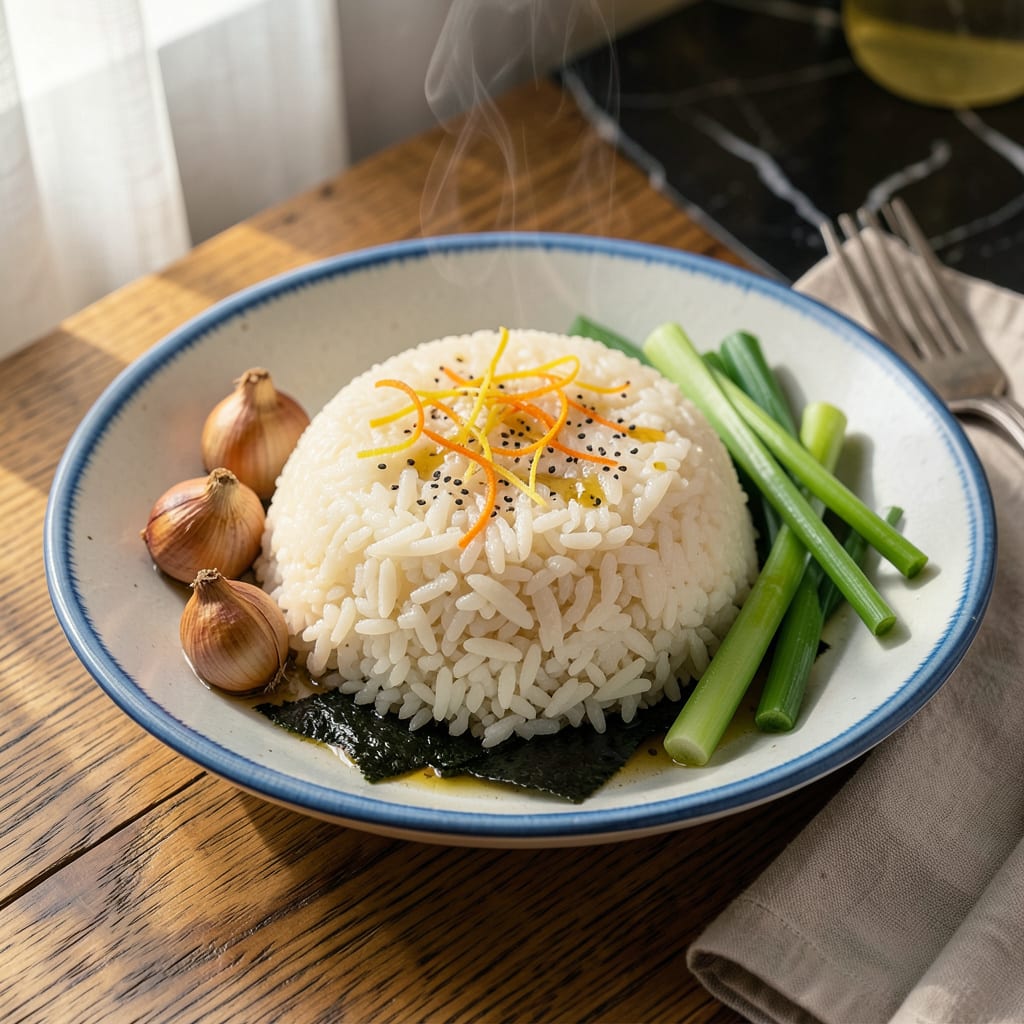
We’ve all been there—you pull out what should be fluffy rice, only to find a pot of dry, rock-hard grains that seem beyond saving. Here’s the thing—perfect rice isn’t just about cooking it right the first time. With a few simple tricks, you can rescue even the most stubborn batch and transform it back into tender, separate grains.
I’ve burned through more rice than I’d like to admit (both literally and figuratively), but I’ve learned that moisture and gentle heat are your best friends. Whether your rice dried out from sitting too long or got overcooked, the solution is simpler than you think. No fancy equipment needed—just water, heat, and about 10 minutes of patience.
What you’ll end up with is rice that’s restored to its former glory—soft, fluffy, and ready to absorb sauces or stand alone. The methods work for white rice, brown rice, even day-old takeout. I’ve tested them all, and the results are consistently spot-on. No more wasting perfectly good rice (or ordering takeout as a backup).
Fair warning: The key is acting fast before the rice dries out completely. But even if it’s been in the fridge for days, there’s still hope. Let’s fix that rice and turn dinner back around.
📚 In This Guide
- What You’ll Need
- Instructions
- Tips and Common Mistakes
What Youll Need
- ● Hard rice – 1–4 cups (leftover or freshly cooked but dried out).
- ● Water or broth – ¼–½ cup per cup of rice (adjust based on hardness).
- ● Microwave-safe bowl (with lid) or saucepan (for stovetop).
- ● Fork or rice paddle – to fluff without crushing grains.
- ○ Damp paper towel (optional, for microwave steaming).
- ○ Butter or oil (optional, 1 tsp per cup for extra moisture).
- ● Timer – to avoid over-softening (👨🍳 pro tip: 30-sec bursts work best!).
Step-by-Step Instructions for Reviving Hard Rice
You’re about to transform that disappointing rice into perfectly tender grains with these simple techniques.
Assess the Rice and Choose Your Method
First, determine how severely dried out your rice is. If it’s just slightly firm, a quick steam will work wonders. For rock-hard rice that’s been refrigerated too long, you’ll need the full rehydration treatment. I always check by pressing a few grains between my fingers—if they feel dry and brittle, we’ve got work to do!
Grab a fork and gently fluff the rice to separate the grains. This helps water or steam penetrate evenly later. If your rice has formed a solid block, don’t worry—we’ll break it up in the next steps. The key is working with what you’ve got rather than starting over.
Add Moisture Gradually for Even Absorption
For slightly dry rice, sprinkle 1-2 tablespoons of water evenly over the surface. Cover the pot with a tight-fitting lid or damp paper towel. The steam created will soften the grains without making them mushy. I’ve found this works best for rice that’s just past its prime but not completely hardened.
For seriously dried-out rice, you’ll need more liquid. Add ¼ cup of water or broth per cup of cooked rice directly to the pot. Use a fork to gently break up any clumps, then cover immediately. The liquid should just barely cover the bottom of the pot—too much will turn your rice to porridge.
Apply Gentle Heat for Perfect Rehydration
Place your covered rice pot over low heat for 3-5 minutes. You’re not cooking it—just warming it enough to help the moisture absorb. I keep my heat on the lowest setting possible to prevent burning. Watch for steam escaping from under the lid—that’s your signal the magic is happening!
After 3 minutes, remove from heat but keep covered. Let it sit for another 5-10 minutes. This resting time allows the moisture to distribute evenly throughout the grains. Resist the temptation to peek—every time you lift that lid, you’re letting precious steam escape.
Fluff and Test for Ideal Texture
After resting, uncover and gently fluff the rice with a fork. You should see the grains separate easily, with a slight sheen from the absorbed moisture. Take a small bite to test—it should be tender throughout with no hard centers. If it’s still not quite perfect, don’t worry!
For any remaining firm spots, return the pot to low heat and add another 1-2 tablespoons of liquid. Cover and let steam for 2 more minutes, then test again. I’ve rescued even the most hopeless-seeming rice with this patient approach. The grains should now be uniformly soft but still hold their shape.
Serve Immediately for Best Results
Once your rice reaches the perfect texture, serve it immediately while warm. The revitalized grains will have that just-cooked tenderness you’re craving. If you’ve used broth instead of water, you’ll notice an extra depth of flavor that makes the rescue even more rewarding.
Any leftover revived rice should be stored in an airtight container in the refrigerator. When reheating, sprinkle with a teaspoon of water and microwave covered for 30-60 seconds. You’ll never believe this is the same rice that was once dry and unappetizing!
Tips and Common Mistakes for Perfectly Revived Rice
Here’s what I’ve learned from rescuing countless batches of dried-out rice—these small details make all the difference between gummy disappointment and restaurant-quality grains.
Liquid Ratio Precision: When adding that ¼ cup of water or broth per cup of cooked rice in Step 2, use a measuring cup rather than eyeballing. Too much liquid creates mushy rice, while too little leaves hard centers. I’ve found that using warm (not cold) liquid helps it absorb more evenly during those critical 3-5 minutes on low heat. The steam works faster when it doesn’t have to heat the liquid first.
Heat Control Secret: That low heat setting in Step 3 is non-negotiable—I’ve burned more rice than I’d like to admit by getting impatient. Your burner should be just warm enough to produce steady steam without any sizzling sounds. If you’re using an electric stove, you might need to alternate between the lowest setting and turning it off completely to maintain gentle heat. Watch for that telltale steam escaping from under the lid—it’s your visual cue that the temperature is perfect.
Resting Time Wisdom: The 5-10 minute resting period after removing from heat is where the magic happens. This is when the moisture redistributes from the outer layers of each grain to the center. I always set a timer and resist the urge to peek—every time you lift that lid, you’re releasing the precious steam that’s doing the work. Think of it like letting a steak rest after cooking; the results are worth the wait.
Texture Test Technique: When testing your rice in Step 4, don’t just look at it—feel it between your fingers. Perfectly revived rice should yield slightly when pressed, with grains that separate cleanly but don’t crumble. If you encounter any resistance, don’t hesitate to add that extra 1-2 tablespoons of liquid and give it those final 2 minutes of steam. I’ve saved even the most hopeless-seeming rice with this patient approach.
Pro Tips for Make Hard Rice Soft
- Here’s what I’ve learned from rescuing countless batches of dried-out rice—these small details make all the differenc…
- Liquid Ratio Precision: When adding that ¼ cup of water or broth per cup of cooked rice in Step 2, use a measuring cu…
- Heat Control Secret: That low heat setting in Step 3 is non-negotiable—I’ve burned more rice than I’d like to admit b…
Frequently Asked Questions
Can I fix hard rice in the microwave?
Yes! Sprinkle 1-2 tbsp of water per cup of rice, cover with a damp paper towel, and microwave for 1-2 minutes on high. Let it sit for 5 minutes to steam. Repeat if needed—just don’t overdo it or you’ll get mushy rice!
How long does it take to soften hard rice?
Timing depends on the method: Steaming takes 10-15 minutes, simmering on the stove takes 5-10 minutes, and microwave fixes can take as little as 2-5 minutes (plus resting time). Patience is key—rushing can make it gummy!
What if my rice is still crunchy after reheating?
If it’s still tough, it likely needs more moisture. Add a splash of water or broth (1-2 tbsp at a time), cover tightly, and cook on low heat for another 5 minutes. Avoid stirring—let the steam work its magic!
Can I use broth or milk instead of water to soften rice?
Broth (chicken, veggie, etc.) adds flavor, while milk (or coconut milk) creates a creamy texture—great for desserts like rice pudding. Use the same ratio as water, but watch for sticking.
Is it safe to eat slightly undercooked rice?
Technically yes, but it’s not ideal. Undercooked rice can be hard to digest and may contain trace amounts of lectins. Always soften it fully to avoid stomach discomfort. When in doubt, cook it longer!
Reviving hard rice doesn’t have to be a kitchen disaster—just a quick fix! 🌟 Whether you steam, microwave, or simmer it, the key is moisture and patience. With these simple tricks, you’ll turn tough grains into fluffy perfection every time.
Next time your rice comes out too firm, don’t toss it—try one of these methods and save your meal! For even better results, experiment with broth or a splash of lemon for extra flavor. Happy cooking! 🍚✨

Trained in classic French technique but raised on slow-cooked ribs and spicy rubs, she blends culinary skill with smoke and soul.
- Recipe for Boneless Pork Chops in Cast Iron Skillet: Sear and Baste to Juicy Perfection - October 3, 2026
- Recipe for Boneless Cross Rib Roast: Slow-Roasted Beef with Herb Crust - October 3, 2026
- Hamburgers in Sauce Recipe Crock Pot: Slow-Cooked Savory Delight - October 3, 2026