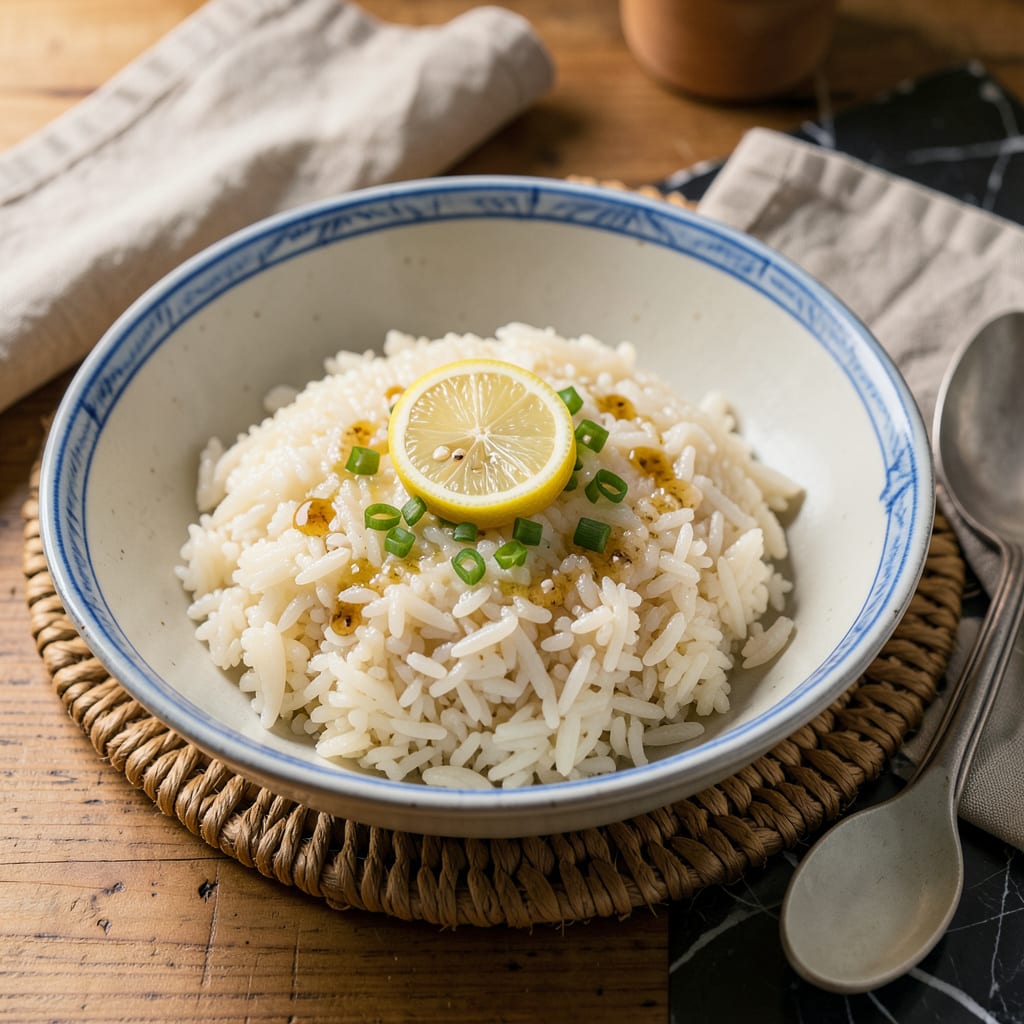
I’ll be real with you—steaming rice without a steamer sounded impossible until I figured out the foolproof method using tools you already have. No fancy equipment, no complicated techniques, just perfectly fluffy rice every time. The secret? Understanding that steam is just controlled moisture and heat, which you can create with a pot, a lid, and a little know-how.
What changed everything for me was realizing that any deep pot with a tight-fitting lid can become a makeshift steamer. I’ve used this technique on road trips (with a camp stove), in tiny apartments, and even during power outages. The key is getting the water-to-rice ratio right and maintaining consistent heat—no peeking allowed until the very end.
You’ll end up with rice that’s tender but never mushy, with each grain separate and fluffy. Whether you’re working with jasmine, basmati, or short-grain rice, this method adapts to whatever you’ve got. The best part? Cleanup is a breeze since everything happens in one pot.
Perfect for weeknight dinners, meal prep, or when you’re cooking in a space that’s not your own. Here’s exactly how to make it happen with what you’ve got on hand.
📚 In This Guide
- What You’ll Need
- Instructions
- Tips and Common Mistakes
What Youll Need
- ● Rice: 1 cup (white, jasmine, or basmati—long-grain works best)
- ● Water: 1.5–2 cups (adjust based on rice type; see tips below!)
- ● Large pot or deep skillet: With a tight-fitting lid (stainless steel or enamel works great)
- ○ Colander or fine-mesh strainer: For rinsing rice (optional but recommended for fluffier results)
- ● Fork or rice paddle: For fluffing (avoid spoons—they can crush grains!)
- ● Kitchen towel or aluminum foil: To seal the lid (traps steam like a pro)
- ● Timer: (your phone works—precision matters!)
- ○ Salt (optional): ½ tsp (enhances flavor but skip if watching sodium)
- ○ Oil or butter (optional): 1 tsp (prevents sticking, adds richness)
Instructions
Here’s the simple method I use to get perfect rice every time—no special equipment needed.
Rinse and Soak the Rice
Start by placing your rice in a fine-mesh strainer and rinsing it under cold running water. I like to swirl the rice with my fingers while rinsing to remove excess starch—this prevents gummy rice. Keep rinsing until the water runs nearly clear, which usually takes about 30 seconds.
After rinsing, transfer the rice to a bowl and cover it with 1 inch of water above the rice level. Let it soak for 20-30 minutes. This soaking time allows the grains to absorb moisture evenly, which leads to more uniform cooking and fluffier results. You’ll notice the grains plump up slightly during this time.
Prepare Your Makeshift Steaming Setup
Choose a large pot with a tight-fitting lid. Add about 2 inches of water to the pot and bring it to a rolling boil over high heat. While the water heats, find a heatproof plate or shallow bowl that fits inside your pot without touching the water—this will be your “steamer basket.”
I like to use a metal colander if I have one that fits, but a heatproof plate works perfectly too. The key is that your rice container needs to sit above the boiling water, not in it. If you’re using a plate, make sure it’s oven-safe to handle the steam. You can test this by placing the empty plate in the pot for 1 minute—if it stays cool enough to touch, it’s safe.
Steam the Rice to Perfection
Drain the soaked rice completely and transfer it to your chosen steaming container. Spread the rice in an even layer—don’t pack it down. Cover the pot tightly with its lid to trap all the steam inside. The moment you see steady steam escaping from under the lid (after about 2-3 minutes), reduce the heat to medium-low.
Let the rice steam undisturbed for 15-20 minutes. Resist the urge to peek—every time you lift the lid, you lose valuable steam and extend the cooking time. You’ll know it’s done when the rice is tender throughout and there’s no hard core in the center of the grains. I always test by tasting a few grains from different spots in the container.
Rest and Fluff for Best Texture
Once the rice is tender, turn off the heat but leave the pot covered. Let it rest for 5-10 minutes—this final step is crucial for even texture. The residual steam finishes cooking any slightly underdone grains and allows the moisture to distribute evenly throughout the rice.
After resting, use a fork to gently fluff the rice from the bottom up. This separates the grains and releases any excess steam. I run the fork through the rice in a folding motion rather than stirring, which helps maintain the individual grain structure. Your rice should now be light, fluffy, and ready to serve—just like it came from a proper steamer!
Tips and Common Mistakes
Mastering this method is all about understanding the small details that make a big difference in texture and flavor.
Rinsing Technique: Don’t rush the 30-second rinse in Step 1—this is your first defense against gummy rice. I use my fingers to agitate the grains while rinsing, which removes more starch than just letting water run over them. You’ll notice the water goes from cloudy to nearly clear, and that’s when you know you’ve removed enough starch for perfectly separate grains.
Heat Management: When you reduce to medium-low heat after seeing steam (that 2-3 minute mark in Step 3), this is where most people go wrong. Too high and you’ll burn the bottom layer; too low and you’ll get undercooked rice. I find medium-low maintains a steady but gentle steam—just enough to cook the rice evenly without scorching. If your lid isn’t tight-fitting, place a clean kitchen towel between the pot and lid to trap more steam.
Resting Period: The 5-10 minute rest in Step 4 isn’t optional—it’s when the magic happens. This is when the residual steam redistributes moisture throughout the rice, ensuring every grain is uniformly cooked. I always set a timer for at least 7 minutes to guarantee the best texture. Skipping this step is the number one reason people end up with unevenly cooked rice.
Equipment Check: Before starting, test your makeshift steamer setup from Step 2 by placing your empty plate or colander in the pot for that 1-minute check. I’ve ruined batches by assuming a plate was heatproof when it wasn’t. If the plate gets too hot to touch after just 1 minute, switch to a metal colander or different heatproof dish—this simple test prevents melted plastic or cracked ceramics mid-cook.
Pro Tips for Steam Rice Without Steamer
- Mastering this method is all about understanding the small details that make a big difference in texture and flavor.
- Rinsing Technique: Don’t rush the 30-second rinse in Step 1—this is your first defense against gummy rice. I use my f…
- Heat Management: When you reduce to medium-low heat after seeing steam (that 2-3 minute mark in Step 3), this is wher…
Frequently Asked Questions
Can I use a microwave to steam rice without a steamer?
Yes! Use a microwave-safe bowl with a lid (or damp paper towel). Combine 1 cup rice with 2 cups water, cover, and microwave on high for 10 minutes. Reduce power to 50% and cook another 10-15 minutes. Let it rest for 5 minutes—fluff with a fork!
How long does it take to steam rice in a pot or pan?
Typically 15-20 minutes for white rice (1:2 rice-to-water ratio). Bring water to a boil, add rice, cover, and simmer on low heat. Avoid peeking! Brown rice may take 30-40 minutes with extra water (1:2.5 ratio).
What if I don’t have a lid for my pot? Can I still steam rice?
No lid? No problem! Use aluminum foil to seal the pot tightly or place a heat-safe plate on top. This traps steam just like a lid. For extra security, weigh the plate down with a heavy utensil.
Why is my rice mushy or undercooked?
Mushy rice usually means too much water or overcooking. Undercooked? The heat was too low or time too short. Fix it by draining excess water (if mushy) or adding 2 tbsp hot water, covering, and steaming 5 more minutes.
Can I steam other grains (like quinoa or barley) the same way?
Adjust the water ratio and time:
- Quinoa: 1:2 ratio, 12-15 mins.
- Barley: 1:3 ratio, 30-40 mins.
Who knew perfect, fluffy rice was just a pot or colander away? 🍚 With these simple methods—using a pot with a strainer, microwave, or even an oven—you can skip the steamer and still enjoy restaurant-quality rice at home. No fancy tools, just great results!
Now that you’ve mastered the basics, why not experiment? Try steaming jasmine rice for extra fragrance or mixing in herbs for a flavor boost. Ready to level up? Check out our guide on how to cook rice in a rice cooker for even more foolproof tips! 😉

Trained in classic French technique but raised on slow-cooked ribs and spicy rubs, she blends culinary skill with smoke and soul.
- Hamburgers in Sauce Recipe Crock Pot: Slow-Cooked Savory Delight - October 3, 2026
- Sanjeev Kapoor Egg Biryani Recipe: Fragrant Spiced Rice With Boiled Eggs - October 3, 2026
- Recipe for French Pork Spread Gorton: Savory Gallic Flavors in a Spreadable Delight - October 3, 2026