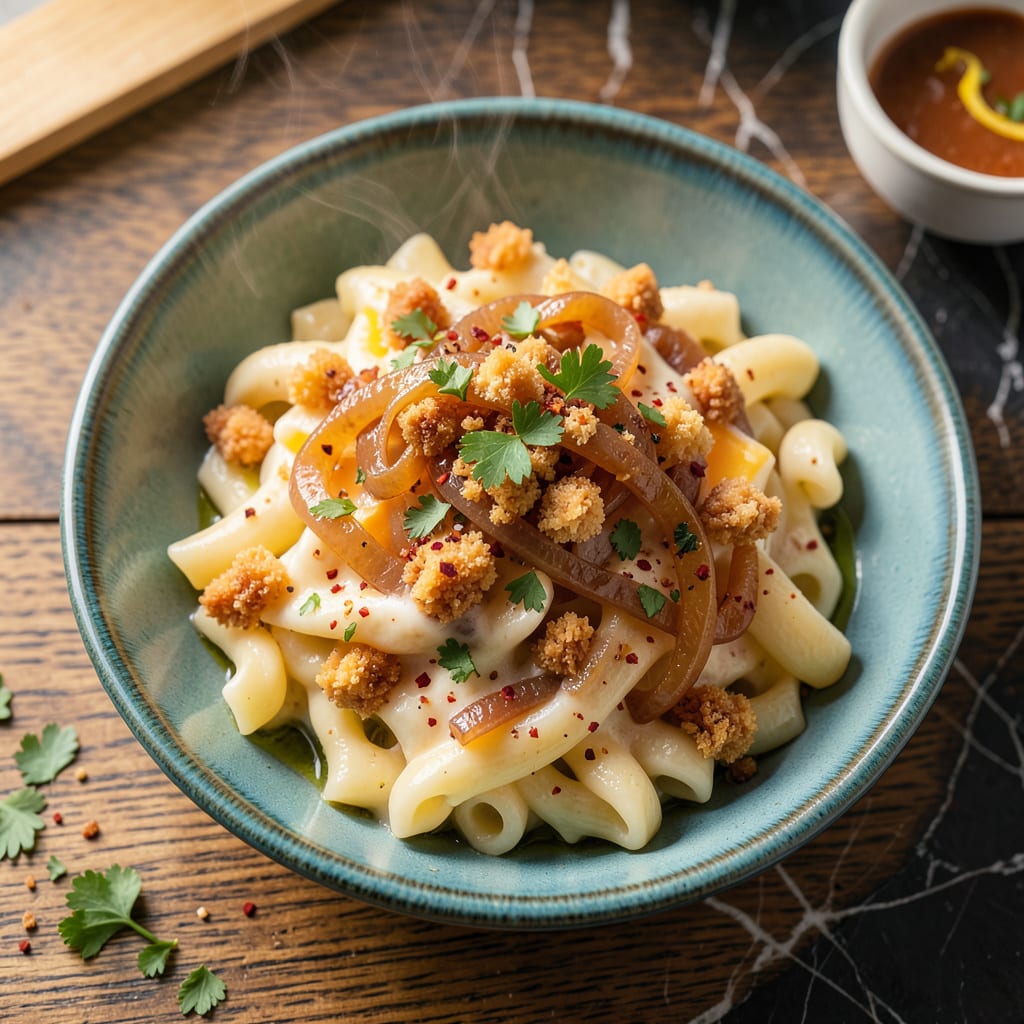
Leftover mac and cheese doesn’t have to be a sad, dried-out afterthought. I’ve turned more sad containers of day-old pasta into something worth getting excited about—crispy on top, creamy inside, and packed with new flavors that make it taste better than the original.
Here’s the thing—most people just reheat it straight from the fridge, which is where things go wrong. The key is treating those leftovers like a blank canvas. A quick stovetop crisp with butter transforms the top layer into golden perfection, while a splash of milk or cream brings back that velvety texture. I’ve even turned it into stuffed peppers and grilled cheese filling when I’m feeling creative.
What you’ll end up with depends on how you upgrade it. Five minutes in a skillet with breadcrumbs creates a crunchy crust. Mixing in bacon, jalapeños, or roasted veggies adds layers of flavor. Or bake it with extra cheese on top for that fresh-out-of-the-oven experience. Every method solves the leftover problem differently—no more dry, gluey pasta.
Fair warning: once you try these tricks, you might start making extra mac and cheese just to have leftovers. The best part? Most upgrades take less than 10 minutes and use ingredients you already have. Let’s fix that container in your fridge.
📚 In This Guide
- What You’ll Need
- Instructions
- Tips and Common Mistakes
What Youll Need
- ● Leftover mac and cheese – 2–4 cups (cold or room temp works best!)
- ● Milk or cream – ¼–½ cup (whole milk or heavy cream for extra richness 🧀)
- ● Butter – 1–2 tbsp (unsalted preferred)
- ● Shredded cheese – ½–1 cup (cheddar, Gruyère, or pepper jack for a kick)
- ● Breadcrumbs or crushed crackers – ¼ cup (panko for extra crunch!)
- ○ Garlic powder, onion powder, or smoked paprika – ½ tsp (optional but highly recommended 🌶️)
- ● Salt & black pepper – to taste
- ● Skillet or microwave-safe bowl (for reheating)
- ● Oven-safe dish (if baking for crispiness)
- ● Spatula or wooden spoon (for stirring)
- ● Cheese grater (if shredding fresh cheese)
- ○ Broiler or toaster oven (optional, for golden topping)
Instructions for Transforming Leftover Mac and Cheese
Here’s how to turn yesterday’s mac into something even better than the original—crispy, creamy, and irresistible.
Assess and Prep Your Leftover Mac
First, take a good look at your leftover mac and cheese. If it’s dried out or clumped together, that’s actually perfect—this means we can add moisture without making it soggy. Transfer it to a large bowl and break it up gently with a fork. You want to separate the noodles and distribute any cheese clumps evenly.
I always taste it at this stage to determine what it needs most. Is it bland? Missing creaminess? Too dry? This quick check helps me decide which upgrades to prioritize. Don’t worry if it looks unappetizing now—we’re about to work some magic.
Add Creaminess with Smart Mix-Ins
For that ultra-creamy texture, stir in ¼ cup of warm milk or cream per serving. I prefer whole milk or half-and-half for richness without heaviness. Add it gradually, mixing well after each addition—you want to moisten the noodles without making them soupy.
Here’s the secret weapon: mix in 2 tablespoons of cream cheese or 1 tablespoon of Greek yogurt per serving. These add tangy richness and help create that perfect, velvety sauce consistency. The cream cheese should melt completely when warmed, while Greek yogurt adds a subtle brightness that cuts through the richness.
Create Crispy Contrast with Toppings
Transfer your revitalized mac to an oven-safe dish. Now for the crispy element that makes this better than the original: sprinkle a generous layer of breadcrumbs or crushed crackers on top. I love using panko breadcrumbs for extra crunch, or crushed Ritz crackers for buttery flavor.
For next-level crispiness, mix your breadcrumbs with 1 tablespoon of melted butter per serving before sprinkling. This creates golden, toasty clusters that stay crispy even after baking. Don’t skimp here—the contrast between the creamy mac and crunchy topping is what makes this transformation so satisfying.
Bake to Golden Perfection
Place your dish under the broiler for 3-5 minutes or bake at 375°F for 15-20 minutes until the top is deep golden brown and bubbling. Watch it closely—you want crispy, not burnt. The edges should be sizzling and the cheese should pull away slightly from the sides of the dish.
For extra flavor, I sometimes add a sprinkle of smoked paprika or garlic powder to the breadcrumb mixture before baking. The heat brings out these flavors beautifully. Let it rest for 5 minutes after baking—the sauce will thicken slightly and the flavors will meld together perfectly.
Add Fresh Elements for Balance
Right before serving, add fresh elements to cut through the richness. A handful of chopped parsley or green onions adds color and freshness. For a tangy kick, a drizzle of hot sauce or pickled jalapeños works wonders.
I also love adding texture with crumbled bacon or toasted nuts at this stage. The salty crunch contrasts beautifully with the creamy mac. Serve immediately while the topping is still crispy and the cheese is perfectly melted—this is when it’s at its absolute best.
Tips and Common Mistakes
Transforming leftover mac and cheese into something spectacular is all about balancing textures and flavors. Here’s what I’ve learned from years of perfecting this upgrade.
The Creaminess Factor: When adding the ¼ cup of warm milk or cream in Step 2, heat it gently before mixing—cold dairy can make the cheese seize up and turn grainy. I warm mine for about 30 seconds in the microwave or until just steaming. This helps it incorporate smoothly into the noodles without creating clumps. The 2 tablespoons of cream cheese is my secret weapon here; it melts beautifully when warmed and gives that restaurant-quality velvetiness that plain milk can’t achieve.
Crispy Topping Technique: For the breadcrumb topping in Step 3, don’t just sprinkle—press it down lightly with your fingers or the back of a spoon. This creates clusters that crisp up beautifully in the oven rather than just loose crumbs. When mixing with the 1 tablespoon of melted butter, add a pinch of salt too; it enhances the buttery flavor and helps the topping brown more evenly during those 3-5 minutes under the broiler.
Baking Precision: The 15-20 minutes at 375°F in Step 4 is perfect for achieving that deep golden crust, but here’s what nobody tells you—rotate your dish halfway through if your oven has hot spots. I always set a timer for 8 minutes to check and rotate, which prevents one side from burning while the other stays pale. And don’t skip that 5-minute rest after baking; it lets the sauce redistribute so you don’t end up with a watery first bite.
Fresh Finish: The fresh elements in Step 5 aren’t just for looks—they’re flavor game-changers. When adding chopped parsley or green onions, toss them with a tiny pinch of flaky salt first. This makes their flavors pop against the richness. For the hot sauce drizzle, I recommend something vinegar-based like Tabasco; it cuts through the creaminess better than thicker sauces.
Pro Tips for Make Leftover Mac And Cheese Better
- Transforming leftover mac and cheese into something spectacular is all about balancing textures and flavors. Here’s w…
- The Creaminess Factor: When adding the ¼ cup of warm milk or cream in Step 2, heat it gently before mixing—cold dairy…
- Crispy Topping Technique: For the breadcrumb topping in Step 3, don’t just sprinkle—press it down lightly with your f…
Frequently Asked Questions
Can I reheat mac and cheese in the microwave without it drying out?
Yes! Add a splash of milk (1-2 tbsp per cup) and cover with a damp paper towel. Heat in 30-second bursts, stirring in between, until warmed through. This keeps it creamy instead of rubbery.
How long does upgraded leftover mac and cheese last in the fridge?
Most revamped versions (like baked or crispy-topped) stay fresh for 3–4 days in an airtight container. If you added fresh toppings (like herbs or bacon), eat within 2 days for the best texture.
What’s the best way to crisp up leftover mac and cheese?
For maximum crunch, spread it on a baking sheet, drizzle with melted butter, and broil for 3–5 minutes. Alternatively, pan-fry in a skillet with a little oil until golden (stir occasionally to avoid burning).
Can I freeze leftover mac and cheese after upgrading it?
Freezing works best for unbaked upgrades (like mixed-in add-ins). Avoid freezing crispy or breaded versions—they’ll get soggy. Thaw overnight in the fridge and reheat with extra milk to restore creaminess.
What are quick alternatives if I don’t have milk to revive dry mac and cheese?
No milk? No problem! Use:
- Heavy cream or half-and-half (richer flavor)
- Chicken/vegetable broth (for savory depth)
- Sour cream or Greek yogurt (tangy twist + creaminess)
- Pasta water (if freshly boiled—starchy and neutral)
With just a few simple tweaks, your leftover mac and cheese can go from meh to magnificent! 🧀✨ Whether you’re adding crispy toppings, boosting creaminess, or reinventing it into a whole new dish, the key is creativity—and now you’ve got the tools to make it happen. Next time you’re staring at a container of day-old mac, don’t reheat it the same old way—pick one of these upgrades and turn it into a meal worth craving. Ready to experiment? Start with your favorite trick tonight and taste the difference!

Trained in classic French technique but raised on slow-cooked ribs and spicy rubs, she blends culinary skill with smoke and soul.
- Recipe for Boneless Pork Chops in Cast Iron Skillet: Sear and Baste to Juicy Perfection - October 3, 2026
- Recipe for Boneless Cross Rib Roast: Slow-Roasted Beef with Herb Crust - October 3, 2026
- Hamburgers in Sauce Recipe Crock Pot: Slow-Cooked Savory Delight - October 3, 2026