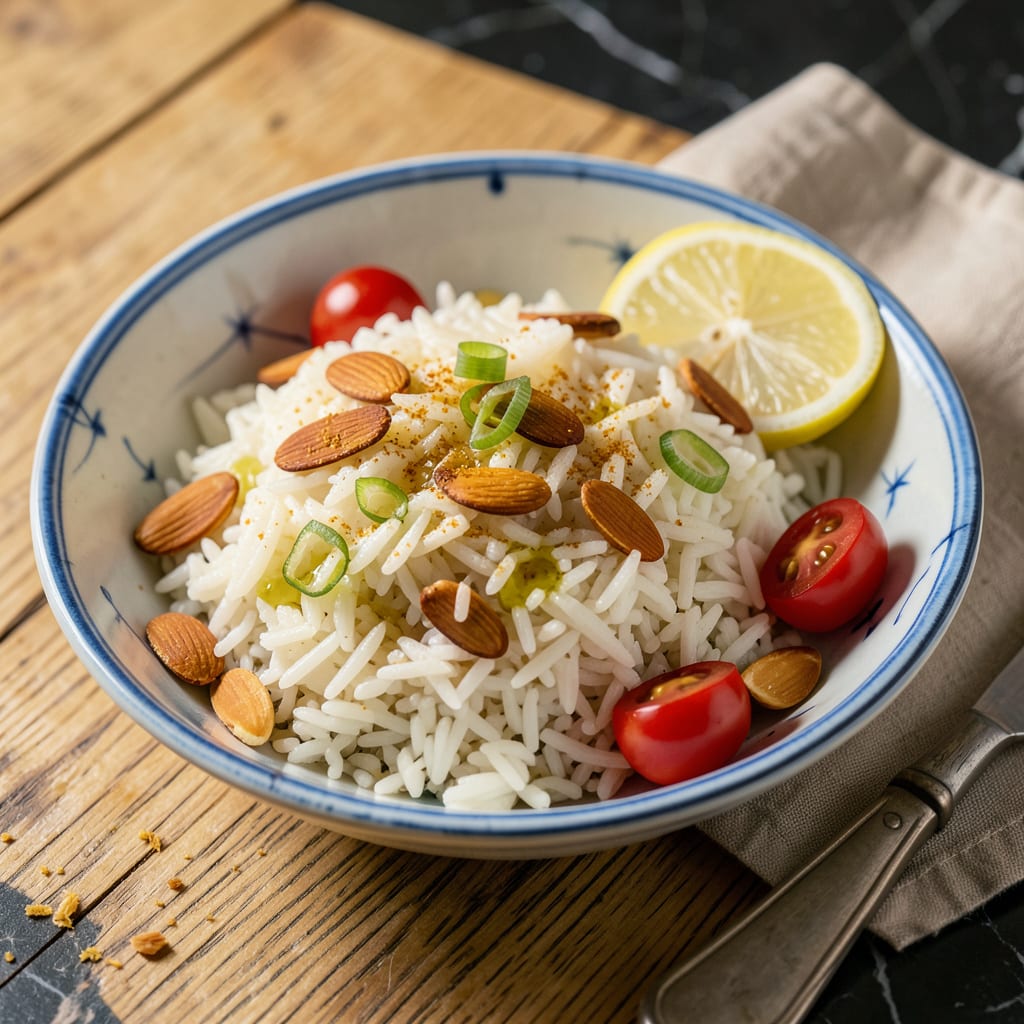
Nothing ruins a perfect meal faster than clumpy, sticky rice that refuses to separate. I’ve been there—staring at a pot of what should be fluffy grains but looks more like a starchy paste. The good news? Even after cooking, you can still fix sticky rice with a few simple tricks that actually work.
Here’s the thing—rice gets sticky when excess starch clings to the grains. The solution isn’t complicated: fluffing with a fork while the rice is still hot, spreading it on a tray to dry slightly, or even a quick reheat with a splash of water. These aren’t just quick fixes; they’re science-backed techniques that change the texture immediately.
I learned this the hard way after ruining more batches than I’d like to admit. The key is acting fast before the rice cools and sets. A gentle toss with a fork breaks up clumps, while spreading it out lets steam escape and excess moisture evaporate. For seriously sticky situations, a brief stint in the oven or microwave with a damp towel works wonders.
Next time, prevent the problem entirely by rinsing before cooking and using the right water ratio. But for now, these fixes will transform your rice from gluey to perfectly separate in minutes. No special tools, no fancy ingredients—just techniques that actually deliver.
📚 In This Guide
- What You’ll Need
- Instructions
- Tips and Common Mistakes
What Youll Need
- ● Rice: 1 cup of long-grain white rice (jasmine or basmati work best) or 1.5 cups of brown rice for less stickiness. 🍚
- ● Water: 1.5–2 cups for white rice (1:1.5–2 ratio) or 2–2.5 cups for brown rice (1:2–2.5 ratio). Use filtered or cold tap water.
- ● Fine-mesh strainer or colander: For rinsing rice thoroughly (avoid large holes).
- ● Medium pot with lid: Heavy-bottomed (stainless steel or enamel) for even heat distribution.
- ● Wooden spoon or rice paddle: To fluff rice gently post-cooking (avoid metal to prevent scratching).
- ● Timer: To track cooking/soaking time precisely. ⏰
- ● Vinegar or lemon juice: 1 tsp added to rinse water to reduce starch further.
- ● Cheesecloth: For extra-fine rinsing if your strainer has large gaps.
- ● Rice cooker: With a “rinse” or “quick cook” setting for hands-off prep.
Instructions
Here’s exactly how to transform your rice from sticky to perfectly separate—simple steps, guaranteed results.
Choose the Right Rice and Measure Properly
Start by selecting a long-grain rice variety like basmati or jasmine, as these naturally contain less starch than short-grain types. I always measure my rice using the knuckle method: fill your pot with rice until it reaches the first knuckle of your index finger when placed flat on the surface. This gives you the perfect rice-to-water ratio without needing measuring cups.
For every 1 cup of rice, you’ll want about 1¾ cups of water—this slightly higher water ratio helps rinse away excess starch during cooking. Avoid packing the rice down when measuring, as this can lead to using too much rice relative to water, which is a common cause of stickiness.
Rinse Thoroughly Until Water Runs Clear
Place the measured rice in a fine-mesh strainer and rinse under cold running water. Use your fingers to gently agitate the grains while rinsing. You’ll notice the water starts out cloudy—that’s the starch washing away. Keep rinsing until the water runs completely clear, which usually takes about 30-45 seconds of continuous rinsing.
Here’s the thing—I know it seems like you might be washing away flavor, but you’re actually removing the surface starch that causes grains to clump together. Don’t skip this step or rush it; proper rinsing is 80% of the battle against sticky rice. After rinsing, shake the strainer gently to remove excess water before cooking.
Cook with the Absorption Method
Combine your rinsed rice and water in a pot with a tight-fitting lid. Bring to a rolling boil over high heat, then immediately reduce to the lowest possible setting—you want just a few bubbles breaking the surface. Cover with the lid and let it cook undisturbed for 15 minutes for white rice or 30-40 minutes for brown rice.
Resist the temptation to peek or stir during cooking. Every time you lift the lid, you release steam and disrupt the cooking process. The absorption method works because it allows the rice to cook evenly in its own steam. You’ll know it’s done when all the water has been absorbed and you can see little craters forming on the rice surface.
Fluff and Rest for Perfect Texture
Once the cooking time is up, turn off the heat but leave the pot covered for an additional 10 minutes. This resting period is crucial—it allows the steam to finish cooking the rice gently and helps the grains firm up. After resting, remove the lid and use a fork to gently fluff the rice from the bottom up.
Fluffing separates the grains and releases any remaining steam, preventing condensation that could make your rice soggy. I like to transfer the rice to a serving bowl immediately after fluffing to stop the cooking process completely. If you’ve followed these steps, you’ll have perfectly separate, non-sticky grains every time.
Serve Immediately or Store Properly
Serve your perfectly cooked rice right away while it’s at its best texture. If you need to store leftovers, spread the rice in a thin layer on a baking sheet to cool completely before transferring to an airtight container. This prevents the rice from steaming itself in the container and becoming sticky.
When reheating, sprinkle a few drops of water over the rice and cover with a damp paper towel before microwaving. This creates steam that revives the rice without making it gummy. Remember that rice continues to dry out as it cools, so it’s always best enjoyed fresh when you can.
Tips and Common Mistakes
Let me share what I’ve learned from years of cooking rice—these small details make all the difference between sticky and perfect.
Rinsing Technique: In Step 2, when rinsing your rice, use your fingers to actively agitate the grains under running water. The 30-45 seconds isn’t just about time—it’s about thoroughness. I’ve found that swirling the rice in circles while rinsing helps remove starch more effectively than just letting water run over it. Don’t rush this step; you should see completely clear water before moving on.
Heat Control: When you reduce the heat in Step 3 after bringing to a boil, you want just a few gentle bubbles breaking the surface—not a rolling boil. On my stove, this means setting the dial just above the lowest setting. If you’re using high heat for too long, you risk burning the bottom while the top remains undercooked. A proper simmer is key for even cooking.
Resting Period: That 10-minute resting time in Step 4 isn’t optional—it’s when the magic happens. The residual steam finishes cooking the rice gently from within, and the grains firm up. I’ve ruined perfectly good rice by skipping this step and serving immediately. The texture difference is noticeable, so be patient and let it rest covered.
Water Ratio: The 1¾ cups of water per 1 cup of rice ratio in Step 1 is precise for a reason. I’ve experimented with different ratios, and this one consistently gives me separate grains without being dry. If you’re at high altitude, you might need slightly more water, but for most people, this ratio works perfectly with the absorption method described.
Pro Tips for Make Rice Less Sticky After Cooking
- Let me share what I’ve learned from years of cooking rice—these small details make all the difference between sticky …
- Rinsing Technique: In Step 2, when rinsing your rice, use your fingers to actively agitate the grains under running w…
- Heat Control: When you reduce the heat in Step 3 after bringing to a boil, you want just a few gentle bubbles breakin…
Frequently Asked Questions
Why does my rice turn out sticky even after rinsing?
Sticky rice often happens due to excess starch. If you rinse quickly or use warm water, starch remains. Try rinsing until the water runs clear (3-5 times) with cold water. Also, avoid overcrowding the pot—rice needs space to cook evenly!
Can I fix sticky rice after it’s already cooked?
Yes! Spread the rice on a tray to cool and dry slightly, then fluff with a fork. For a quick fix, reheat it in a skillet with 1 tsp oil or butter on low heat, stirring gently. This separates grains without mushiness.
Does the type of rice affect stickiness?
Absolutely! Short-grain rice (like sushi rice) is naturally stickier. For fluffier results, opt for long-grain varieties (jasmine, basmati). Check the label—some rices are labeled “low-starch” or “parboiled” for less cling.
How long should I soak rice to reduce stickiness?
Soaking for 20-30 minutes helps grains absorb water evenly, reducing surface starch. Skip soaking for parboiled rice—it’s pre-treated! For basmati, 15 minutes is enough. Pro tip: Drain well before cooking!
What’s the best water-to-rice ratio to avoid sticky rice?
Aim for 1:1.5 (rice to water) for white rice, 1:2 for brown. Use a finger trick: Water should reach your first knuckle when placed flat on the rice. Too much water = gummy texture; too little = undercooked grains.
Say goodbye to clumpy rice for good! 🎉 The secret lies in proper rinsing, precise water ratios, and gentle handling—small tweaks that make a big difference. Whether you’re prepping sushi rice or fluffy basmati, these simple steps ensure perfect texture every time.
Ready to put your new skills to the test? Grab that rice cooker or pot and try it out tonight! For even more foolproof cooking tips, check out our guide on mastering different rice varieties next. Happy cooking! 🍚✨

Trained in classic French technique but raised on slow-cooked ribs and spicy rubs, she blends culinary skill with smoke and soul.
- Recipe for Boneless Pork Chops in Cast Iron Skillet: Sear and Baste to Juicy Perfection - October 3, 2026
- Recipe for Boneless Cross Rib Roast: Slow-Roasted Beef with Herb Crust - October 3, 2026
- Hamburgers in Sauce Recipe Crock Pot: Slow-Cooked Savory Delight - October 3, 2026