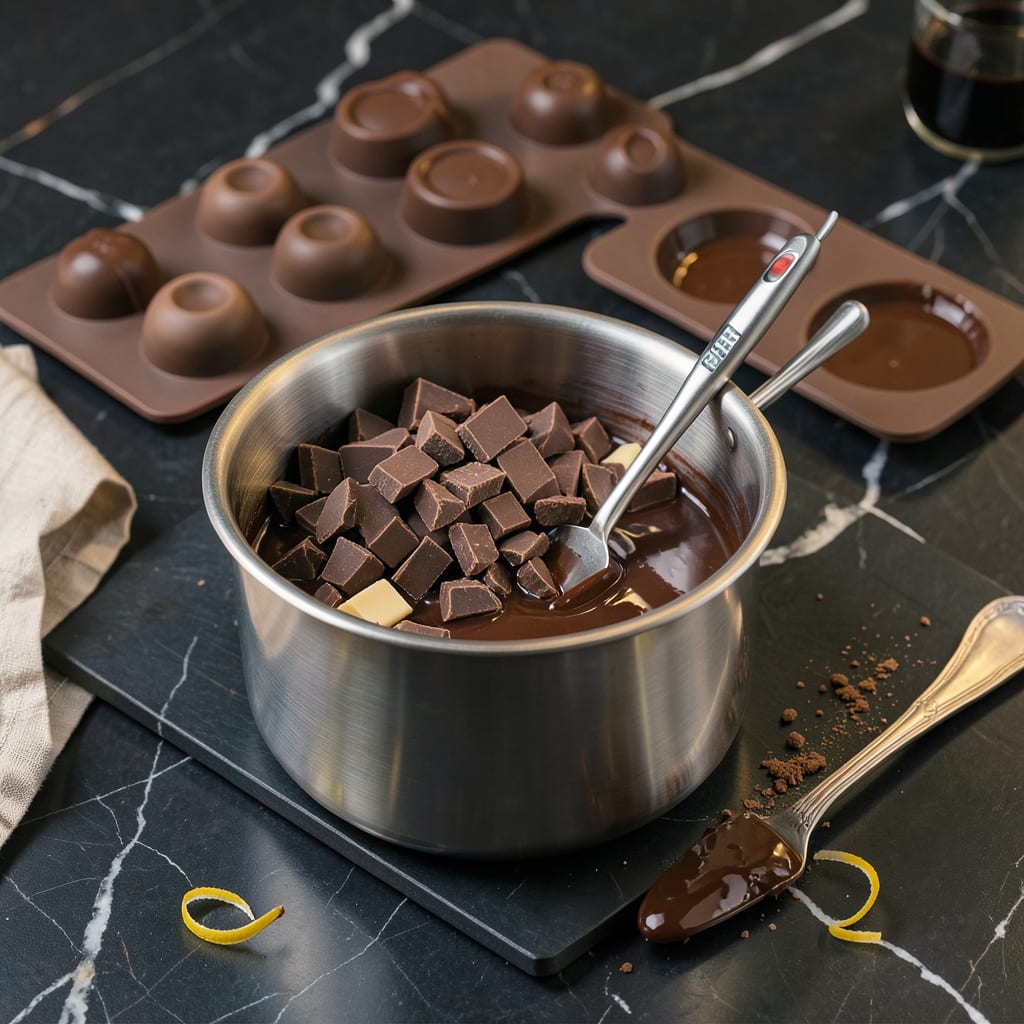
Melting chocolate for molds isn’t just about getting it liquid—it’s about achieving that perfect silky flow that makes your creations look professional. I’ve ruined more chocolate than I’d like to admit by rushing this process, but here’s the thing: patience and temperature control are everything. Whether you’re making truffles, chocolate shells, or decorative garnishes, the difference between grainy, seized chocolate and smooth, glossy results comes down to a few key techniques.
You don’t need fancy equipment, just the right approach. Double boilers give you the most control, microwaves work in a pinch (if you’re careful), and direct heat is a gamble I don’t recommend. Each chocolate type—dark, milk, white—has its own ideal melting range, and hitting those sweet spots means your molds will release cleanly every time. I learned this the hard way after watching my carefully tempered chocolate turn into a thick, unusable mess mid-project.
The real magic happens when you understand how to troubleshoot. Overheated? Seized? Not releasing from molds? These are all fixable if you know what to watch for. And here’s where it gets interesting—this technique isn’t just for fancy desserts. Once you master it, you’ll find yourself using chocolate molds for everything from elegant dinner party finishes to fun kitchen projects with kids.
Fair warning: your first few attempts might not be perfect. But stick with it, because nothing beats the satisfaction of popping a flawlessly molded chocolate piece out of its form. This is one of those kitchen skills that seems small until you realize how many recipes it unlocks.
📚 In This Guide
- What You’ll Need
- Instructions
- Tips and Common Mistakes
What Youll Need
- ● Chocolate: 8–16 oz of high-quality couverture or molding chocolate (chopped bars or chips—avoid candy melts for fine molds).
- ● Double boiler (or DIY setup): A heatproof bowl + saucepan with 1–2 inches of simmering water (or a microwave-safe bowl for quick melting).
- ● Thermometer: An instant-read or candy thermometer (ideal temp: 88–90°F for dark, 84–86°F for milk/white).
- ● Silicone or plastic molds: Clean, dry, and food-grade (avoid metal—it conducts heat unevenly).
- ● Spatula or whisk: Silicone for smooth stirring (no wooden spoons—they retain moisture!).
- ● Parchment paper or baking sheet: For tempering tests or spills.
- ● Seed chocolate (for tempering): 1–2 oz of finely chopped, already tempered chocolate.
- ● Acetate strips or a hairdryer (for hand-tempering).
- ● Food-safe paintbrush (for detailing molds).
- ● Gloves (to avoid fingerprints on chocolates).
Instructions
Perfect chocolate molds start with proper melting—here’s how to achieve flawless results every time.
Choose and Prepare Your Chocolate
Select high-quality chocolate specifically designed for molding—couverture chocolate with at least 32% cocoa butter works best. I always check the package to ensure it’s labeled for tempering or molding. Chop the chocolate into uniform ¼-inch pieces using a chef’s knife. This even size ensures consistent melting and prevents scorching.
Real talk: chocolate quality matters more than any technique. Cheap chocolate contains stabilizers that resist proper tempering, leaving you with dull, streaky molds. I recommend Valrhona, Callebaut, or Guittard brands for reliable results. Place your chopped chocolate in a completely dry, heatproof bowl—any moisture will cause seizing.
Create a Proper Double Boiler Setup
Fill a saucepan with 2 inches of water and bring to a gentle simmer over medium-low heat. The water should never boil vigorously—you want just a few bubbles breaking the surface. Place your bowl of chopped chocolate over the saucepan, ensuring the bottom doesn’t touch the water. This indirect heat provides gentle, even melting.
Here’s the thing—steam burns chocolate just as badly as direct heat. I always use a bowl that fits snugly over my saucepan to minimize steam exposure. Stir the chocolate constantly with a silicone spatula, scraping the sides and bottom of the bowl to prevent hot spots. You’re aiming for a smooth, glossy texture at about 115°F for dark chocolate or 110°F for milk/white.
Monitor Temperature Precisely
Use an instant-read thermometer to track the chocolate’s temperature as it melts. Dark chocolate should reach 115-120°F, while milk and white chocolates need 110-115°F. I check multiple spots in the bowl since temperatures can vary. Remove the bowl from heat as soon as you hit the target range—overheated chocolate loses its temper permanently.
Watch for visual cues: properly melted chocolate will be completely smooth with no lumps, and it should coat the back of a spoon evenly. If you notice any graininess or separation, the chocolate has overheated or come into contact with water. At this point, you’ll need to start over with fresh chocolate—there’s no saving seized chocolate for molding purposes.
Temper the Chocolate for Professional Results
For molds that release cleanly with a glossy finish, tempering is essential. Cool the melted chocolate to 80-82°F for dark or 78-80°F for milk/white by adding small pieces of unmelted chocolate (seed method) and stirring constantly. This process encourages stable crystal formation.
Once cooled, gently rewarm the chocolate to 88-90°F for dark or 84-86°F for milk/white. I maintain this temperature by briefly returning the bowl to the double boiler, then removing it immediately. Test your temper by spreading a small amount on parchment—properly tempered chocolate will set firm and glossy within 3-5 minutes at room temperature.
Work Quickly and Pour Carefully
Pour the tempered chocolate into your molds immediately, working at a steady pace. I use a small ladle or squeeze bottle for precise control. Fill each cavity completely, then tap the mold gently on the counter to release air bubbles. This prevents unsightly holes in your finished pieces.
Let the molds set at room temperature for 20-30 minutes, or refrigerate for 10-15 minutes if you’re short on time. Avoid freezing, as this can cause sugar bloom. Once fully set, invert the mold onto parchment and flex gently to release. Store your chocolate creations in a cool, dry place away from strong odors—they’ll keep perfectly for up to 2 weeks.
Tips and Common Mistakes
Mastering chocolate molding comes down to precision and patience—here’s what I’ve learned after years of tempering trials.
Temperature Precision: The temperature ranges in Step 3 (115-120°F for dark, 110-115°F for milk/white) are non-negotiable. I use a digital thermometer with a 1°F accuracy rating and check three spots in the bowl since chocolate can develop hot pockets. Remove from heat the instant you hit 120°F—even 5 degrees higher means you’ll need to start over with fresh chocolate. The cocoa butter crystals are extremely temperature-sensitive at this stage.
Steam Prevention Technique: In Step 2, I place a folded kitchen towel between the bowl and saucepan lid to absorb escaping steam. Even with 2 inches of water at medium-low heat, steam can condense on the bowl’s underside and drip into your chocolate. I also use a glass bowl so I can monitor the water level—if it gets below 1 inch, I add hot (not boiling) water to maintain consistent indirect heat.
Temper Testing Method: The parchment test in Step 4 reveals everything about your temper. When you spread that small amount of chocolate, it should set with a audible “snap” when you try to break it after 3-5 minutes. If it bends instead of snaps, your chocolate isn’t properly tempered—either the cooling phase didn’t reach 80-82°F or the rewarming exceeded 90°F. I keep a stack of parchment squares ready for multiple tests during the process.
Mold Preparation Insight: Before pouring in Step 5, I chill my molds in the refrigerator for 10 minutes. The slight temperature drop helps the chocolate set more evenly from the edges inward, preventing that frustrating “foot” at the base of your molds. Just be sure to bring them back to room temperature before pouring—condensation is the enemy of smooth chocolate surfaces.
Pro Tips for Melt Chocolate For Molds
- Mastering chocolate molding comes down to precision and patience—here’s what I’ve learned after years of tempering tr…
- Temperature Precision: The temperature ranges in Step 3 (115-120°F for dark, 110-115°F for milk/white) are non-negoti…
- Steam Prevention Technique: In Step 2, I place a folded kitchen towel between the bowl and saucepan lid to absorb esc…
Frequently Asked Questions
Can I melt chocolate in the microwave instead of a double boiler?
Yes! Microwaving is faster but requires care. Use short 20-30 second bursts at 50% power, stirring between each. Stop before fully melted—residual heat will finish the job. Avoid overheating, or the chocolate may seize or burn. A double boiler gives more control for beginners.
How do I know if my chocolate is melted enough for molds?
It should be smooth, glossy, and fluid (around 88–90°F for dark, 84–86°F for milk/white). Test by dripping a little onto parchment—if it sets shiny and firm in 2-3 minutes, it’s ready. Lumpy or thick chocolate needs more gentle heat or stirring.
Why does my melted chocolate look dull or streaky after hardening?
This usually means it wasn’t tempered properly or overheated. Overheating breaks cocoa butter bonds, causing a dull finish. Fix it by re-melting carefully (under 90°F) and stirring in a few unmelted chocolate pieces to re-temper. Use a thermometer for precision!
Can I use chocolate chips instead of bars for molding?
Yes, but chips often contain stabilizers (like wax) that make them thicker when melted. For best results, use high-quality couverture chocolate or bars with at least 32% cocoa butter. If using chips, add 1 tsp coconut oil per cup to improve flow.
How long does it take for chocolate in molds to set?
Typically 15–30 minutes at room temperature (65–70°F) or 10 minutes in the fridge. Avoid freezing—it can cause sugar bloom (white spots). For quick release, chill molds for 5 minutes, then pop them out gently. Humidity or warm rooms may slow setting.
Melting chocolate for molds doesn’t have to be tricky—just remember low heat, patience, and proper tempering for that glossy, snap-worthy finish! 🍫✨ Whether you’re using a double boiler, microwave, or sous vide, the key is gentle, even heat to avoid seizing or burning. Now that you’ve mastered the basics, why not put your skills to the test? Grab your favorite mold and start crafting homemade truffles, chocolate bars, or festive treats—your sweet creations are just a melt away!

Trained in classic French technique but raised on slow-cooked ribs and spicy rubs, she blends culinary skill with smoke and soul.
- Recipe for Boneless Pork Chops in Cast Iron Skillet: Sear and Baste to Juicy Perfection - October 3, 2026
- Recipe for Boneless Cross Rib Roast: Slow-Roasted Beef with Herb Crust - October 3, 2026
- Hamburgers in Sauce Recipe Crock Pot: Slow-Cooked Savory Delight - October 3, 2026