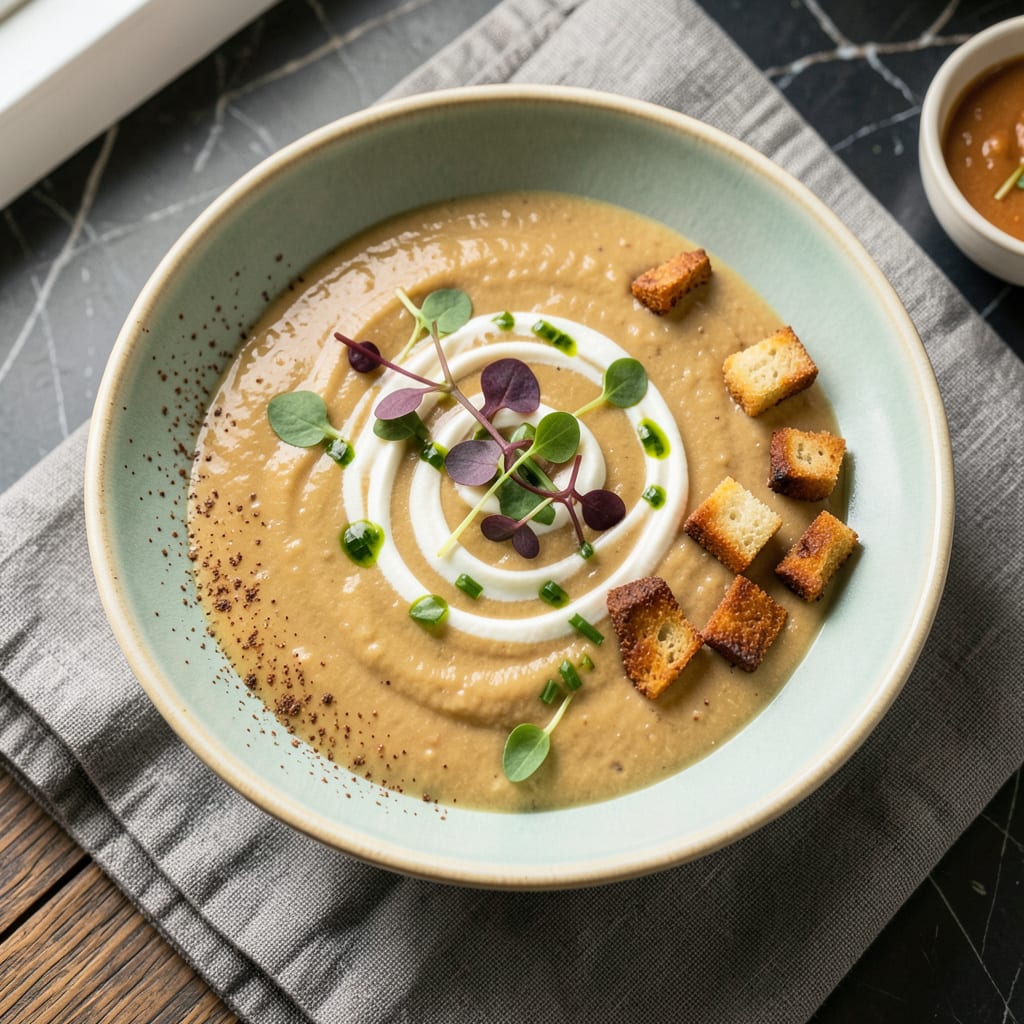
Nothing ruins a creamy soup faster than lumpy, separated cream cheese. I’ve been there—stirring frantically as my once-smooth broth turns into a curdled mess. After years of trial and error (and more than a few wasted batches), I finally cracked the code for melting cream cheese into soup without a single clump.
The secret isn’t fancy equipment or special ingredients—it’s all about temperature control and timing. Start with room-temperature cream cheese cut into small cubes, then whisk it into warm (not boiling) broth in stages. This gradual approach lets the cheese melt evenly instead of seizing up from sudden heat.
What you’ll end up with is soup so velvety it coats the back of a spoon, with that signature tangy richness from the cream cheese. No grainy texture, no oily separation—just pure, creamy perfection in every bite. I use this technique in everything from loaded potato soup to creamy tomato basil.
Fair warning: once you master this method, you’ll never go back to watery, thin soups again. The difference is that dramatic. Let’s get that pot simmering and make some magic happen.
📚 In This Guide
- What You’ll Need
- Instructions
- Tips and Common Mistakes
What Youll Need
- ● Cream cheese: 8 oz (1 block) full-fat for best texture (low-fat may curdle).
- ● Soup base: 4 cups hot broth, stock, or pre-made soup (e.g., tomato, potato, or broccoli cheddar).
- ● Mixing bowl: Medium-sized, microwave-safe (if microwaving) or heatproof (if stovetop).
- ● Whisk or fork: For smoothing lumps—silicon-coated prevents scratching pots.
- ● Measuring cups/spoons: For precise cream cheese portions (1 tbsp increments help!).
- ● Hand blender/immersion blender: For ultra-smooth results. ⚡
- ● Double boiler: If melting on stovetop to prevent scorching.
- ● Milk or heavy cream: 2–4 tbsp to thin the mixture if needed.
- ● Lemon juice or vinegar: ½ tsp to stabilize if soup is acidic (e.g., tomato-based).
Instructions
Here’s my foolproof method for achieving that velvety cream cheese texture without any clumps or separation.
Bring Your Soup to the Right Temperature
Start by heating your soup base to medium-low heat. You want it warm enough that you see gentle movement when you stir, but not so hot that it’s bubbling or steaming. I like to test it with my finger—it should feel warm but not uncomfortable.
The ideal temperature is around 160-180°F. If your soup is too cold, the cream cheese won’t melt properly. If it’s too hot, the cream cheese will separate and create an oily texture. This is the most critical step for success.
Prepare the Cream Cheese for Easy Melting
While your soup warms, take the cream cheese out of the package and cut it into 1-inch cubes. This increases the surface area, helping it melt more evenly and quickly. I’ve found that cold cream cheese straight from the fridge works better than softened—it incorporates more smoothly.
If you’re using a full 8-ounce block, you’ll get about 16 cubes. Don’t worry about making them perfectly uniform, but try to keep them roughly the same size. This ensures they’ll melt at the same rate when you add them to the soup.
Incorporate the Cream Cheese Gradually
Add the cream cheese cubes to the warm soup one at a time, stirring constantly with a wooden spoon or silicone spatula. Wait until each cube is about 75% melted before adding the next one. This gradual approach prevents clumping and ensures a silky texture.
I like to stir in a figure-eight motion, which helps distribute the melting cheese evenly throughout the soup. You’ll notice the soup becoming creamier and slightly thicker as each cube dissolves. This process should take about 5-7 minutes total for a standard block of cream cheese.
Finish with Gentle Heat and Final Adjustments
Once all the cream cheese is incorporated, let the soup simmer at low heat for an additional 3-5 minutes. This gives the flavors time to meld and ensures the cream cheese is fully integrated. You’re looking for a smooth, velvety texture with no visible streaks or lumps.
Taste and adjust the seasoning if needed—the cream cheese might require a bit more salt or pepper. If the soup seems too thick, you can thin it with a splash of broth or milk. The final texture should coat the back of a spoon but still pour easily from the ladle.
Serve Immediately for Best Texture
Cream cheese-enriched soups are best served right away while they’re at their creamiest. If you need to hold it, keep the soup on very low heat and stir occasionally to prevent separation. I like to garnish with fresh herbs or a drizzle of olive oil to complement the rich, creamy base.
Remember that the soup will thicken slightly as it cools. If you have leftovers, reheat gently over low heat, stirring frequently. You may need to add a bit of liquid to restore the perfect creamy consistency when reheating.
Tips and Common Mistakes
After years of perfecting this technique, I’ve learned that small details make all the difference between silky soup and a separated mess.
Temperature Control: The 160-180°F range in Step 1 is absolutely critical. I’ve ruined more batches by rushing this step than I care to admit. Use an instant-read thermometer if you’re unsure – it’s worth the investment. When you dip your finger in, it should feel like warm bathwater, not hot tub temperature. This precise warmth allows the cream cheese to melt gradually without breaking down.
The Technique That Changed Everything: In Step 3, that figure-eight stirring motion isn’t just for show. It creates a gentle vortex that helps distribute the melting cheese evenly throughout the soup. I learned this trick from a French chef during my training – it prevents the cheese from settling in one spot and forming clumps. Keep your spoon moving constantly, and you’ll see the soup transform before your eyes.
Critical Timing: Those 5-7 minutes in Step 3 might seem like a small window, but they’re crucial. Adding the next cube too soon is the number one cause of lumps. I set a timer for 30 seconds between additions when I’m first learning a new soup recipe. The 75% melted rule is your best friend – wait until you can see the cube losing its shape but still has a small solid center before adding the next one.
Heat Control: The final 3-5 minutes of simmering at low heat in Step 4 is where the magic happens. This gentle heat allows the cream cheese to fully emulsify with the soup base. I’ve found that stirring in one consistent direction during this time creates the smoothest texture. If you notice any separation starting, reduce the heat immediately and stir vigorously – you can usually save it if you catch it early.
Pro Tips for Melt Cream Cheese In Soup
- After years of perfecting this technique, I’ve learned that small details make all the difference between silky soup …
- Temperature Control: The 160-180°F range in Step 1 is absolutely critical. I’ve ruined more batches by rushing this s…
- The Technique That Changed Everything: In Step 3, that figure-eight stirring motion isn’t just for show. It creates a…
Frequently Asked Questions
Can I add cream cheese directly to hot soup?
No! Adding cold cream cheese straight to bubbling soup can cause lumpy clumps or curdling. Always temper it first: whisk a ladle of hot broth into the cream cheese until smooth, then stir the mixture back into the soup. This prevents shocking the dairy and ensures a velvety finish.
How long does it take for cream cheese to melt in soup?
On low heat, properly tempered cream cheese melts in 3–5 minutes with constant stirring. Avoid boiling—high heat can make it grainy. If using an immersion blender, it’ll incorporate even faster (about 2 minutes). Patience is key for that creamy dream! For similar richness, try:
Three common culprits:
Yes, but reheat gently. Store soup in the fridge for up to 3 days—cream cheese may thicken as it chills. Rewarm on low, stirring often. Add a splash of broth if needed to restore silky texture. Freezing isn’t ideal (dairy can separate).What’s the best cream cheese substitute for soup?
Avoid ricotta—it’s too grainy unless blended first.
Why did my cream cheese turn grainy in the soup?
Fix it: Blend with an immersion blender or strain through a fine-mesh sieve.
Can I melt cream cheese in soup ahead of time?
Now you’ve got the secret to perfectly melted cream cheese in soup—no lumps, just velvety richness! 🎉 Whether you’re whipping up a creamy broccoli cheddar or a decadent tomato bisque, patience and low heat are your best friends. Don’t be afraid to experiment with flavors or textures—your next bowl of soup could be your best yet!
Ready to put your new skills to the test? Grab a pot, pick your favorite recipe, and get simmering! For more soup inspiration, check out our collection of cozy soup recipes.

Trained in classic French technique but raised on slow-cooked ribs and spicy rubs, she blends culinary skill with smoke and soul.
- Recipe for Boneless Pork Chops in Cast Iron Skillet: Sear and Baste to Juicy Perfection - October 3, 2026
- Recipe for Boneless Cross Rib Roast: Slow-Roasted Beef with Herb Crust - October 3, 2026
- Hamburgers in Sauce Recipe Crock Pot: Slow-Cooked Savory Delight - October 3, 2026