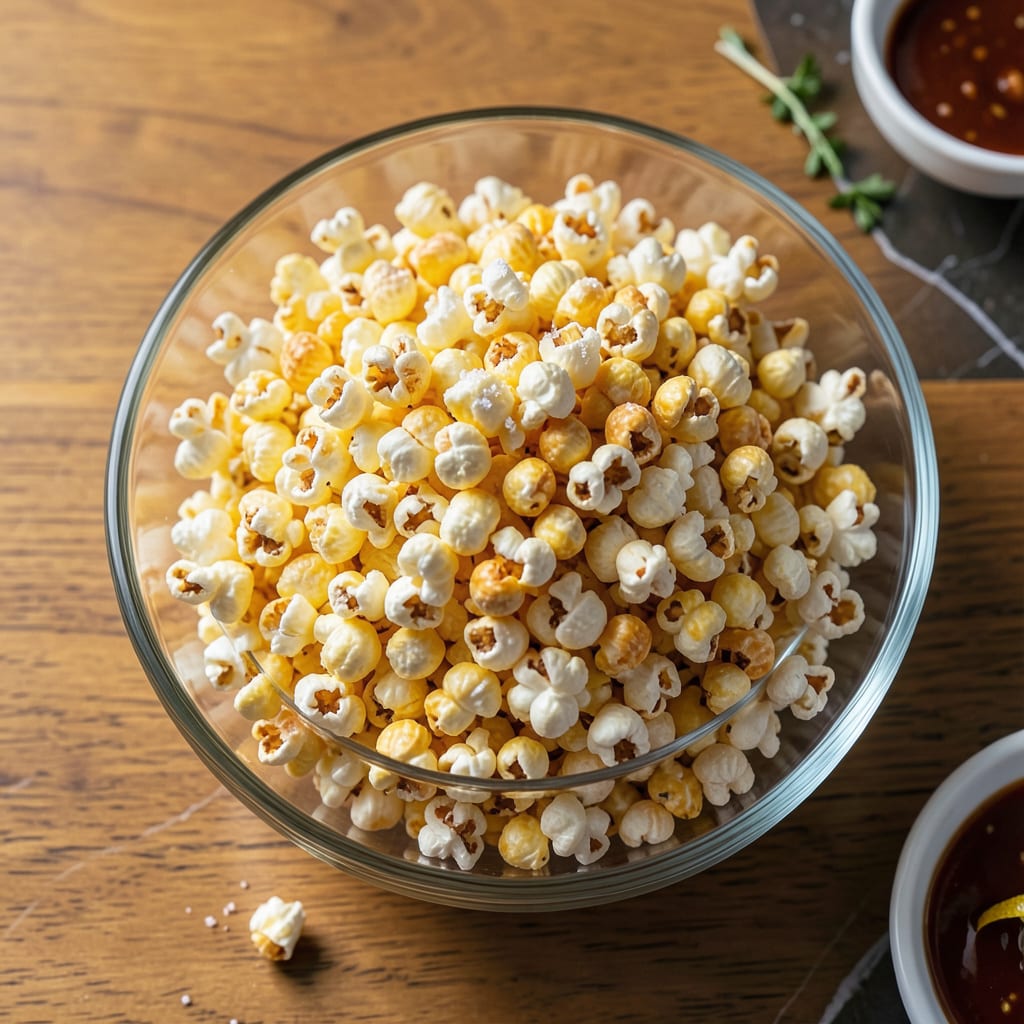
Burnt popcorn is a kitchen tragedy that ruins both the snack and the mood. After years of perfecting microwave techniques, I’ve developed a foolproof method that delivers perfectly popped kernels every time. The key lies in understanding heat distribution and timing—two factors most people overlook when making microwave popcorn.
This method requires no special equipment, just standard popcorn kernels and a microwave-safe bowl with a lid. The secret is using the right power level and listening for the popping rhythm. I’ve found that medium-high power (about 80% capacity) creates the ideal environment for even popping without scorching.
What sets this technique apart is the attention to detail during the popping process. You’ll learn exactly when to pause the microwave, how to interpret the popping sounds, and when to stop before burning occurs. These small adjustments make the difference between charred disappointment and golden, crispy perfection.
The result is consistently excellent popcorn—light, crispy, and free from that acrid burnt taste. Whether you’re making a quick snack or preparing for movie night, this method ensures you’ll never waste another batch of kernels. Let’s eliminate burnt popcorn from your life for good.
📚 In This Guide
- What You’ll Need
- Instructions
- Tips and Common Mistakes
What Youll Need
- ● Microwave-safe bowl or popcorn popper (1–2 quart capacity, with a vented lid or loose cover)
- ● Popcorn kernels (½ cup for a standard batch—freshness matters!)
- ● Cooking oil or butter (1–2 tbsp; high smoke-point oils like coconut or avocado work best)
- ● Salt (to taste; fine sea salt or popcorn salt sticks best)
- ○ Optional toppings: melted butter, cheese powder, cinnamon sugar, or nutritional yeast
- ● Microwave-safe plate or paper towel (to cover the bowl if no lid is available)
- ● Oven mitts or thick towel (for handling the hot bowl post-popping)
- ● Measuring cups/spoons (for precise kernel-to-oil ratios)
- ○ Optional: popcorn seasoning shaker or small spray bottle (for even oil distribution)
Instructions
Here’s the foolproof method I’ve perfected after years of trial and error—no more burnt kernels, just perfect popcorn every time.
Select the Right Microwave-Safe Container
Choose a large, wide microwave-safe bowl—at least 3-quart capacity with plenty of room for expansion. I prefer glass bowls because they distribute heat more evenly than plastic, which can create hot spots that lead to burning. Avoid narrow containers; the popcorn needs space to expand upward and outward without crowding.
The bowl should have a smooth, flat bottom to ensure even heat distribution. If you’re using a paper bag method (which I don’t recommend for beginners), make sure it’s specifically designed for microwave popping. Never use metal or containers with metallic accents—they can spark and damage your microwave.
Measure Kernels and Oil Precisely
Add ½ cup of popcorn kernels to your bowl—this is the ideal amount for even popping without overcrowding. Then drizzle 1 tablespoon of neutral oil (like avocado or coconut oil) over the kernels. The oil should just coat the bottom of the bowl, not pool excessively. Too much oil creates steam that makes popcorn soggy; too little leads to dry, unpopped kernels.
Gently swirl the bowl to distribute the oil evenly, then spread the kernels in a single layer. This ensures each kernel has direct contact with the oil and the microwave’s heat source. If you hear kernels sliding around when you tilt the bowl, you’ve got the right oil-to-kernel ratio.
Cover and Microwave with Strategic Venting
Cover the bowl with a microwave-safe plate that’s slightly larger than the bowl’s diameter. This creates a seal that traps steam (essential for popping) while allowing just enough airflow to prevent sogginess. Never use plastic wrap—it can melt and doesn’t allow proper ventilation.
Microwave on high power for 3-4 minutes, listening carefully. When the popping slows to 2-3 seconds between pops, stop immediately—this is the golden window. Most people wait until the popping stops completely, but that’s when burning starts. The last few unpopped kernels aren’t worth ruining the whole batch.
Rest and Season While Hot
Let the popcorn sit in the covered bowl for 1 minute after microwaving. This allows any remaining kernels to pop safely while the steam redistributes for even crispness. Then transfer to a large serving bowl immediately—leaving it in the microwave bowl causes condensation that makes popcorn limp.
Season while still warm so flavors adhere better. I toss mine with 1 teaspoon of fine salt and any desired spices (like nutritional yeast or smoked paprika) in two stages: half before tossing, half after. This layered approach ensures even distribution without clumping. For sweet versions, sprinkle powdered sugar through a fine-mesh sieve for perfect coverage.
Tips and Common Mistakes
After years of perfecting this method, I’ve learned that small details make all the difference between perfect popcorn and a burnt mess.
Container Selection: The 3-quart capacity mentioned in Step 1 isn’t arbitrary—it’s the sweet spot for proper heat distribution. I’ve tested everything from ceramic to stainless steel, and glass consistently gives the most even popping. The flat bottom is crucial too; I once used a bowl with a decorative base and ended up with half the kernels unpopped at the bottom.
Oil Distribution Technique: When you’re swirling the ½ cup of kernels with that 1 tablespoon of oil in Step 2, here’s what nobody tells you—tilt the bowl at a 45-degree angle and rotate it in small circles. This ensures every kernel gets coated without excess oil pooling. I learned this after years of dealing with soggy bottoms and dry, unpopped tops.
Listening for the Golden Window: Those 3-4 minutes in Step 3 are critical, but the real magic happens in the last 30 seconds. Train your ear for that 2-3 second pause between pops—it’s subtle at first. I recommend standing right next to the microwave (not walking away!) because that brief silence is your cue to stop immediately. The difference between perfect popcorn and burnt bits is literally seconds.
Steam Management: That 1-minute rest in Step 4 isn’t just about letting stragglers pop—it’s about steam redistribution. If you skip this, you’ll get some pieces that are too crispy while others are chewy. I place a folded paper towel under the plate during this rest to absorb any excess moisture that might make the popcorn limp when transferring.
Pro Tips for Not Burn Popcorn
- After years of perfecting this method, I’ve learned that small details make all the difference between perfect popcor…
- Container Selection: The 3-quart capacity mentioned in Step 1 isn’t arbitrary—it’s the sweet spot for proper heat dis…
- Oil Distribution Technique: When you’re swirling the ½ cup of kernels with that 1 tablespoon of oil in Step 2, here’s…
Frequently Asked Questions
How long should I microwave popcorn to avoid burning it?
Most microwave popcorn bags take 2–4 minutes on high. Listen for pops—stop when they slow to 1–2 seconds apart. Overcooking is the #1 cause of burnt popcorn! Pro tip: Start with the lower end of the time range and add 10–15 seconds if needed.
Can I reuse a popcorn bag if it didn’t pop all the kernels?
Nope! Reusing bags risks burning (and a weird texture). Unpopped kernels = old or dry corn. Toss the bag and try a fresh one with new kernels for best results. If it happens often, check your microwave’s wattage or kernel freshness.
What’s the best microwave setting for popcorn?
Always use the “Popcorn” preset if your microwave has it! No preset? Go with high power (100%)—lower settings can lead to soggy or uneven popping. Avoid “defrost” or “reheat” modes—they’ll leave you with sad, burnt bits.
Why does my popcorn burn even when I follow the instructions?
Common culprits:
- Microwave hot spots (try rotating the bag halfway)
- Old kernels (check the expiration date!)
- Overfilled bags (leave room for expansion)
- Dirty microwave (food residue can overheat)
Are there healthier alternatives to microwave popcorn?
Absolutely! Try air-popped (no oil needed) or stovetop popcorn with coconut oil + light salt. For microwave shortcuts, use a silicon popper with plain kernels—skip the butter-laden bags. Bonus: You control the toppings (hello, nutritional yeast or cinnamon! ).
Now you’ve got the secret to perfectly popped kernels every time—no more burnt smells or sad, charred snacks! 🎉 With the right prep, timing, and a watchful eye, your microwave popcorn game is officially flawless. Next time you crave a movie-night treat, grab that bag and put your new skills to the test.
Ready to level up? Try experimenting with homemade seasonings (think cinnamon sugar or spicy chili lime!) or test different microwave power levels for custom crunch. Happy popping! 🍿✨

Trained in classic French technique but raised on slow-cooked ribs and spicy rubs, she blends culinary skill with smoke and soul.
- Recipe for Boneless Pork Chops in Cast Iron Skillet: Sear and Baste to Juicy Perfection - October 3, 2026
- Recipe for Boneless Cross Rib Roast: Slow-Roasted Beef with Herb Crust - October 3, 2026
- Hamburgers in Sauce Recipe Crock Pot: Slow-Cooked Savory Delight - October 3, 2026