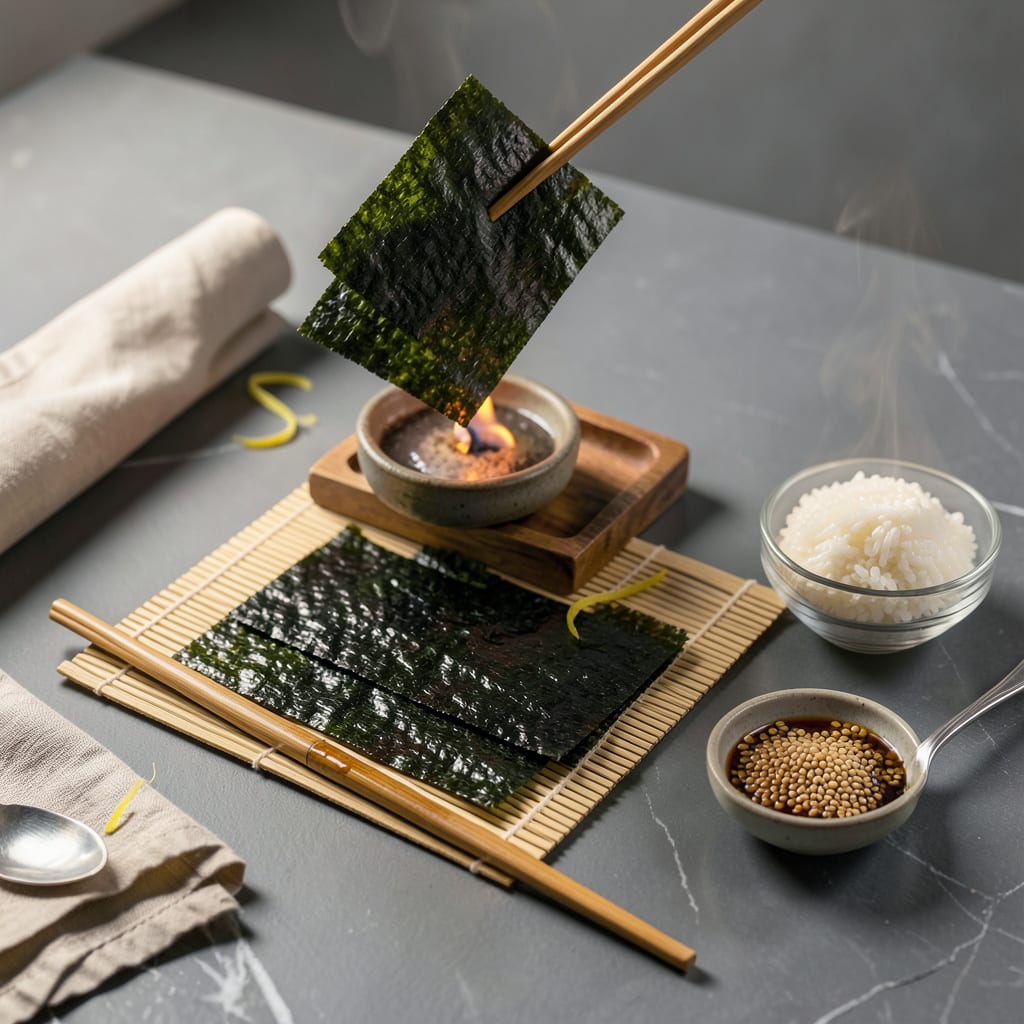
Let me tell you, working with nori sheets was my biggest sushi-making hurdle until I figured out the simple tricks. That first time I watched a perfectly crisp sheet turn soggy in seconds? Heartbreaking. But once you understand how to handle these delicate seaweed wrappers, they become your secret weapon for restaurant-quality rolls at home.
The key starts with selecting the right nori—look for deep green, glossy sheets with no tears or white spots. I always grab mine from Asian markets where turnover is high, ensuring maximum freshness. A quick toast over low heat (just 10-15 seconds per side) transforms them from paper-thin to perfectly crisp, which is exactly what you want for that satisfying crunch in every bite.
Here’s where most home cooks mess up: moisture control. Your hands, rice, and fillings all introduce water that turns crispy nori into a sad, limp wrapper. I keep a dry towel nearby and work fast—spreading rice thinly, adding fillings precisely, then rolling immediately. The difference between a professional-looking roll and a fallen-apart mess often comes down to these 30 seconds of careful handling.
Once you’ve got the technique down, the possibilities explode. Use your perfectly prepped nori for classic maki rolls, hand-held temaki cones, or even as crispy garnishes for chirashi bowls. The same sheets that once frustrated me now let me create sushi that impresses everyone—even my skeptical fisherman friends who think they’ve tasted it all.
📚 In This Guide
- What You’ll Need
- Instructions
- Tips and Common Mistakes
What Youll Need
- ● Nori sheets – 10-12 full-size (7.5″ x 8.5″) sheets per sushi roll (choose sushi-grade, dark green/black for best flavor 🌿).
- ○ Rice vinegar – 2 tbsp mixed with 1 tsp sugar + ½ tsp salt (for optional nori seasoning).
- ● Sharp chef’s knife or scissors (✂️ clean, dry, and dedicated to nori to avoid moisture).
- ● Bamboo sushi mat (makisu) – 1 (9.5″ x 9.5″ standard size) for rolling.
- ● Dry, lint-free towel – 1 (to wipe hands/tools and prevent sticking).
- ○ Plastic wrap (optional, for extra grip when rolling sticky rice).
- ○ Small bowl of water + pastry brush (optional, to seal nori edges).
- ○ Toaster or gas stove (🔥 optional, for quick crisping if nori isn’t fresh).
- ● Air-tight container (to store unused nori—keep away from humidity! 🚫💧).
Instructions for Preparing Nori for Sushi
Here’s how to transform your nori sheets into the perfect crispy base for sushi—simple but essential.
Select High-Quality Nori Sheets
Start by choosing fresh, unbroken nori sheets. I always look for dark green or black sheets with a slight sheen—they should feel dry and crisp to the touch, not soft or bendy. Avoid any sheets with white spots or tears, as these indicate poor quality or improper storage.
For best results, use sheets that are about 7×8 inches—the standard size for sushi rolls. If your sheets are larger, you can easily cut them to size with clean kitchen scissors. Store unused nori in an airtight container with a silica gel packet to maintain crispness.
Toast the Nori for Optimal Crispness
Hold each nori sheet 2-3 inches above a medium flame on your gas stove for 3-5 seconds per side. You’ll see the sheet darken slightly and hear a faint crackling sound—that’s how you know it’s working. If you don’t have a gas stove, use a dry skillet over medium heat for 10 seconds per side.
Watch carefully to avoid burning. The goal is to enhance the crispness and bring out the nori’s nutty aroma, not to char it. Toasted nori should feel paper-thin and brittle when cool. Let it cool completely before handling—it crisps up further as it cools.
Prepare Your Workspace and Tools
Place a bamboo sushi mat on a clean, dry surface with the slats running horizontally. Cover the mat with plastic wrap—this prevents the nori from sticking and makes cleanup easier. Have your sushi rice and fillings ready before you start, as nori absorbs moisture quickly once exposed to rice.
I like to keep a small bowl of water and a clean towel nearby. Dampen your fingers slightly when handling the rice to prevent sticking, but don’t oversaturate—excess water will make the nori soggy. Work quickly but carefully; the crispness of your nori depends on minimizing exposure to moisture.
Apply Rice Evenly for Perfect Rolls
Place your toasted nori sheet shiny-side down on the prepared mat. With damp hands, spread a thin, even layer of sushi rice over the nori, leaving a 1-inch border at the top. Press gently but firmly to create an even base—about ½ inch thick is ideal.
The rice should adhere to the nori without crushing it. If the nori starts to curl or soften, you’ve used too much moisture. Work from the center outward, maintaining consistent pressure. The crispness of your finished roll depends on this even application.
Roll Immediately for Best Texture
Add your fillings in a horizontal line about 1 inch from the bottom, then lift the edge of the mat closest to you and begin rolling away from your body. Apply gentle, even pressure as you roll to create a tight cylinder. The nori should maintain its crispness during this process if you’ve prepared it properly.
Use the mat to shape the roll as you go, but don’t press too hard—you want to preserve the nori’s delicate crispness. Seal the edge with a grain of rice if needed. For best results, slice and serve immediately while the nori is still at its crispiest.
Tips and Common Mistakes
Perfecting nori for sushi is all about preserving that delicate crispness—here’s what I’ve learned from years of rolling.
The Toasting Technique: In Step 2, when toasting over a medium flame for 3-5 seconds per side, watch for the sheet to darken just slightly and emit a faint crackling sound. This isn’t about charring—it’s about enhancing crispness and aroma. If using a skillet, keep it moving constantly during those 10 seconds to prevent hot spots from burning the nori.
Moisture Control: The moment you expose toasted nori to rice in Step 4, you’re racing against moisture absorption. Keep everything ready before you start—rice prepared, fillings measured, mat covered with plastic wrap. Work quickly but deliberately; the nori will start softening within minutes of contact with damp rice.
Rolling Pressure: As you roll in Step 5, apply just enough pressure to shape the cylinder without crushing the nori. I use my fingertips to guide the roll rather than pressing with my palms. The mat does most of the shaping work—your job is to maintain even tension while preserving that crisp texture we worked so hard to create.
Storage Wisdom: If you’re not using all your nori immediately, store unused sheets in an airtight container with a silica gel packet. Even high-quality nori can lose its crispness if exposed to humidity. I’ve found that keeping it in the original packaging inside a sealed container maintains perfect texture for weeks.
Pro Tips for Prepare Nori For Sushi
- Perfecting nori for sushi is all about preserving that delicate crispness—here’s what I’ve learned from years of roll…
- The Toasting Technique: In Step 2, when toasting over a medium flame for 3-5 seconds per side, watch for the sheet to…
- Moisture Control: The moment you expose toasted nori to rice in Step 4, you’re racing against moisture absorption. Ke…
Frequently Asked Questions
Got questions about prepping nori for sushi? You’re not alone! Here are the most common ones—answered simply so you can roll with confidence.
Do I need to toast nori before using it for sushi?
Most store-bought nori is pre-toasted (check the label!), but a quick 30-second toast over low heat (or a dry pan) enhances crispness. Skip if it’s already fragrant and snaps easily—over-toasting makes it bitter.
Can I use nori straight from the package?
Yes! If the sheets are dry, crisp, and smell fresh (like the ocean ), they’re ready to use. Only toast if they feel damp or stale. Store unopened packs in a cool, dark place for up to 6 months.
What if my nori tears while rolling sushi?
No panic! Use two sheets overlapped for extra strength, or patch tears with a tiny piece of nori + rice “glue.” Keep sheets dry—moisture = enemy! Pro tip: Handle with dry hands only.
Is there a substitute for nori in sushi?
For non-traditional rolls, try:
- Soy paper (mild, flexible)
- Thinly sliced cucumber or avocado (for raw wraps)
- Rice paper (soak first for stickiness)
How long does prepared nori last after opening?
Once opened, nori stays fresh for 1–2 weeks in an airtight container with a silica packet. Freeze for up to 3 months (thaw at room temp). Never refrigerate—it adds moisture!
Now you’re ready to turn simple nori sheets into the perfect foundation for homemade sushi! 🍣 With the right prep—light toasting, careful handling, and proper storage—your rolls will have that restaurant-quality crunch every time. Don’t be afraid to experiment with flavors or textures as you practice.
Ready to roll? Grab your sushi mat and fresh ingredients, and start crafting your favorite rolls! For extra inspiration, check out our guide on beginner-friendly sushi recipes next.

Trained in classic French technique but raised on slow-cooked ribs and spicy rubs, she blends culinary skill with smoke and soul.
- Recipe for Boneless Pork Chops in Cast Iron Skillet: Sear and Baste to Juicy Perfection - October 3, 2026
- Recipe for Boneless Cross Rib Roast: Slow-Roasted Beef with Herb Crust - October 3, 2026
- Hamburgers in Sauce Recipe Crock Pot: Slow-Cooked Savory Delight - October 3, 2026