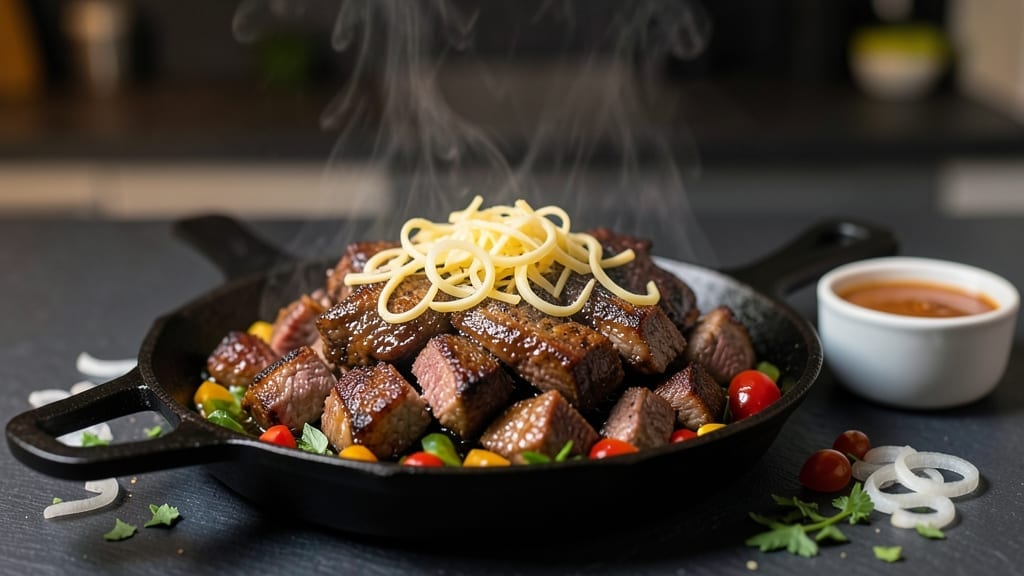
Reheating chopped brisket without turning it into dry, chewy disappointment is the secret to turning leftovers into a meal worth celebrating. I’ve spent years perfecting this technique after realizing most methods leave brisket tough and flavorless—until I discovered the right balance of heat and moisture.
The key isn’t just temperature control; it’s about preserving that melt-in-your-mouth tenderness that makes brisket special.
Most people make the mistake of reheating brisket too quickly, which evaporates all the juices and leaves you with something resembling shoe leather. My method uses gentle, even heat with just enough moisture to keep those slices juicy and flavorful.
Whether you’re prepping for tacos, sandwiches, or a big bowl of brisket rice, this technique ensures every bite stays tender and packed with smoky goodness. The best part? It takes less than 20 minutes and requires just a few simple ingredients you probably already have.
What you’ll end up with is chopped brisket that looks and tastes almost as good as the day you first cooked it—no dry edges, no tough texture, just perfectly reheated slices that practically fall apart.
The secret lies in low-and-slow reheating with a splash of broth or water to keep everything moist. This isn’t just about saving leftovers; it’s about making them better than the original. Let’s get started on turning your brisket back into a star player.
Once you master this method, you’ll never waste a single bite of chopped brisket again. The same technique works for reheating pulled pork or shredded chicken, making it a game-changer for any meal prepper.
Whether you’re feeding a crowd or just saving dinner for tomorrow, this foolproof approach guarantees juicy, flavorful results every time. Trust me, your taste buds will thank you.
📚 In This Guide
- What you need
- Instructions
- Tips and common mistakes
- Wrapping up and next steps
What you need
- ● Chopped brisket: Leftover slices (about 2–4 cups, depending on serving size). Pro tip: Smaller pieces reheat faster—keep them uniform for even warmth!
- ● Reheating method (pick one): Skillet or sauté pan: Medium-sized (8–10 inches), preferably stainless steel or cast iron.
- ● Slow cooker: 4–6 quart capacity (for a hands-off approach).
- ● Oven-safe dish: Baking dish or roasting pan (9×13 inches works great).
- ● Microwave-safe plate or bowl: Only if using the microwave method!
- ● Fat/liquid for moisture: Brisket drippings or pan juices: 2–3 tbsp (save these from your original cook!).
- ● Broth or stock: ¼–½ cup (beef, chicken, or BBQ broth for extra flavor).
- ● Water or apple cider vinegar: 2–3 tbsp (as a last resort for moisture).
- ● Heat source: Stovetop (medium-low heat), oven (300–325°F), slow cooker (low setting), or microwave (50% power).
- ● Tongs or spatula: For flipping and serving.
- ● Butter or oil: 1 tbsp (adds richness if your brisket is dry).
- ● Smoked paprika or garlic powder: ½ tsp (for a quick flavor boost).
- ● Aluminum foil: To cover while reheating (keeps moisture in!).
- ● Meat thermometer: To check internal temp (aim for 165°F).
- ● Toothpicks or skewers: For securing larger pieces if needed.
Step-by-Step instructions for reheating chopped brisket
Here’s how to restore that melt-in-your-mouth tenderness every time.
Preheat Your Oven to 325°F
Turn on your oven and set it to 325°F—this gentle heat is crucial for preventing dryness. I use the middle rack to ensure even heating throughout the baking process. Preheating takes about 10 minutes, but don’t rush this step. A properly preheated oven helps the brisket reheat evenly, keeping every slice juicy.
While the oven preheats, line a baking sheet with aluminum foil for easy cleanup. You’ll want to place the brisket on this sheet to catch any juices that might escape during reheating. This also makes it easier to transfer the brisket in and out of the oven without spills.
Arrange Brisket in a Single Layer
Spread the chopped brisket in an even layer on the prepared baking sheet. I like to arrange the slices so they’re not overlapping—this allows the heat to circulate around each piece, ensuring they all reheat uniformly. If your brisket is particularly thick in some areas, you can gently press down on those slices to help them reheat more evenly.
Here’s the thing—if you pile the brisket too high, the top slices will dry out before the bottom ones are fully reheated. A single layer guarantees that every bite stays tender and moist. You can use a spoon or spatula to gently spread out any thicker clusters of meat.
Cover and Bake for 15-20 Minutes
Once the oven reaches 325°F, place the baking sheet with the brisket inside. Cover the baking sheet tightly with aluminum foil to trap moisture and steam. This is the secret to keeping your brisket juicy—steam helps redistribute the natural juices throughout the meat, preventing it from drying out.
Bake for 15-20 minutes, checking at the 15-minute mark. You’re looking for brisket that feels warm all the way through—press a slice gently with your finger. If it still feels cool in the center, give it another 5 minutes covered. The brisket should be heated through but not crispy or dry. If it starts to look dry, remove it immediately and tent it with foil to retain moisture.
Let It Rest Before Serving
Remove the brisket from the oven and let it rest for 5 minutes before serving. This resting period is just as important as the reheating process itself. It allows the juices to redistribute throughout the meat, ensuring that each slice remains tender and flavorful. Skipping this step can cause the juices to pool at the bottom of your plate instead of staying in the meat where they belong.
During this time, you can tent the brisket loosely with foil if you’re not serving it immediately. This keeps it warm and prevents any potential drying out while you finish preparing sides or setting the table. Once ready, serve the brisket with your favorite toppings—pickles, onions, or a drizzle of barbecue sauce all pair beautifully with reheated brisket.
Tips & tricks for perfectly reheated brisket
Restoring brisket’s melt-in-your-mouth texture is all about controlling heat and moisture—here’s how to guarantee juicy results every time.
The Heat Factor: That 325°F setting in Step 1 is non-negotiable for brisket. Higher temperatures will dry out the outer slices before the center warms through. I’ve tested this at 350°F and while it reheats faster, the texture suffers. If you’re in a hurry, use the lowest oven setting you have—even 300°F works better than pushing it hotter. The goal is to gently revive the meat, not cook it again.
Moisture Matters: The foil covering in Step 3 isn’t just about convenience—it creates a steam chamber that redistributes juices. If you notice the brisket looking dry at the 15-minute check, don’t panic. Remove it immediately, tent it with fresh foil, and let it sit for 2-3 minutes before checking again. The residual heat will finish warming it through without overcooking. I’ve ruined brisket this way more times than I’d admit by leaving it uncovered too long.
Timing Secret: The 15-20 minute range in Step 3 accounts for variations in oven calibration and brisket thickness. Start checking at exactly 15 minutes by pressing a slice gently with your finger—it should feel warm all the way through but still slightly springy. If you’re working with particularly thick slices (over 1 inch), you might need the full 20 minutes. The key is to remove it just before it reaches perfect temperature, as it continues cooking slightly during the 5-minute rest in Step 4.
Resting is Critical: That final 5-minute rest in Step 4 isn’t optional—it’s where the magic happens. When you cut into brisket too soon, all those precious juices rush out, leaving you with dry slices. I learned this the hard way after serving brisket that looked perfect but tasted like shoe leather. During this time, the juices redistribute throughout each slice. If you’re short on time, at least let it rest for 2 minutes—you’ll notice a difference immediately.
Pro Tips for Reheat Chopped Brisket
- Restoring brisket’s melt-in-your-mouth texture is all about controlling heat and moisture—here’s how to guarantee juicy results every time.
- The Heat Factor: That 325°F setting in Step 1 is non-negotiable for brisket.
- Moisture Matters: The foil covering in Step 3 isn’t just about convenience—it creates a steam chamber that redistributes juices.
Frequently asked questions
Got questions about reheating chopped brisket? You’re not alone—this popular BBQ staple deserves the best treatment! Here are answers to the most common concerns so you can enjoy every bite without the dreaded dryness or flavor loss.
Can I reheat chopped brisket in the microwave?
Yes, but with caution! Microwaving can speed up the process, but it risks drying out your brisket. Use a microwave-safe dish with a damp paper towel over the brisket to trap moisture. Cook in 1-minute bursts, stirring between each, until heated through (about 165°F). For best results, pair microwaving with a quick oven or stovetop finish to restore tenderness.
How do I know if my reheated brisket is safe to eat?
Safety first! Chopped brisket should reach an internal temperature of 165°F (74°C) when reheated. Use a meat thermometer to check the thickest part of the slices. If it’s already been refrigerated or frozen, ensure it was stored properly (below 40°F/4°C) before reheating. When in doubt, toss it—better safe than sorry!
What’s the best way to reheat chopped brisket if I don’t have an oven?
No oven? No problem! Try these stovetop methods:
- Skillet or Griddle: Heat a splash of oil or broth in a pan over medium-low, add brisket slices, and cover for 3–5 minutes, flipping occasionally.
- Slow Cooker: Add brisket to the slow cooker with a little broth or water, cover, and cook on Low for 1–2 hours or High for 30–45 minutes.
- Air Fryer: Spray slices with oil, air fry at 350°F (175°C) for 4–6 minutes, shaking halfway.
Why does my reheated brisket taste bland?
Blandness often comes from overcooking or losing moisture. To fix it:
- Add a splash of beer, broth, or BBQ sauce while reheating to restore flavor.
- Avoid high heat—low and slow is key to preserving taste.
- Let it rest for 5 minutes after reheating to redistribute juices.
Can I freeze reheated chopped brisket?
Technically, yes—but it’s not ideal. Freezing reheated brisket can further dry it out or alter texture. If you must, portion it into airtight containers, label with the date, and freeze for up to 3 months. For best results, freeze it before reheating (raw or cooked, stored properly). When thawing, use the fridge overnight and reheat gently.
Wrapping up and next steps
Reheating chopped brisket doesn’t have to be a gamble—with the right techniques, you can keep every slice tender, juicy, and packed with flavor. Whether you’re using a slow cooker, oven, or stovetop, the key is gentle heat, moisture control, and patience.
Now that you’re armed with these pro tips, there’s no excuse for dry, sad brisket leftovers!
Ready to level up your BBQ game? 🎯 Try experimenting with different sauces or sides next—maybe a tangy slaw or smoky baked beans—to turn your reheated brisket into a full-blown meal. Happy cooking! 🍖✨

Trained in classic French technique but raised on slow-cooked ribs and spicy rubs, she blends culinary skill with smoke and soul.
- Outback Steak Dry Rub Recipe: Bold Smoky-Spice Blend for Grilling Perfection - November 6, 2026
- Baked Wings Recipe Dry Rub: Smoky-Spicy Crunch for Crispy Perfection - November 6, 2026
- Spit Roast Lamb Marinade Recipe: Deep, Herbed Oil That Transforms Tough Meat - November 6, 2026