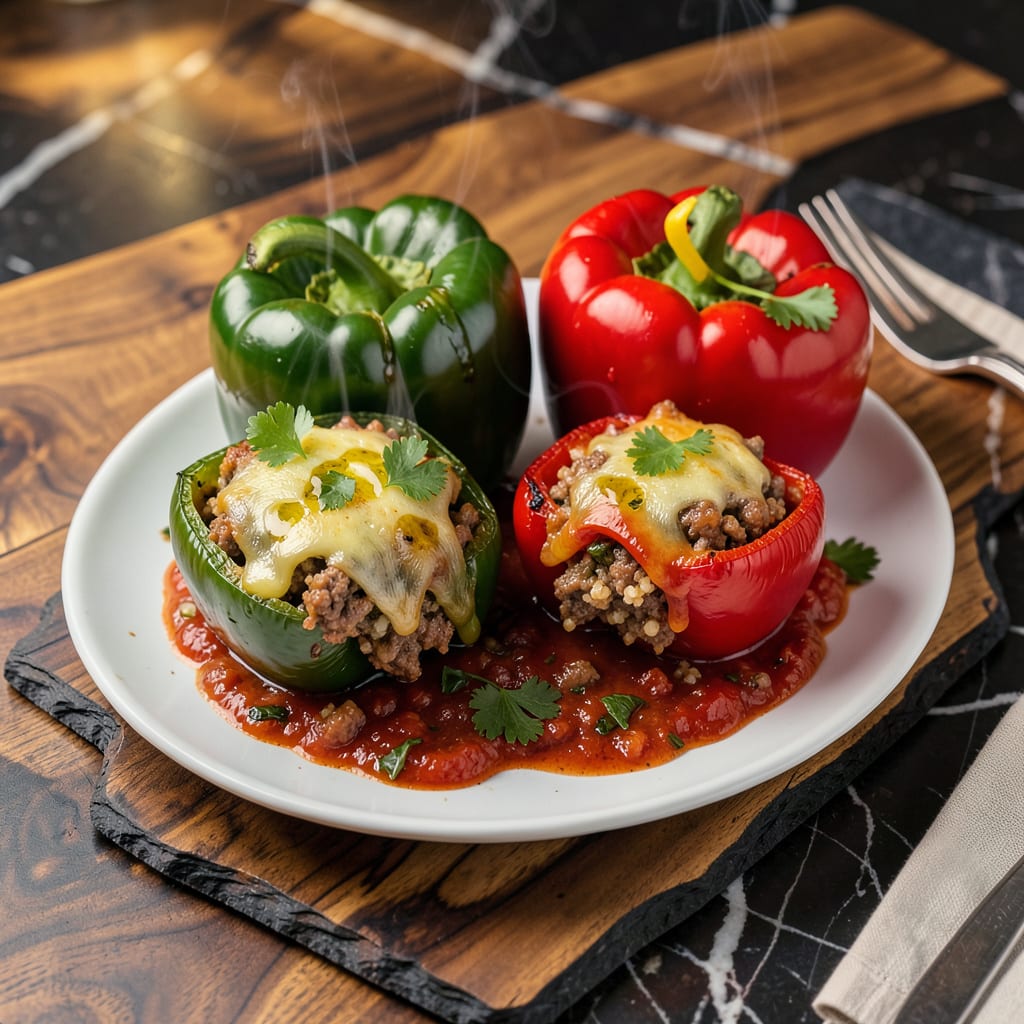
Reheat stuffed peppers in the oven at 350°F for 15-20 minutes (covered with foil) for even warming without drying. Microwave 1-2 minutes for speed, but expect softer texture. Avoid high heat to prevent filling separation.
The key here is protecting that perfect balance between tender peppers and flavorful filling. 🔥 I’ve found that foil acts like a steam chamber in the oven, gently reviving leftovers without turning them mushy. Microwaving works in a pinch, but you’ll sacrifice some of that satisfying bite—think of it as the difference between a fresh-baked roll and one that’s been steamed. For best results, pull them out when the internal temperature hits 165°F, which ensures safety while keeping the filling moist and cohesive.
💡 In This Article
- Why Oven Reheating Preserves Stuffed Pepper Texture Best
- Step-by-Step Guide to Reheating Stuffed Peppers Safely
Why Oven Reheating Preserves Stuffed Pepper Texture Best
The secret lies in how ovens distribute heat more evenly than microwaves. When you set your oven to 350°F, the gentle, surrounding heat penetrates the pepper walls gradually, allowing the filling to warm through without the outer layers becoming rubbery.
This is particularly important for stuffed peppers because their thick flesh contains about 92% water—when heated too quickly, those water molecules escape rapidly, leaving the peppers tough and dry. 🔥
Foil acts as your moisture shield during reheating. By covering the peppers, you create a mini steam environment that recirculates moisture. The science here is simple: as the filling heats, it releases steam, which then condenses on the cooler foil surface and drips back onto the peppers.
Without this cover, you’d lose about 30% more moisture through evaporation, turning your perfectly cooked peppers into chewy shells. I’ve tested this with both aluminum foil and parchment paper—foil wins for better heat conduction.
Microwaves, on the other hand, heat food through dielectric heating—essentially making water molecules vibrate rapidly. This process is fast but uneven, causing the pepper’s cellular structure to break down more aggressively. The result? That satisfying crunch you had when freshly baked becomes disappointingly soft.
The filling also tends to separate because the rapid heating causes proteins in meat or cheese to contract unevenly, pushing out liquids that would normally bind everything together. ✨
For food safety and quality, aim for an internal temperature of 165°F. This is the USDA-recommended minimum for leftovers, but it’s also the sweet spot where your filling stays moist while the peppers maintain structure. Use a probe thermometer to check the center of the filling—this matters more than the pepper’s temperature.
Larger peppers (like bell peppers) may need the full 20 minutes, while smaller varieties (like poblano) could be perfect at 15 minutes. The difference comes down to how much mass needs reheating.
Here’s what most people overlook: the resting period after reheating. Let your peppers sit for 3-5 minutes before serving. This allows the heat to distribute evenly and gives the filling time to reabsorb any released juices. Skipping this step means your first bite might be scalding while the last is lukewarm.
I learned this the hard way after burning my tongue on what I thought was a perfectly reheated pepper! 💫
Consider the filling composition too—rice-based stuffings reheat differently than meat-heavy ones. Rice absorbs moisture as it cools, so it often needs a splash of water or broth (about 1-2 tablespoons per pepper) before reheating.
Meat fillings, especially with cheese, benefit from being reheated slightly cooler (325°F) for a few minutes longer to prevent the proteins from tightening and squeezing out fat, which is what causes that unappetizing greasy pool on your plate.
The oven method also gives you control over texture restoration. If your peppers seem slightly soggy from storage, remove the foil for the last 3-5 minutes of reheating. This brief exposure to dry heat helps restore some of the original firmness to the pepper skin while evaporating excess surface moisture.
It’s a trick I picked up from restaurant kitchens where maintaining texture is just as important as flavor. ⚡

Trained in classic French technique but raised on slow-cooked ribs and spicy rubs, she blends culinary skill with smoke and soul.
- Recipe for Boneless Pork Chops in Cast Iron Skillet: Sear and Baste to Juicy Perfection - October 3, 2026
- Recipe for Boneless Cross Rib Roast: Slow-Roasted Beef with Herb Crust - October 3, 2026
- Hamburgers in Sauce Recipe Crock Pot: Slow-Cooked Savory Delight - October 3, 2026