Nothing breaks my heart more than watching perfectly crispy bacon turn soggy in the fridge. I’ve burned through more batches than I’d like to admit trying to crack the code for storing cooked bacon properly. Here’s the thing—most people wrap it in paper towels and call it a day, but that’s only half the battle for keeping it crispy and ready to use.
After years of trial and error (and some questionable bacon experiments), I landed on a foolproof method that actually works. The key is controlling moisture and air exposure—parchment paper is your best friend here, not plastic wrap. This technique keeps bacon fresh for days without sacrificing that perfect texture we all love.
Whether you’re meal prepping for the week or just made too much for breakfast, this method will change how you handle leftover bacon. No more sad, limp strips that need to be nuked back to life. We’re talking bacon that stays ready to crumble over salads, stuff into sandwiches, or just snack on straight from the fridge.
I’ll walk you through exactly how to store it short-term in the fridge or long-term in the freezer, plus my favorite ways to bring it back to life when you’re ready to use it. Between you and me, this might be the most useful kitchen hack you’ll learn all year.
📚 In This Guide
- What You’ll Need
- Instructions
- Tips and Common Mistakes
What Youll Need
- ● Cooked bacon – Any quantity, cooled to room temperature 🥓
- ● Air-tight containers – Glass or BPA-free plastic (with tight-sealing lids)
- ● Parchment paper or paper towels – 1-2 sheets per layer of bacon
- ○ Freezer bags (optional) – Heavy-duty, quart or gallon size for bulk storage
- ○ Vacuum sealer (optional) – For extended freshness (if freezing)
- ● Labeling supplies – Permanent marker or labels + tape
- ● Refrigerator or freezer – Set to 35°F (1.6°C) or below for fridge, 0°F (-18°C) or below for freezer ❄️
- ○ Aluminum foil (optional) – For extra protection against freezer burn
- ○ Cooking thermometer (optional) – To verify safe storage temps
Instructions
Here’s exactly how to store your cooked bacon so it stays crispy and delicious for days.
Cool the Bacon Completely
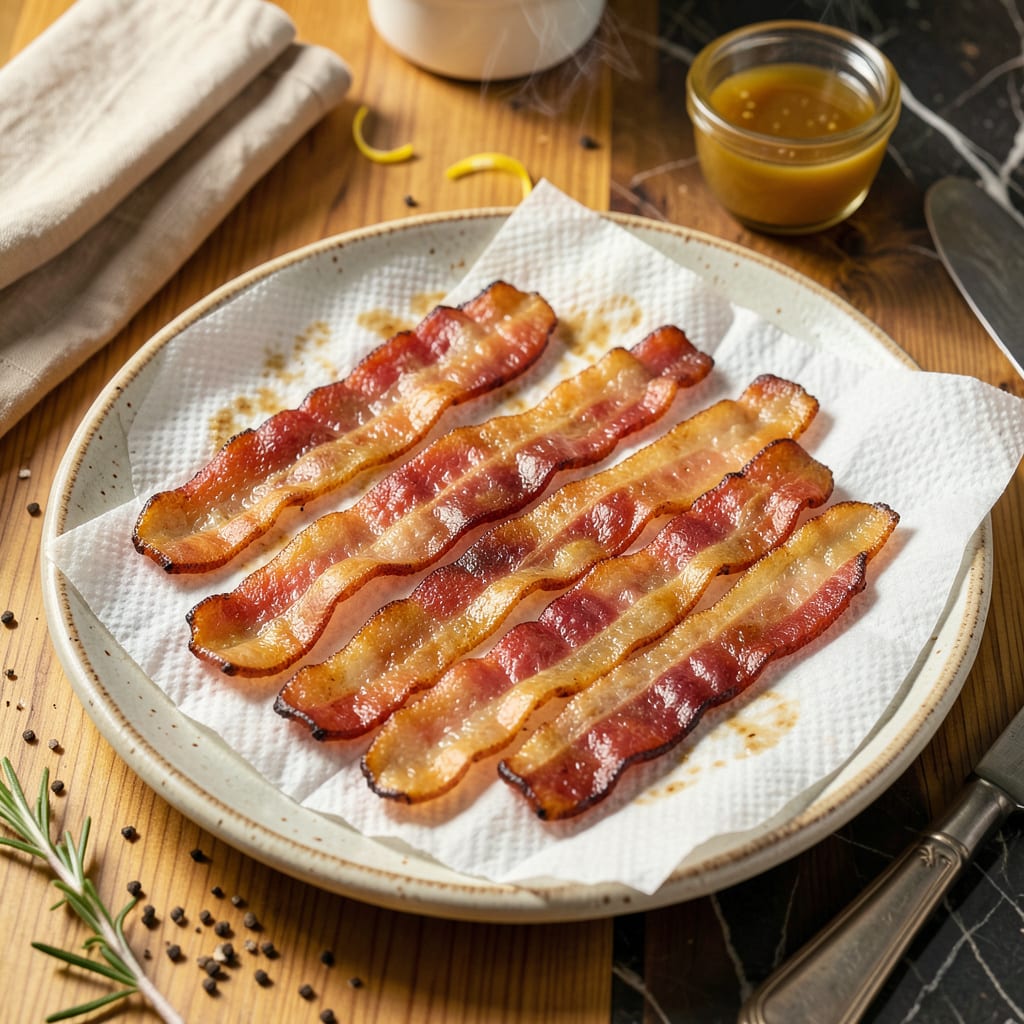
As soon as your bacon comes out of the pan, transfer it to a paper towel-lined plate. The paper towels will absorb any excess grease while the bacon cools. Don’t stack the slices—spread them out in a single layer so air can circulate around each piece.
Let the bacon cool at room temperature for at least 15-20 minutes. You’ll know it’s ready when the slices feel firm to the touch and there’s no visible steam rising from them. This cooling step is crucial because trapping heat in your storage container creates condensation, which makes bacon soggy.
Choose the Right Storage Method
For short-term storage (up to 3 days), I recommend using a paper towel-lined airtight container. Place a paper towel in the bottom of the container, add a single layer of bacon, then top with another paper towel before sealing. The paper towels absorb any residual moisture that might escape during storage.
If you need to store bacon for longer (up to 1 week), use a zip-top freezer bag. Arrange the cooled bacon slices in a single layer, press out all the air before sealing, and lay the bag flat in your refrigerator. This method minimizes air exposure, which is what causes bacon to lose its crispness over time.
Reheat for Perfect Crispiness
When you’re ready to enjoy your stored bacon, don’t just microwave it straight from the fridge. For oven reheating, preheat to 350°F and place bacon slices on a wire rack set over a baking sheet. Heat for 5-7 minutes until warmed through and crispy.
If you’re in a hurry, use the microwave: place bacon between paper towels on a microwave-safe plate and heat in 20-second bursts until warm. The paper towels will wick away any moisture that forms during reheating. I always check after each burst to prevent overcooking—bacon goes from perfect to burnt surprisingly fast.
Freeze for Long-Term Storage
For storage beyond a week, freezing is your best option. Lay cooled bacon slices on a parchment-lined tray in a single layer and freeze until solid (about 1 hour). This prevents the slices from sticking together when you transfer them to a freezer bag.
Once frozen solid, transfer the bacon to a labeled freezer bag, press out all the air, and seal tightly. Frozen bacon will keep for up to 1 month. When ready to use, there’s no need to thaw—just reheat directly from frozen using your preferred method, adding about 1 extra minute to the cooking time.
Tips and Common Mistakes
Here’s what I’ve learned from years of saving bacon—these small details make all the difference between crispy perfection and disappointing sogginess.
Cooling Technique: In Step 1, don’t rush the 15-20 minute cooling time. I’ve found that stacking bacon slices or covering them during cooling traps steam, which is exactly what makes bacon lose its crispness later. Spread them out in a single layer and let them cool completely—they should feel firm to the touch with no visible steam rising.
Paper Towel Strategy: When storing bacon in Step 2, use more paper towels than you think you need. Place one in the bottom of your container, add bacon in a single layer, then top with another paper towel before sealing. This double-layer approach absorbs any residual moisture that might escape during storage, keeping your bacon crisp for the full 3 days in the fridge or up to 1 week in the freezer bag method.
Reheating Secret: For Step 3, the wire rack is non-negotiable when using the oven method at 350°F. Without it, the bacon steams on the baking sheet instead of crisping up. I also recommend checking at the 5-minute mark—bacon can go from perfect to overdone in under a minute. The 20-second microwave bursts in Step 3 are equally important; always check between bursts to catch that perfect moment of warmth without overcooking.
Freezing Wisdom: That 1-hour pre-freeze in Step 4 might seem unnecessary, but it’s the key to preventing bacon slices from sticking together. I’ve skipped this step before and ended up with a solid bacon brick in my freezer bag. The individual freezing ensures you can grab just what you need later without thawing the whole batch.
Pro Tips for Save Cooked Bacon
- Here’s what I’ve learned from years of saving bacon—these small details make all the difference between crispy perfec…
- Cooling Technique: In Step 1, don’t rush the 15-20 minute cooling time. I’ve found that stacking bacon slices or cove…
- Paper Towel Strategy: When storing bacon in Step 2, use more paper towels than you think you need. Place one in the b…
Frequently Asked Questions
Can I save cooked bacon that’s been left out overnight?
Nope—toss it! The USDA recommends discarding cooked bacon left at room temperature for more than 2 hours (or 1 hour if it’s above 90°F). Bacteria grow fast, and reheating won’t make it safe. Always refrigerate within that window to keep it fresh and delicious.
How long does cooked bacon last in the fridge vs. freezer?
In the fridge, cooked bacon stays fresh for 4–5 days if stored in an airtight container. For longer storage, freeze it! Frozen cooked bacon keeps for 1–2 months without losing flavor—just wrap it tightly in foil or use a freezer bag to prevent freezer burn.
What’s the best way to reheat saved bacon so it stays crispy?
Skip the microwave (it makes bacon soggy!). Instead, reheat in a 350°F oven for 5–10 minutes on a wire rack or in a skillet over medium heat for 1–2 minutes per side. Pat excess grease with a paper towel for extra crunch.
Can I store bacon grease, and how do I use it later?
Strain cooked bacon grease into a jar and store it in the fridge for up to 3 months or freeze for 6+ months. Use it to fry eggs, roast veggies, or add smoky flavor to cornbread. Pro tip: Label the jar with the date!
Why does my saved bacon taste funny or smell off?
If it smells sour, rancid, or has a slimy texture, it’s spoiled—don’t risk it! This usually happens from poor storage (like not sealing it tightly) or keeping it too long. Always use airtight containers and check for ice crystals or discoloration before eating.
Saving cooked bacon the right way means fresh, crispy strips whenever you crave them—no waste, no soggy disappointments! 🎯 Whether you refrigerate, freeze, or vacuum-seal, the key is airtight storage and quick cooling. Now that you’ve mastered the how-tos, put it to the test: cook a batch this weekend and stash some away for your next breakfast scramble or BLT. Your future self (and taste buds) will thank you! 😉

Trained in classic French technique but raised on slow-cooked ribs and spicy rubs, she blends culinary skill with smoke and soul.
- Recipe for Boneless Pork Chops in Cast Iron Skillet: Sear and Baste to Juicy Perfection - October 3, 2026
- Recipe for Boneless Cross Rib Roast: Slow-Roasted Beef with Herb Crust - October 3, 2026
- Hamburgers in Sauce Recipe Crock Pot: Slow-Cooked Savory Delight - October 3, 2026