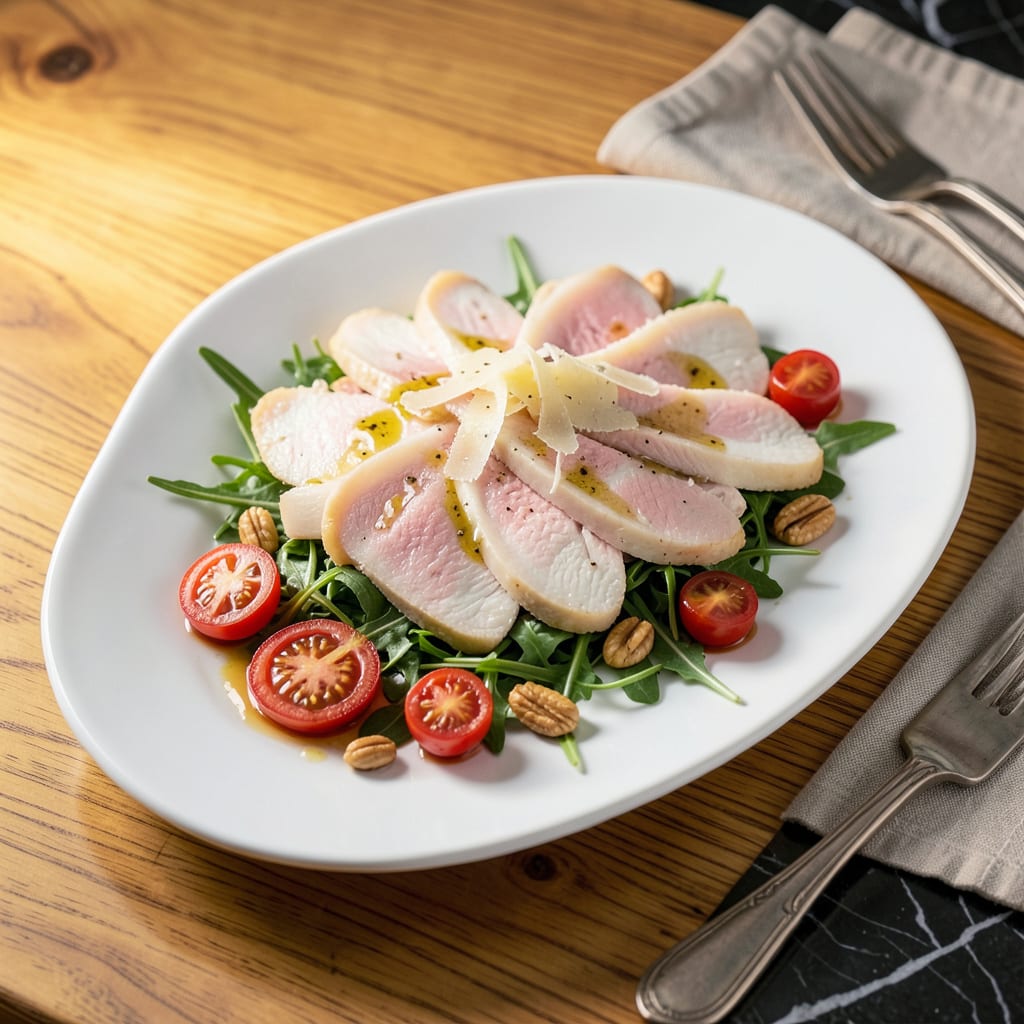
I’ll be real with you—shaving chicken breast paper-thin changes everything about quick cooking. No more chewy stir-fry meat or unevenly cooked pieces. After burning through too many rubbery chicken dishes in my early cooking days, I finally cracked the code for perfect, restaurant-quality slices every time.
Here’s the thing—you don’t need fancy equipment, just the right technique. A sharp chef’s knife, steady hand, and one simple trick (freezing the breast for 20 minutes first) transform this from frustrating to foolproof. I use this method weekly for everything from Vietnamese summer rolls to lightning-fast stir-fries that cook in 5 minutes flat.
The difference is night and day. Those paper-thin slices sear instantly, absorb marinades better, and stay tender instead of drying out. I’ve even used this technique for chicken parmesan when I wanted extra crispy edges—game changer. Seriously. The first time you nail this, you’ll wonder why you ever struggled with thick, uneven pieces.
Fair warning: once you master shaved chicken, you’ll never go back. It’s the secret weapon for busy weeknights when you need dinner fast but still want that restaurant-quality texture. Let me show you exactly how to do it safely and efficiently—no wasted meat, no frustration, just perfect results every time.
📚 In This Guide
- What You’ll Need
- Instructions
- Tips and Common Mistakes
What Youll Need
- ● 1 boneless, skinless chicken breast (about 6–8 oz, chilled for 30 minutes for easier slicing)
- ● 1 sharp chef’s knife (8–10 inches) or a slicing knife (for precision)
- ● 1 cutting board (preferably wood or plastic, non-slip)
- ○ Plastic wrap or parchment paper (optional, to stabilize the chicken while slicing)
- ○ Meat mallet or rolling pin (optional, to even out thickness before slicing)
- ○ Kitchen tweezers or tongs (optional, for handling thin slices without tearing)
- ○ Bowl of ice water (optional, to keep slices firm if prepping ahead)
- ● Paper towels (to pat the chicken dry for better grip)
Instructions
Here’s the foolproof technique I use to create perfect, paper-thin chicken slices every single time.
Prepare the Chicken Breast for Shaving
Start by placing your boneless, skinless chicken breast on a stable cutting board. I like to use a board with a damp paper towel underneath to prevent slipping. Pat the chicken completely dry with paper towels—this is crucial for both safety and precision cutting.
Next, examine the chicken breast for any remaining fat or connective tissue. Use a sharp boning knife to trim away any visible fat or silver skin. This step ensures your slices will be uniform and prevents any chewy bits in your final dish.
Create a Flat Working Surface
Here’s the secret to perfect shaving: you need a flat surface. Place your chicken breast between two sheets of plastic wrap. Using a meat mallet or rolling pin, gently pound the chicken to an even thickness of about ½ inch throughout. Start from the center and work outward.
This flattening process serves two purposes: it creates a uniform thickness for consistent shaving, and it tenderizes the meat by breaking down some of the muscle fibers. Don’t pound too aggressively—you want to flatten, not destroy the meat’s structure.
Master the Shaving Technique
Position your chicken breast with the grain running horizontally in front of you. Using a sharp chef’s knife (at least 8 inches long), place the blade at a 15-degree angle to the cutting board. Start at the thickest part of the breast and make smooth, even strokes toward the thin edge.
I like to use a “pulling” motion rather than a straight chop—this creates those beautiful, thin slices. Apply just enough pressure to cut through the meat without tearing. Each slice should be about ⅛ inch thick—thin enough to cook quickly but substantial enough to hold its shape in stir-fries.
Refine and Store Your Slices
As you shave, you’ll notice some slices may be slightly thicker or thinner. That’s normal! I like to separate my slices into two piles: perfect paper-thin slices and slightly thicker ones. The thicker slices can be used in dishes that require a bit more cooking time.
For immediate use, keep your shaved chicken on a plate covered with a damp paper towel in the refrigerator. If storing for later, layer the slices between sheets of parchment paper in an airtight container. They’ll keep for up to 24 hours in the fridge or 3 months in the freezer.
Test Your Technique
Before using your shaved chicken in a recipe, do a quick quality check. Hold a slice up to the light—you should be able to see through it slightly. The edges should be smooth, not ragged. If you notice any unevenness, you can always trim the slices further with your knife.
For the ultimate test, cook one slice in a hot pan with a bit of oil. It should cook through in 30-45 seconds and curl slightly at the edges. Perfectly shaved chicken will be tender and juicy, never tough or chewy. This test gives you confidence that your technique is spot-on before you cook the entire batch.
Tips and Common Mistakes
Mastering the art of paper-thin chicken shaving transforms your stir-fries from good to extraordinary. Here’s what I’ve learned through years of perfecting this technique.
Knife Technique Breakthrough: The 15-degree angle mentioned in Step 3 isn’t just suggestion—it’s the secret to perfect slices! I discovered this after struggling with ragged edges for months. Position your knife so it’s almost parallel to the cutting board, then use a smooth pulling motion rather than a chopping action. This creates those beautiful, translucent slices that cook in seconds. The 8-inch chef’s knife length gives you the control needed for precision.
Thickness Consistency: When pounding to that critical ½-inch thickness in Step 2, use a ruler to check if you’re unsure. I place a ruler next to the chicken and pound until it matches exactly. This uniformity ensures every slice will be that perfect ⅛-inch thickness when shaved. Remember, the goal is even thickness across the entire breast—start from the center and work outward in gentle, overlapping strokes.
Storage Innovation: For the 24-hour refrigerator storage mentioned in Step 4, here’s my pro trick: layer the slices between parchment paper, then roll them up like a cigar before placing in an airtight container. This prevents sticking and makes it easy to grab just what you need. For freezing, I portion the rolls into individual servings—each roll cooks perfectly from frozen when added directly to hot stir-fries.
Quality Test Refinement: That 30-45 second cook test in Step 5 is your final quality check. I’ve found that perfect slices will curl into a gentle “C” shape when cooked, while uneven slices will curl tightly or not at all. Watch for the edges to turn opaque white—this visual cue is more reliable than timing alone. The center should still have a slight translucency when you remove it from the pan, as it continues cooking from residual heat.
Pro Tips for Shave Chicken Breast
- Mastering the art of paper-thin chicken shaving transforms your stir-fries from good to extraordinary. Here’s what I’…
- Knife Technique Breakthrough: The 15-degree angle mentioned in Step 3 isn’t just suggestion—it’s the secret to perfec…
- Thickness Consistency: When pounding to that critical ½-inch thickness in Step 2, use a ruler to check if you’re unsu…
Frequently Asked Questions
Can I shave chicken breast without freezing it first?
Yes, but it’s trickier! Freezing for 30–60 minutes firms up the meat, making ultra-thin slices easier. If skipping, use a very sharp knife and slice slowly against the grain. Partially frozen chicken (not rock-hard) is ideal for beginners—just enough stiffness to prevent tearing.
How thin should shaved chicken breast be for stir-fry?
Aim for ⅛-inch (3mm) or thinner—almost translucent at the edges. This ensures quick, even cooking (2–3 minutes max). Test by holding a slice up to light; if you see faint light through it, you’re golden! Too thick? It’ll chew like rubber.
What’s the best knife for shaving chicken breast?
A long, thin-bladed knife (like a slicing or santoku knife) works best. Avoid serrated knives—they tear meat. Keep it razor-sharp (hone before use) and use smooth, confident strokes. Pro tip: A mandoline (with a meat guard) can work too, but hand-slicing gives more control.
My chicken shreds instead of slicing—what am I doing wrong?
Three common culprits:
- Dull knife—sharpen it!
- Wrong direction—slice against the grain (look for muscle fibers).
- Too much pressure—let the knife glide, don’t saw.
Can I use pre-shaved chicken from the store?
Yes, but check thickness—store-bought “shaved” chicken is often too thick for stir-fry (closer to ¼-inch). For dishes like chicken velouté or hot pot, it works fine. For paper-thin results, DIY is best. Pro move: Ask the butcher to slice it “for stir-fry”—they’ll often oblige!
Shaving chicken breast into paper-thin slices is easier than you think—just grab the right tools, keep your knife sharp, and practice patience! 🎯 Whether you’re prepping for stir-fries, salads, or quick-cooking dishes, these slices will take your meals to the next level with restaurant-quality texture and flavor.
Now that you’ve mastered the technique, why not put it to the test? Try a 10-minute stir-fry or a fresh chicken salad tonight—your taste buds (and dinner guests) will thank you! 🍽️ Happy cooking!

Trained in classic French technique but raised on slow-cooked ribs and spicy rubs, she blends culinary skill with smoke and soul.
- Recipe for Boneless Pork Chops in Cast Iron Skillet: Sear and Baste to Juicy Perfection - October 3, 2026
- Recipe for Boneless Cross Rib Roast: Slow-Roasted Beef with Herb Crust - October 3, 2026
- Hamburgers in Sauce Recipe Crock Pot: Slow-Cooked Savory Delight - October 3, 2026