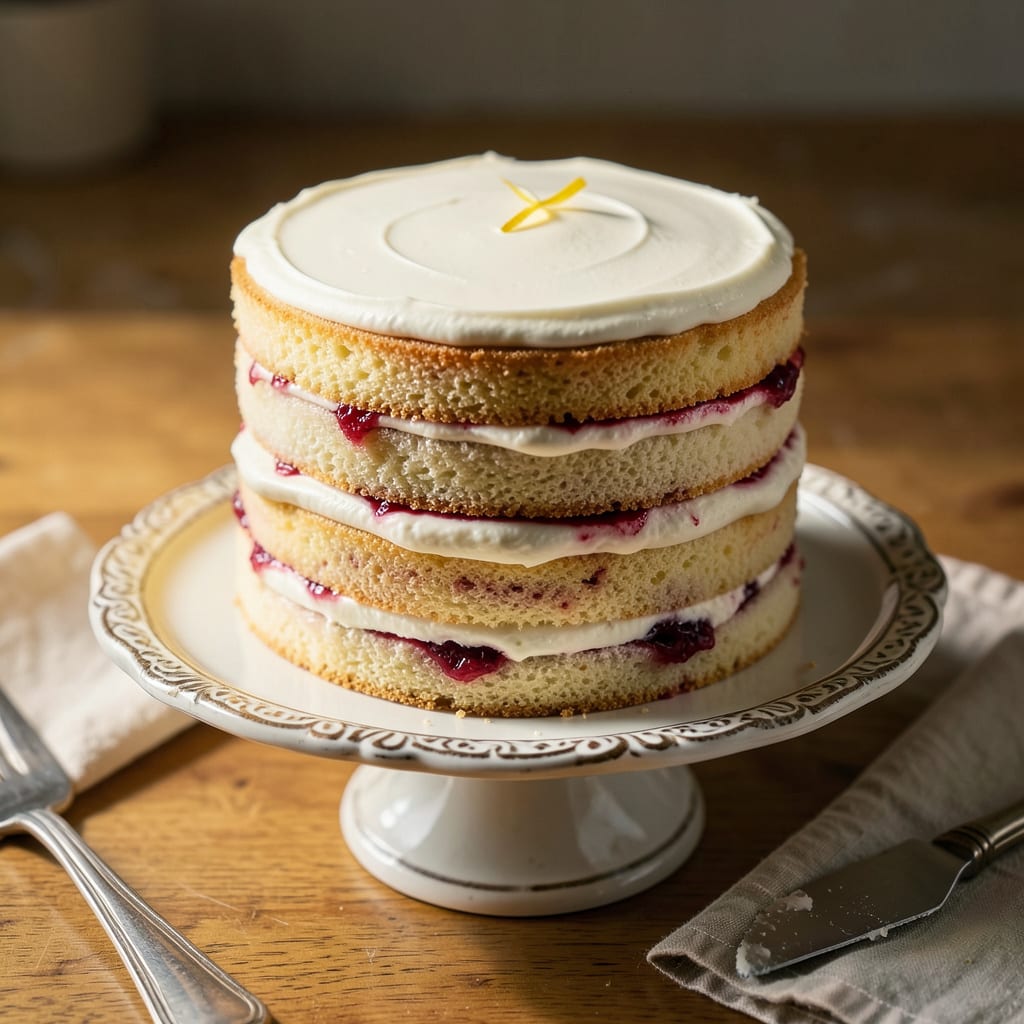
Every baker knows the frustration of watching cake layers crumble under frosting, turning what should be a smooth finish into a patchwork of crumbs and tears. After years of perfecting layer cakes—from delicate genoise to rich chocolate—I’ve developed a foolproof technique that eliminates tearing while creating professional-quality results at home. The solution lies in three critical steps: proper cake preparation, ideal frosting consistency, and strategic tool selection.
Temperature control makes all the difference. A chilled cake (30 minutes in the refrigerator) firms the structure, while room-temperature frosting spreads smoothly without pulling. I always use an offset spatula for precision and a turntable for even coverage—tools that transform awkward spreading into controlled layering. This method works equally well for buttercream, ganache, or cream cheese frosting when the consistency is properly adjusted.
The secret weapon is the crumb coat—a thin base layer that seals in loose particles before final frosting. Applied with a light touch and allowed to set briefly, this preliminary step creates a stable foundation. My French training taught me that patience during this stage prevents the most common cake decorating disasters, ensuring your final layers go on cleanly without dragging crumbs through the frosting.
Whether you’re working with a simple sheet cake or an elaborate tiered design, these principles apply. The result is a flawlessly frosted cake with sharp edges and smooth surfaces, ready for decorative touches. No more wasted time repairing torn layers or hiding mistakes under extra sprinkles—just consistent, professional results every time.
📚 In This Guide
- What You’ll Need
- Instructions
- Tips and Common Mistakes
What Youll Need
- ● Baked cake layers – 2-4 layers, completely cooled (room temp or chilled for 1-2 hours ❄️). Warm cakes = disaster!
- ● Frosting – 3-4 cups (enough for filling + outer coat). Buttercream, ganache, or cream cheese work best.
- ● Offset spatula – 9-12″ stainless steel (for smooth spreads) or a bench scraper (for sharp edges).
- ○ Turntable (optional but game-changing 🎛️) – Rotates cake for even frosting.
- ● Parchment paper strips – 4-6 strips (3″ wide) to line cake edges for clean layers.
- ● Serated knife – To level domed cake tops (if needed).
- ○ Pastry bag + tip (optional) – For piping a frosting “dam” to lock in fillings.
- ● Cake board – Same size as your cake (prevents sliding).
- ○ Simple syrup or milk (optional) – ¼ cup to moisten dry layers (brush lightly!).
- ● Crumb coat – ½ cup extra frosting for a thin base layer (seals in crumbs).
- ● Patience ⏳ – Rushing = torn cake. Let layers chill 15-20 mins between steps!
Instructions for Frosting Without Tearing Your Cake
Here’s the professional approach I use to get smooth, perfect layers every single time.
Prepare Your Cake Layers Properly
Begin by ensuring your cake layers are completely cooled to room temperature. I always bake my layers at least one day ahead and let them cool overnight in their pans. This eliminates any residual warmth that could melt your frosting and cause tearing.
Once cooled, level your cake layers using a serrated knife or cake leveler. I prefer to trim just the domed portion rather than cutting off too much cake. Brush away any loose crumbs with a pastry brush – these stray crumbs are what often get dragged through the frosting, creating those frustrating tears.
For extra stability, I recommend doing a quick crumb coat (we’ll cover this in detail next). The key here is patience – don’t rush the cooling process or you’ll pay for it later with torn layers and messy frosting.
Apply the Essential Crumb Coat
Place your first cake layer on a turntable or cake stand. Spread a thin layer of frosting – about 1/8-inch thick – across the top of the layer. This isn’t your final frosting layer; think of it as a protective barrier that will lock in any remaining crumbs.
Add your next layer and repeat the process, then apply an equally thin layer around the sides of the entire cake. I use an offset spatula for this step, holding it at about a 45-degree angle to the cake. The goal isn’t perfection at this stage – you just want to seal in all those potential crumb culprits.
Chill the crumb-coated cake in the refrigerator for 20-30 minutes until the frosting sets. This creates a stable foundation that will prevent crumbs from migrating into your final frosting layer. I’ve found this step makes the biggest difference in achieving that clean, professional look.
Use the Right Tools and Technique for Final Frosting
For the final frosting layer, I always use a metal bench scraper and a long offset spatula. The bench scraper gives you that perfectly straight edge, while the offset spatula helps you apply an even layer of frosting without disturbing the cake beneath.
Start by applying a generous dollop of frosting to the top center of your cake. Using your offset spatula, spread the frosting outward in smooth, even strokes, working from the center to the edges. Rotate your turntable as you work to maintain even pressure and thickness.
For the sides, apply frosting in sections rather than trying to do the whole cake at once. Hold your bench scraper vertically against the cake and rotate the turntable to smooth the frosting. I like to do this in two passes – the first to get good coverage, and the second to perfect the smooth finish.
The Professional Smoothing Technique
Here’s the secret professional bakers use: after your initial frosting application, dip your metal bench scraper in hot water, wipe it dry with a clean towel, and then run it around the sides of your cake. The heat from the scraper will melt the frosting just enough to create that glass-like smooth finish.
For the top, I use a similar technique with my offset spatula. Dip it in hot water, wipe it clean, and then gently glide it across the top of the cake in one smooth motion. You might need to repeat this process 2-3 times to get that perfectly flat, smooth surface.
If you notice any small imperfections, don’t try to fix them immediately. Let the frosting set for 10-15 minutes in the refrigerator, then you can touch up any problem areas with a small amount of additional frosting. The slight chilling makes the frosting more stable and less likely to pull up crumbs when you make corrections.
Tips and Common Mistakes
After years of frosting cakes (and learning from my fair share of crumb disasters), here are the game-changing details that make all the difference.
Cooling is Non-Negotiable: I can’t emphasize this enough—your cake layers must be completely cooled to room temperature before you even think about frosting. When I first started, I’d rush this step and end up with melted frosting and torn layers. Now I bake my layers a day ahead and let them cool overnight in their pans. This eliminates any residual warmth that could sabotage your smooth finish. The patience pays off with professional-looking results every time.
Crumb Coat Precision: That 1/8-inch crumb coat in Step 2 isn’t just a suggestion—it’s your insurance policy against crumbs ruining your final layer. I use an offset spatula held at a 45-degree angle to apply it, making sure to get complete coverage without worrying about perfection. The key is chilling it for the full 20-30 minutes until the frosting sets completely. This creates a stable barrier that prevents crumbs from migrating into your beautiful final layer.
Tool Temperature Matters: The hot water technique in Step 4 changed everything for me. When you dip your bench scraper or offset spatula in hot water before smoothing, it melts the frosting just enough to create that glass-like finish. I keep a bowl of very hot water nearby and re-dip my tools every few passes. The difference between doing this and not doing this is like night and day—it’s what gives bakery cakes that perfectly smooth, almost polished look.
Timing Your Corrections: Here’s what nobody tells you—when you spot imperfections after your initial frosting, resist the urge to fix them immediately. Let the frosting set for those 10-15 minutes in the refrigerator first. The slight chilling makes the frosting more stable, so when you do make corrections with additional frosting, you won’t pull up crumbs or create new tears. I learned this the hard way after ruining several cakes by trying to “fix” things too soon.
Pro Tips for Spread Frosting Without Tearing Cake
- After years of frosting cakes (and learning from my fair share of crumb disasters), here are the game-changing detail…
- Cooling is Non-Negotiable: I can’t emphasize this enough—your cake layers must be completely cooled to room temperatu…
- Crumb Coat Precision: That 1/8-inch crumb coat in Step 2 isn’t just a suggestion—it’s your insurance policy against c…
Frequently Asked Questions
Can I spread frosting on a warm cake, or should I wait?
Always wait! A warm cake is soft and fragile, making it way more likely to tear. Let your cake cool completely (about 2 hours at room temp) or chill it for 30 minutes in the fridge for a firmer texture. Patience pays off with smooth, professional results!
What’s the best tool for spreading frosting without tearing the cake?
An offset spatula (or angled frosting knife) is your best friend—it glides smoothly without dragging. For delicate cakes, try a bench scraper for flat layers or a piping bag to add frosting in dollops before spreading. Avoid regular knives; they dig in too deep!
My cake keeps crumbling when I frost it. How do I fix this?
Crumbly cakes often need a “crumb coat”—a thin layer of frosting to seal in loose bits. Chill the cake for 15–20 minutes after the crumb coat, then add your final layer. Pro tip: Brush layers with simple syrup to add moisture and reduce crumbs!
Can I use a different type of frosting if buttercream is tearing my cake?
Stabilized whipped cream or cream cheese frosting (chilled) spread more gently. For a foolproof option, try ganache—it’s forgiving and self-leveling. Just ensure your cake is cold to prevent melting.
How do I smooth frosting on a layered cake without ruining it?
Use the “Viva paper towel trick“: Press a slightly damp paper towel gently against the frosting, then peel it away for a flawless finish. For sharp edges, chill the cake for 10 minutes between layers and use a bench scraper.
With the right tools and a little patience, you’ve got everything you need to spread frosting like a pro—no torn cake layers in sight! 🎂✨ Remember: a chilled cake, soft spatula, and thin crumb coat are your secret weapons for that flawless finish.
Now that you’re armed with these tips, why not put them to the test? Grab your favorite recipe, practice on a single layer first, and watch your confidence (and cakes!) rise. Happy baking—your showstopper dessert awaits! 😊

Trained in classic French technique but raised on slow-cooked ribs and spicy rubs, she blends culinary skill with smoke and soul.
- Recipe for Boneless Pork Chops in Cast Iron Skillet: Sear and Baste to Juicy Perfection - October 3, 2026
- Recipe for Boneless Cross Rib Roast: Slow-Roasted Beef with Herb Crust - October 3, 2026
- Hamburgers in Sauce Recipe Crock Pot: Slow-Cooked Savory Delight - October 3, 2026