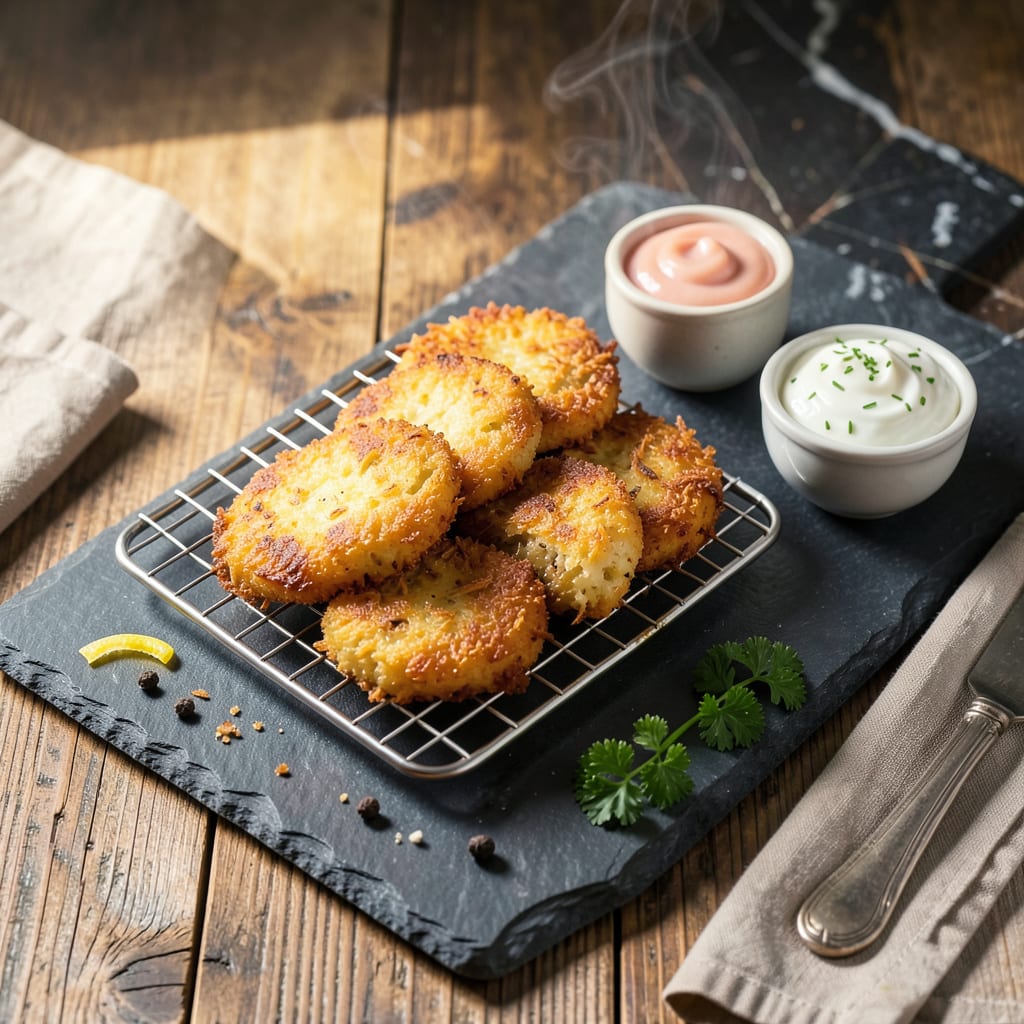
I’ll be real with you—nothing breaks my heart more than perfect latkes turning into sad, soggy pancakes after storage. After years of trial and error (and more than a few disappointing leftovers), I’ve cracked the code for keeping them crispy for days. The secret starts before they even cool down.
Here’s the thing—latkes demand respect in storage. Cool them completely on a wire rack first (this prevents steam buildup), then layer between paper towels in an airtight container. For short-term, your fridge works fine for 3-4 days. But if you’re planning ahead, freezing is your best friend—just follow my foolproof method to avoid ice crystals.
The real magic happens during reheating. Skip the microwave—it’s the enemy of crispiness. Instead, use your oven, stovetop, or air fryer with specific techniques I’ll share. You’ll get that golden, crunchy exterior all over again, with the tender potato center intact. No more sad, limp latkes here.
Between you and me, I’ve even revived day-old latkes to taste freshly fried. Whether you’re meal prepping for Hanukkah or just love having extras, these methods will change your leftover game. Let’s save those latkes from soggy oblivion.
📚 In This Guide
- What You’ll Need
- Instructions
- Tips and Common Mistakes
What Youll Need
- ● Cooked latkes – Freshly made and cooled to room temperature (as many as you plan to store).
- ● Paper towels – 2–3 sheets per layer to absorb excess oil.
- ● Air-tight containers – BPA-free plastic or glass with tight-fitting lids (size depends on batch).
- ● Parchment paper – 1–2 sheets to separate layers and prevent sticking.
- ○ Aluminum foil (optional) – For extra insulation if freezing.
- ○ Freezer-safe bags (optional) – Quart or gallon size for long-term storage.
- ○ Vacuum sealer (optional) – For extended freshness (if storing >1 week).
- ● Labeling supplies – Permanent marker + masking tape or labels to date containers.
- ○ Cooling rack (optional) – To let latkes crisp up before storing.
- ● Oven or toaster oven – For reheating (if planning to enjoy later).
Step-by-Step Instructions for Storing Latkes
Let me show you exactly how to keep your latkes crispy and delicious for days after frying.
Cool Completely Before Storing
After frying, transfer your latkes to a wire rack set over a baking sheet. This allows air to circulate underneath, preventing soggy bottoms from steam buildup. Let them cool at room temperature for at least 30 minutes—rushing this step traps moisture inside.
I know it’s tempting to pack them away while still warm, but that’s the fastest way to ruin their texture. The cooling process stops the cooking and lets the exterior crisp up fully. You’ll feel the difference when they’re completely cool to the touch.
Choose the Right Storage Method
For short-term storage (up to 2 days), arrange cooled latkes in a single layer on a paper towel-lined plate. The paper towel absorbs any residual moisture. Cover loosely with another paper towel, then wrap the plate tightly with plastic wrap.
For longer storage (up to 5 days), use an airtight container with parchment paper between each latke. This prevents them from sticking together and maintains crispness. I prefer glass containers over plastic—they don’t retain odors and keep the latkes fresher.
Refrigerate Properly
Place your stored latkes in the coldest part of your refrigerator, usually the back of the bottom shelf. Maintain a consistent temperature between 35-40°F. Avoid the refrigerator door where temperature fluctuates with frequent opening.
If you’ve stacked latkes in a container, place a small piece of parchment paper directly on top of the uppermost latke before sealing. This extra barrier prevents condensation from forming on the lid and dripping back onto your latkes, which would make them soggy.
Reheat for Maximum Crispiness
When ready to serve, preheat your oven to 375°F. Place latkes on a wire rack set over a baking sheet—this setup ensures even heat circulation. Bake for 8-10 minutes until they’re hot throughout and the edges look crispy again.
For smaller batches, use a toaster oven at the same temperature. The smaller space heats up faster and gives you better control. Avoid microwaving unless you’re in a hurry—it makes latkes soft and rubbery. If you must microwave, place them on a paper towel and heat for 30-second intervals until just warm.
Freeze for Long-Term Storage
For storage beyond 5 days, freezing works beautifully. Arrange cooled latkes in a single layer on a baking sheet and freeze until solid (about 2 hours). This prevents them from sticking together when stored long-term.
Transfer frozen latkes to a freezer bag, squeezing out all excess air before sealing. They’ll keep for up to 3 months. To reheat, bake directly from frozen at 375°F for 12-15 minutes, flipping halfway through. You won’t believe how well they maintain their texture!
Tips and Common Mistakes for Perfectly Stored Latkes
After years of trial and error with storing latkes, I’ve learned these key details that make all the difference between crispy perfection and disappointing sogginess.
Cooling Strategy: That 30-minute cooling time in Step 1 isn’t just a suggestion—it’s critical. I’ve ruined batches by rushing this step, only to find the centers turn gummy when stored. The wire rack setup is non-negotiable; it prevents steam from collecting underneath and turning your crispy bottoms soft. Trust me, you can actually hear the difference in crunch when they’ve cooled properly.
Paper Towel Technique: When using the short-term storage method from Step 2, don’t just place latkes on paper towels—press them gently into the towels first. This removes any surface oil that could make them greasy during storage. I also recommend changing the top paper towel if you’re storing for the full 2 days, as it absorbs moisture over time.
Temperature Control: Your refrigerator’s temperature matters more than you think. The 35-40°F range in Step 3 isn’t arbitrary—it’s the sweet spot where latkes stay fresh without drying out. I use a fridge thermometer to monitor this, especially during warmer months when opening the door frequently can cause fluctuations that lead to condensation.
Reheating Secret: For the 8-10 minute oven reheat in Step 4, here’s what changes everything: spray the latkes lightly with oil before putting them in. This mimics fresh frying and gives that just-made crunch. And if using a toaster oven, check at 6 minutes—they often reheat faster than a conventional oven.
Pro Tips for Store Latkes
- After years of trial and error with storing latkes, I’ve learned these key details that make all the difference betwe…
- Cooling Strategy: That 30-minute cooling time in Step 1 isn’t just a suggestion—it’s critical. I’ve ruined batches by…
- Paper Towel Technique: When using the short-term storage method from Step 2, don’t just place latkes on paper towels—…
Frequently Asked Questions
Can I store latkes at room temperature?
No, latkes should never be left at room temperature for more than 2 hours. Bacteria grow quickly in the “danger zone” (40°F–140°F). For safety and crispiness, refrigerate within 2 hours of cooking—or freeze if storing longer than 3 days.
How long do latkes last in the fridge vs. freezer?
In the fridge, latkes stay fresh for 3–4 days in an airtight container. For longer storage, freeze them for up to 3 months. Just reheat in the oven (400°F for 10–15 mins) to restore crispiness!
Why do my stored latkes turn soggy?
Moisture is the enemy! Sogginess happens if latkes cool in a sealed container (steam traps in moisture). Fix it by:
- Cooling completely on a rack first.
- Using paper towels to absorb excess oil.
- Reheating in the oven, not the microwave.
Can I reheat latkes in an air fryer?
An air fryer (375°F for 3–5 mins) is a game-changer for reviving crispiness. Shake the basket halfway for even heating. Avoid overcrowding—work in batches if needed.
What’s the best way to store latkes for a party?
For crowds, freeze latkes in a single layer on a tray first, then transfer to bags. Reheat directly from frozen in the oven (425°F for 15–20 mins). This keeps them crispy and ready to serve all at once!
With the right storage tricks, your latkes can stay deliciously crispy for days! 🎉 Whether you’re refrigerating, freezing, or reheating, keeping them dry and airtight is the secret. Now that you’re armed with these tips, go ahead and make a big batch—future you will thank you!
Next time you’re prepping, try experimenting with different toppings or dips to keep things exciting. Happy frying (and storing)! 🥔✨

Trained in classic French technique but raised on slow-cooked ribs and spicy rubs, she blends culinary skill with smoke and soul.
- Recipe for Boneless Pork Chops in Cast Iron Skillet: Sear and Baste to Juicy Perfection - October 3, 2026
- Recipe for Boneless Cross Rib Roast: Slow-Roasted Beef with Herb Crust - October 3, 2026
- Hamburgers in Sauce Recipe Crock Pot: Slow-Cooked Savory Delight - October 3, 2026