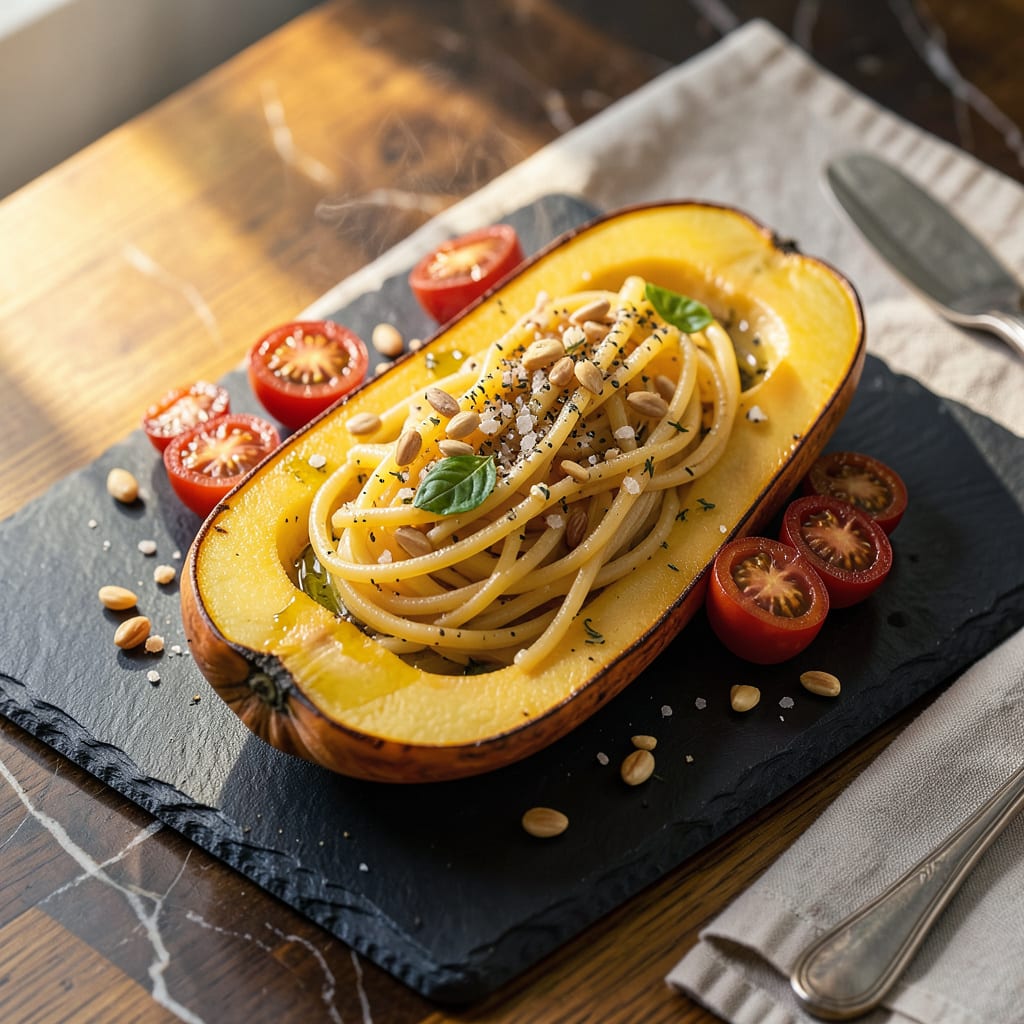
I’ll be real with you: watery spaghetti squash is the most frustrating kitchen letdown. You roast it perfectly, scrape out those beautiful strands, and suddenly you’re serving squash soup instead of that tender, noodle-like texture you wanted. After ruining more squash than I’d like to admit, I finally cracked the code for perfect results every time.
The game-changer starts before cooking. Salting the cut sides draws out excess moisture—just 10 minutes makes a world of difference. Then it’s all about heat control: 400°F is the sweet spot where squash cooks through without steaming itself into mush. I learned this the hard way after pulling too many sad, soggy batches from lower-temp ovens.
Here’s where most recipes fail: they don’t tell you to drain it. After roasting, let the squash rest cut-side down on a rack. Gravity does the work, pulling out that pesky liquid. Then give those strands a quick pat with paper towels before serving. This extra step transforms watery disappointment into restaurant-quality tender “noodles” that actually hold their shape.
Now you’ve got a blank canvas. Toss with marinara and parmesan, drizzle with pesto, or keep it simple with brown butter and herbs. The squash will finally behave like pasta—holding sauce instead of swimming in it. No more sad, waterlogged dinners on my watch.
📚 In This Guide
- What You’ll Need
- Instructions
- Tips and Common Mistakes
What Youll Need
- ● 1 medium spaghetti squash (3–4 lbs) – Look for firm, unblemished skin with a pale yellow hue. 🌟
- ● Sharp chef’s knife (8–10 inches) – For safe, clean cuts through the tough rind.
- ● Large cutting board – Sturdy and slip-resistant for stability.
- ● Metal spoon or ice cream scoop – To remove seeds efficiently.
- ● Baking sheet (half-sheet pan, 18×13 inches) – Rimmed edges prevent juices from spilling.
- ○ Parchment paper or aluminum foil – Optional, for easy cleanup.
- ● Olive oil or avocado oil (1–2 tbsp) – Helps crisp the strands and enhance flavor.
- ● Salt (½–1 tsp) – Kosher or sea salt for seasoning.
- ● Fork – For scraping out “noodles” post-roasting.
- ○ Oven thermometer (optional) – Ensures accurate temp (375–400°F is ideal).
- ○ Cooling rack (optional) – Lets steam escape if draining excess moisture.
- ● Paper towels or clean kitchen towel – For patting strands dry if needed.
- ○ Mixing bowl (large, optional) – Useful for tossing squash with oil/salt pre-roasting.
Instructions for Perfectly Tender Spaghetti Squash
Here’s the foolproof method I use to transform spaghetti squash into tender, flavorful strands without any watery mess.
Select and Prepare the Right Squash
Start by choosing a firm, unblemished spaghetti squash that feels heavy for its size. I like to pick ones with a consistent yellow color and no soft spots. Wash the squash thoroughly under cool water to remove any dirt or debris from the skin.
Pat it completely dry with a clean kitchen towel. This step is crucial because any moisture on the skin will turn to steam in the oven, creating excess water inside the squash. I always let my squash air-dry for an extra 10 minutes after toweling to ensure maximum dryness.
Cut and Seed with Precision
Carefully cut the squash in half lengthwise using a sharp chef’s knife. This can be challenging, so I recommend using a gentle rocking motion and applying steady pressure. If you’re having trouble, you can microwave the whole squash for 2-3 minutes first to soften it slightly.
Once halved, use a spoon to scrape out all the seeds and stringy pulp from the center. I like to run the spoon along the edges to create a clean cavity. This helps the strands cook more evenly later. Don’t worry about getting every last seed—just remove the bulk of them.
Season and Roast Cut-Side Down
Preheat your oven to 400°F and line a baking sheet with parchment paper. Brush the cut sides of the squash lightly with olive oil and season with salt and pepper. Place the squash halves cut-side down on the prepared baking sheet.
Roasting cut-side down is the secret to preventing watery squash. This position allows any released moisture to drain onto the baking sheet instead of pooling in the squash cavity. Roast for 40-50 minutes until the flesh is tender when pierced with a fork. You’ll know it’s done when the skin gives slightly when pressed.
Drain and Fluff the Strands
When the squash is tender, remove it from the oven and let it cool for 5 minutes before handling. Use a fork to gently scrape the flesh into strands, working from the outer edges toward the center. I like to tilt the squash halves slightly over the sink as I scrape to allow any excess moisture to drain away.
As you create the strands, transfer them to a clean kitchen towel. Gather the towel and gently squeeze to remove any remaining moisture. This extra step makes a huge difference in the final texture. The strands should be tender but not mushy, with a slight al dente bite.
Finish and Serve Immediately
Transfer the drained squash strands to a serving bowl. At this point, you can toss them with a bit of olive oil, salt, and pepper to enhance the flavor. I often add a splash of lemon juice or a sprinkle of fresh herbs like parsley or basil for brightness.
Serve the squash immediately while it’s still warm. The strands should hold their shape beautifully on the plate, with no water pooling at the bottom. If you’re not serving right away, spread the strands on a baking sheet to cool completely before refrigerating to prevent sogginess.
Tips and Common Mistakes
Getting perfectly tender spaghetti squash without any watery mess is all about understanding the science behind each step. Here’s what I’ve learned from making this countless times.
Drying is Everything: That extra 10 minutes of air-drying in Step 1 isn’t just a suggestion—it’s the foundation for success. Any residual moisture on the skin turns to steam in the oven, which then condenses back into liquid inside your squash. I’ve found that placing the squash near a sunny window or using a fan to circulate air speeds up this process significantly. The drier your squash starts, the less watery your final strands will be.
Microwave Trick: When you’re struggling to cut through that tough squash in Step 2, those 2-3 minutes in the microwave make all the difference. What I’ve discovered is that poking several holes in the squash with a fork before microwaving prevents any dangerous steam buildup. This simple precaution lets you soften the squash safely while maintaining control over the process.
Roasting Position Matters: The cut-side down position in Step 3 isn’t just about drainage—it’s about even cooking. When you place the squash this way at 400°F, the heat circulates more uniformly around the flesh. I always check for doneness at the 40-minute mark by pressing the skin—it should give slightly like a ripe avocado. This method ensures you get those perfect tender strands without any of the waterlogged texture that plagues so many spaghetti squash dishes.
Final Moisture Control: That 5-minute rest in Step 4 serves a crucial purpose beyond just cooling. It allows the squash to reabsorb some of its natural juices while still being warm enough to release excess moisture when you scrape it. What I do differently is use a fine-mesh strainer instead of just a towel—it catches every last drop while letting the strands maintain their shape. This extra step is what separates good spaghetti squash from restaurant-quality results.
Pro Tips for Make Spaghetti Squash Not Watery
- Getting perfectly tender spaghetti squash without any watery mess is all about understanding the science behind each …
- Drying is Everything: That extra 10 minutes of air-drying in Step 1 isn’t just a suggestion—it’s the foundation for s…
- Microwave Trick: When you’re struggling to cut through that tough squash in Step 2, those 2-3 minutes in the microwav…
Frequently Asked Questions
How long should I roast spaghetti squash to avoid watery results?
Roast at 400°F (200°C) for 40–50 minutes, cut-side down. Overcooking releases excess moisture, so check at 40 minutes—strands should be tender but still hold shape. Use a fork to test!
Can I microwave spaghetti squash without it turning mushy?
Yes! Pierce the whole squash, microwave for 10–12 minutes (flip halfway), then let it rest 5 minutes before cutting. Drain excess liquid immediately after cooking to keep strands firm.
Why is my spaghetti squash soggy even after roasting?
Two common culprits: overcrowding the pan (steams instead of roasts) or skipping the salt step. Sprinkle halves with salt before roasting to draw out moisture, and pat dry post-cooking.
What’s the best way to remove water from cooked spaghetti squash?
After scooping strands, spread them on a clean kitchen towel or paper towels. Gently press to absorb moisture, or let sit 5–10 minutes before serving. For extra crispiness, sauté in a dry pan!
Can I freeze spaghetti squash without it getting watery later?
Yes! Blanch strands for 2 minutes, drain well, pat dry, then freeze in a single layer. Thaw in a colander to avoid sogginess. Avoid freezing raw squash—it turns mushy when defrosted.
Say goodbye to soggy spaghetti squash for good! 🎉 The secret lies in proper prep, roasting techniques, and moisture control—whether you’re baking, microwaving, or air-frying. With these simple tweaks, you’ll get perfectly tender, restaurant-worthy strands every time.
Ready to put your new skills to the test? Grab a squash and try one of the methods today—your taste buds (and meal prep routine) will thank you! For extra flavor, experiment with herbs, garlic, or a drizzle of olive oil next.

Trained in classic French technique but raised on slow-cooked ribs and spicy rubs, she blends culinary skill with smoke and soul.
- Recipe for Boneless Pork Chops in Cast Iron Skillet: Sear and Baste to Juicy Perfection - October 3, 2026
- Recipe for Boneless Cross Rib Roast: Slow-Roasted Beef with Herb Crust - October 3, 2026
- Hamburgers in Sauce Recipe Crock Pot: Slow-Cooked Savory Delight - October 3, 2026