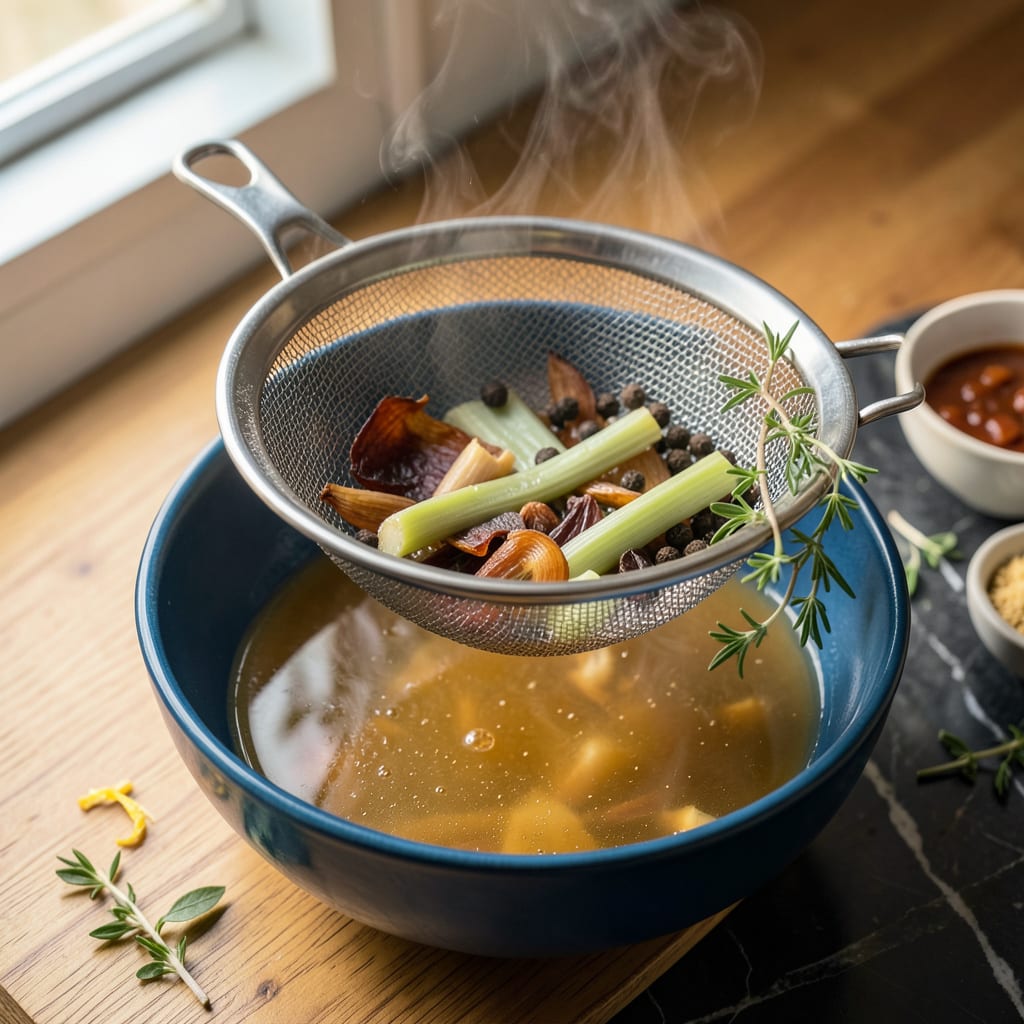
I’ll be real with you—nothing ruins a perfect batch of bone broth faster than bits of bone and gristle floating around. After burning through more cheesecloth than I care to admit (and dealing with the inevitable clogs), I finally cracked the code for getting crystal-clear broth without any specialty tools. The right straining method makes all the difference between cloudy, gritty liquid and that rich, golden elixir you actually want to sip.
Here’s the thing—proper straining isn’t just about looks. Those tiny particles left behind can make your broth taste bitter or chalky, especially if you’re using it for delicate soups or sauces. I’ve found that most home kitchens already have everything needed to do this right: a fine-mesh sieve, coffee filters, or even layered paper towels. No last-minute grocery runs required.
The real game-changer? Straining while the broth is still hot. Cold broth turns gelatinous and clogs every filter known to man. I learned this the hard way after ruining an entire pot by letting it cool first. Now I strain immediately after cooking, when everything flows smoothly and the fat rises to the top for easy skimming.
Whether you’re making ramen, gravy, or just sipping it straight, clean broth elevates everything. These methods work for any batch size, from a single quart to a massive stockpot. Let’s get that broth perfectly clear—no cheesecloth needed.
📚 In This Guide
- What You’ll Need
- Instructions
- Tips and Common Mistakes
What Youll Need
- ● Fine-mesh strainer (7–10 inches wide) – A must-have for catching small debris. Stainless steel works best! 🛠️
- ● Large bowl or pot (4+ quarts) – To hold the strained broth; ensure it’s heat-resistant if straining hot liquid.
- ● Slotted spoon or ladle – Helps remove larger bones/solids before fine straining.
- ○ Coffee filter or paper towel (2–3 layers) – Optional for ultra-clear broth (Method #2).
- ○ Clean kitchen towel or thin cotton cloth (1–2) – Optional for Method #3 (linen or flour-sack towels work great!).
- ● Tongs or rubber bands – Secures makeshift filters (like towels) over the strainer.
- ○ Funnel (medium/large) – Optional for transferring broth to jars without spills.
- ● Glass jars or airtight containers – For storing your golden, debris-free broth! 🏺
- ● Patience – Let gravity do the work; never press solids to avoid cloudy broth!
Instructions
Here are three simple methods that work perfectly when you need to strain your broth without cheesecloth.
Use a Fine-Mesh Strainer
Place a clean fine-mesh strainer over a large bowl or pot. I like to use one with small holes—about 1/16-inch or smaller—to catch all the tiny particles. If you’re working with a large batch, set the strainer over a second pot that can hold all your broth.
Slowly pour the broth through the strainer, letting gravity do the work. Don’t rush this step—if you pour too quickly, you might force particles through the mesh. For extra clarity, I sometimes strain it twice through the same fine-mesh strainer, especially if I notice any sediment in the first pass.
After straining, you’ll see all the bones, vegetables, and herbs left in the strainer. Gently press on the solids with a spoon to extract every last drop of liquid, but don’t squeeze or force them through—this can make your broth cloudy. Discard the solids and admire your beautifully clear broth.
Try a Coffee Filter or Paper Towel
For an ultra-clear broth, line your fine-mesh strainer with a coffee filter or paper towel before straining. I prefer unbleached coffee filters because they’re sturdy and won’t tear easily. Fold the filter to fit snugly in the strainer, ensuring it covers all the holes.
Pour the broth slowly into the filter-lined strainer. The paper will catch even the finest particles that would normally slip through a regular strainer. This method takes a bit longer because the liquid moves through more slowly, but the results are worth it—your broth will be crystal clear.
If the filter clogs with solids, simply lift it out, discard the contents, and replace it with a fresh one. I usually need to change the filter 2-3 times for a standard batch. Once finished, you’ll have a pristine broth ready for sipping or cooking.
Use a Clean Kitchen Towel or Nut Milk Bag
For a reusable option, use a clean, lint-free kitchen towel or a nut milk bag. I prefer flour sack towels because they’re tightly woven and won’t leave fibers in your broth. Dampen the towel first—this helps it conform to your strainer and prevents small particles from sneaking through.
Line your strainer with the damp towel, making sure it covers all the edges. Pour the broth through, letting it drip naturally. The towel will catch all the solids while allowing the liquid to pass through cleanly. If you’re using a nut milk bag, simply suspend it over your container and pour the broth directly into it.
After straining, rinse the towel or bag immediately in hot water to remove any residue. I like this method because it’s eco-friendly and produces excellent results. Your broth will be clear and free of any unwanted bits, perfect for any recipe or for enjoying on its own.
Tips and Common Mistakes
These practical insights will help you achieve perfectly clear broth every time, no matter which method you choose.
Strainer Selection: For Step 1, the 1/16-inch mesh size is crucial—anything larger might let small particles slip through. I keep a dedicated fine-mesh strainer just for broth because the tiny holes make all the difference in clarity. If you’re straining a large batch, place your strainer over a pot with a pour spout—it makes transferring the finished broth much easier without spills.
Filter Technique: When using coffee filters in Step 2, I’ve found that folding them into a cone shape (like a pour-over coffee setup) works better than laying them flat. This creates more surface area for the liquid to pass through, reducing clogging. Remember to change filters 2-3 times as mentioned—this keeps the process moving smoothly and prevents tearing from too much weight.
Towel Preparation: For Step 3, the key is using a truly lint-free towel. I learned this the hard way after ruining a batch with fuzzy white specks throughout. Dampening the towel isn’t just about conforming to the strainer—it actually creates a tighter seal that catches more particles. Flour sack towels are ideal because their tight weave won’t shed fibers into your beautiful clear broth.
Patience Pays Off: No matter which method you use, resist the urge to rush. Pouring too quickly forces particles through any filter, while slow, steady pouring lets gravity do the work. I like to prop my strainer setup over a bowl and walk away for a few minutes—this prevents the temptation to hurry the process and ensures maximum clarity in the final product.
Pro Tips for Strain Bone Broth Without Cheesecloth
- These practical insights will help you achieve perfectly clear broth every time, no matter which method you choose.
- Strainer Selection: For Step 1, the 1/16-inch mesh size is crucial—anything larger might let small particles slip thr…
- Filter Technique: When using coffee filters in Step 2, I’ve found that folding them into a cone shape (like a pour-ov…
Frequently Asked Questions
Can I use a regular kitchen strainer instead of cheesecloth?
A fine-mesh sieve or colander works great for most bone broths. For ultra-clear broth, strain twice or use a coffee filter over the sieve. Just be patient—thick broths may take longer to drip through. Pro tip: Press solids gently with a spoon, but don’t force them to avoid cloudiness.
How do I know when the broth is fully strained?
Your broth is ready when no visible particles remain in the liquid. Tilt the strainer slightly and check the bottom—if you see clear broth (not murky liquid or floating bits), you’re done! For gelatinous broths, warmth helps it flow faster. Time-saver: Strain while warm, but not boiling, for best results.
What’s the best alternative if I don’t have cheesecloth or a fine sieve?
No problem! Try a clean thin kitchen towel, paper coffee filters, or even a brand-new paint strainer bag (food-safe and reusable). For emergencies, layer several paper towels in a colander—but expect slower draining. Bonus: A nut milk bag works too!
Why is my broth cloudy after straining?
Cloudiness usually means tiny fat or protein particles slipped through. Fix it by: 1) Chilling the broth—fat solidifies on top for easy removal, or 2) Straining again through a dampened coffee filter. Avoid over-stirring while cooking to prevent emulsification. Note: Some cloudiness is normal and doesn’t affect flavor!
Can I reuse the bones/veggies after straining?
Most nutrients are spent after one batch, but you can simmer bones a second time for a lighter broth (reduce time by 50%). Veggies? Toss them—they’re mushy and flavorless. Eco-tip: Compost the solids or use bone remnants for pet treats (if safe for your pet!).
Straining bone broth without cheesecloth is easier than you think! With simple tools like a fine-mesh sieve, coffee filters, or even a clean kitchen towel, you can achieve a smooth, sediment-free broth every time. No special equipment? No problem—just use what you already have.
Now that you’ve mastered the straining process, why not put that rich, golden broth to good use? Try it in your favorite soups, stews, or risottos—or simply sip it solo for a nourishing boost. Ready to level up? Experiment with different bones or roasting techniques for even deeper flavor! 🍜✨

Trained in classic French technique but raised on slow-cooked ribs and spicy rubs, she blends culinary skill with smoke and soul.
- Recipe for Boneless Pork Chops in Cast Iron Skillet: Sear and Baste to Juicy Perfection - October 3, 2026
- Recipe for Boneless Cross Rib Roast: Slow-Roasted Beef with Herb Crust - October 3, 2026
- Hamburgers in Sauce Recipe Crock Pot: Slow-Cooked Savory Delight - October 3, 2026